Using Jupyter
Jupyter Notebook is a web application which can incrementally run pieces of code. It is ideally suited for exploration and collaboration and is heavily used in data science and CS education. We will be using Jupyter Notebooks in the exploration portions of several labs to learn how to process the different data sources on the car.
Jupyter with RacecarSim
This section will walk you through the steps of using Jupyter Notebook with the RacecarSim simulation.
- To start the Jupyter server, open a terminal and run
racecar jupyter. If the server starts successfully, it will print a URL to the terminal
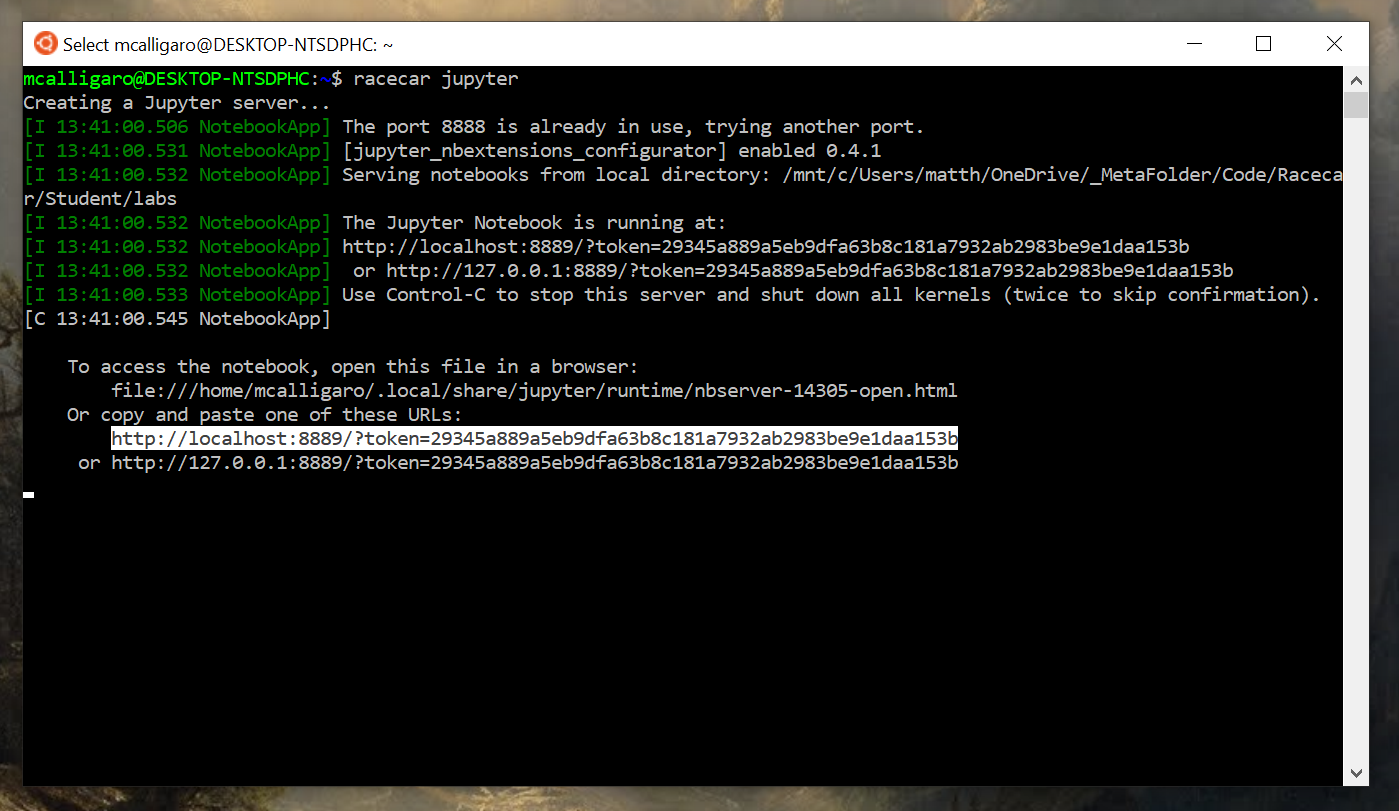
- Copy and paste this URL into your web browser (remember that in the terminal, you may need to use right-click to copy instead of
ctrl + c). You will now be able to explore your racecar directory on Jupyter.
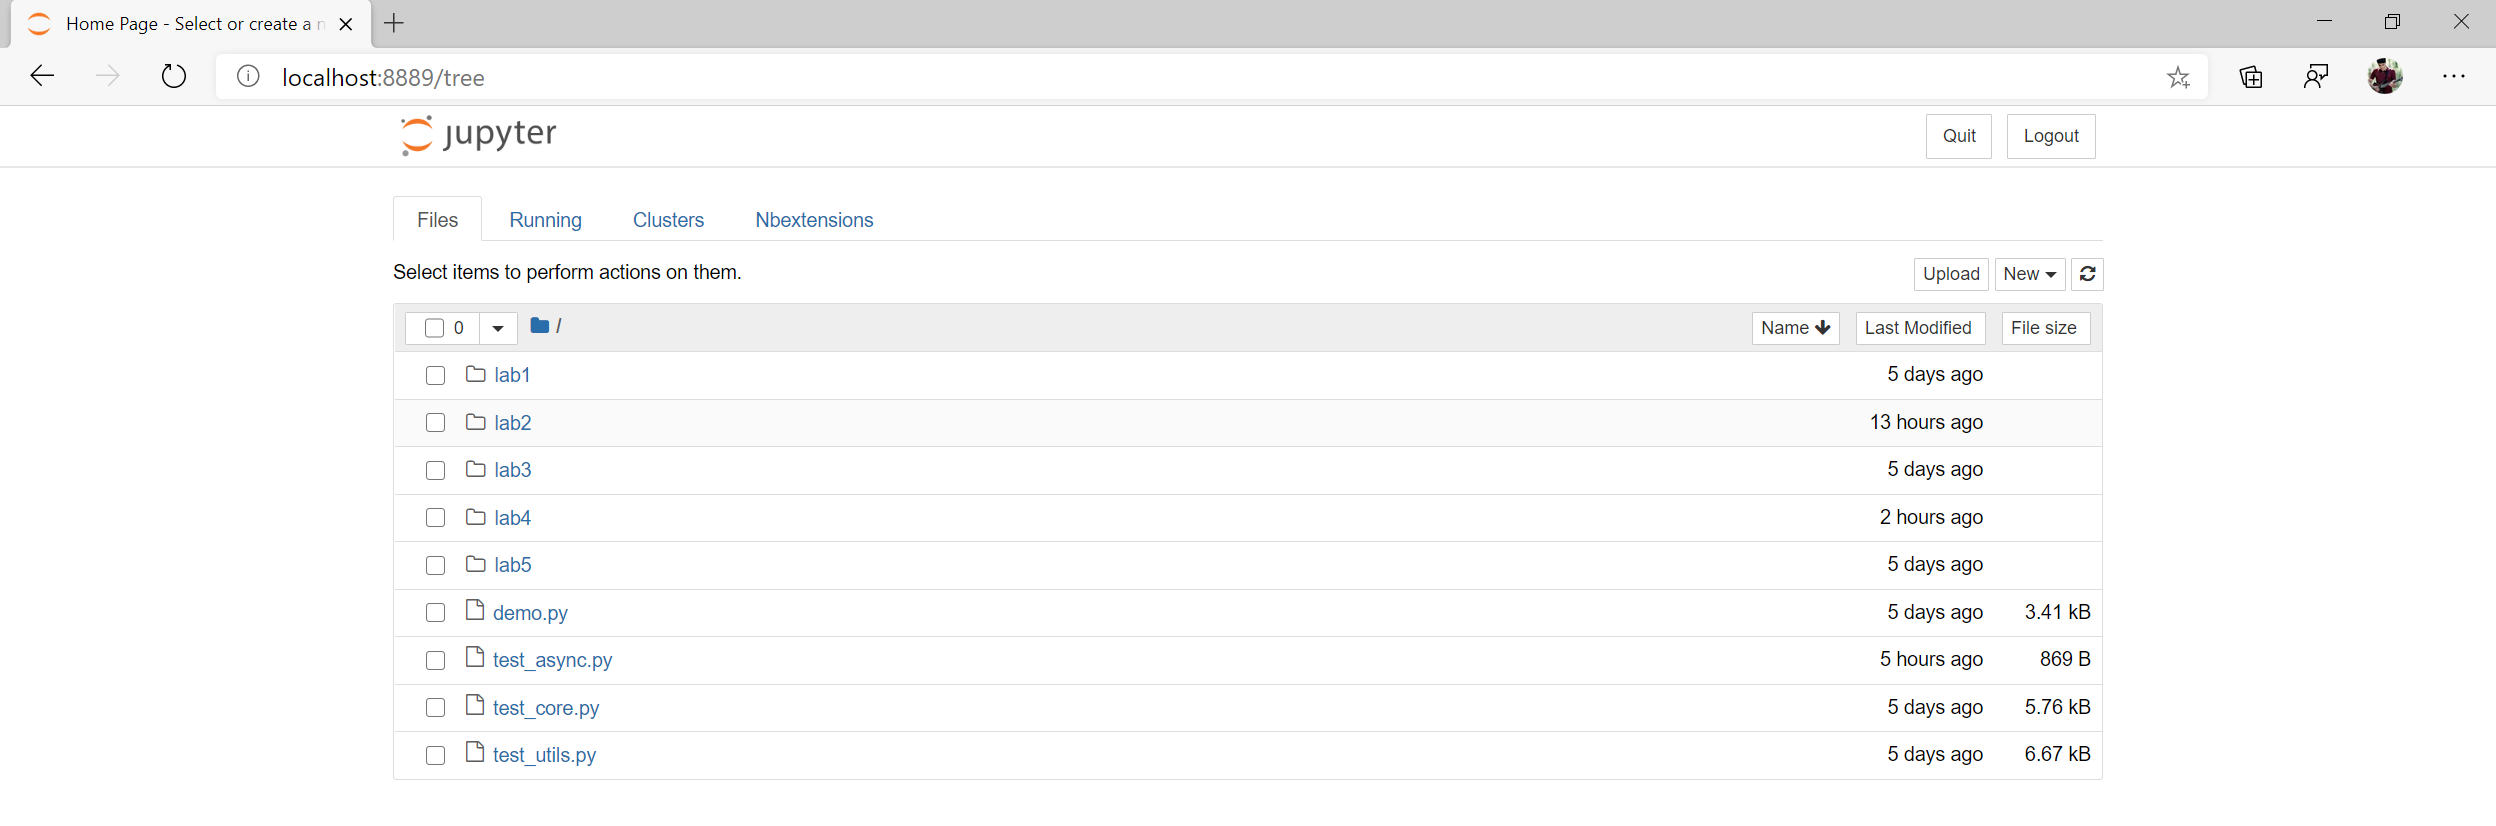
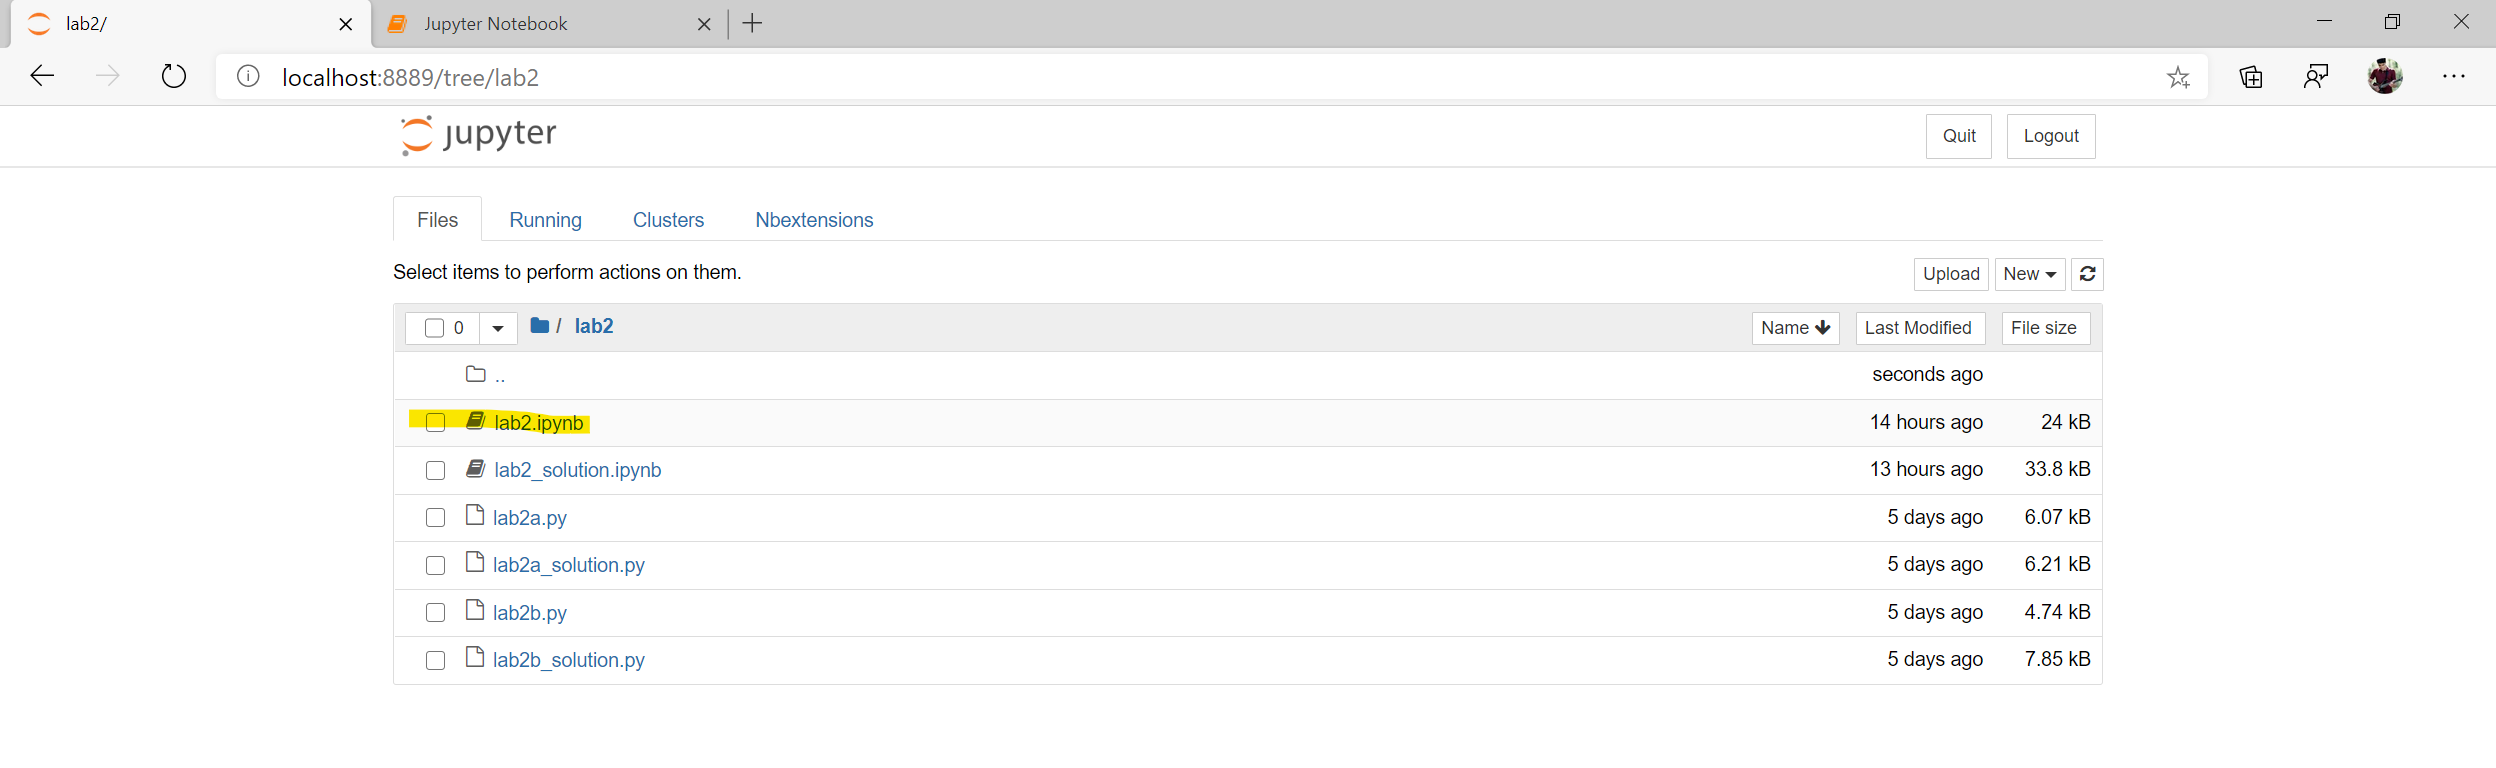
- Open the directory of your current lab and open the corresponding
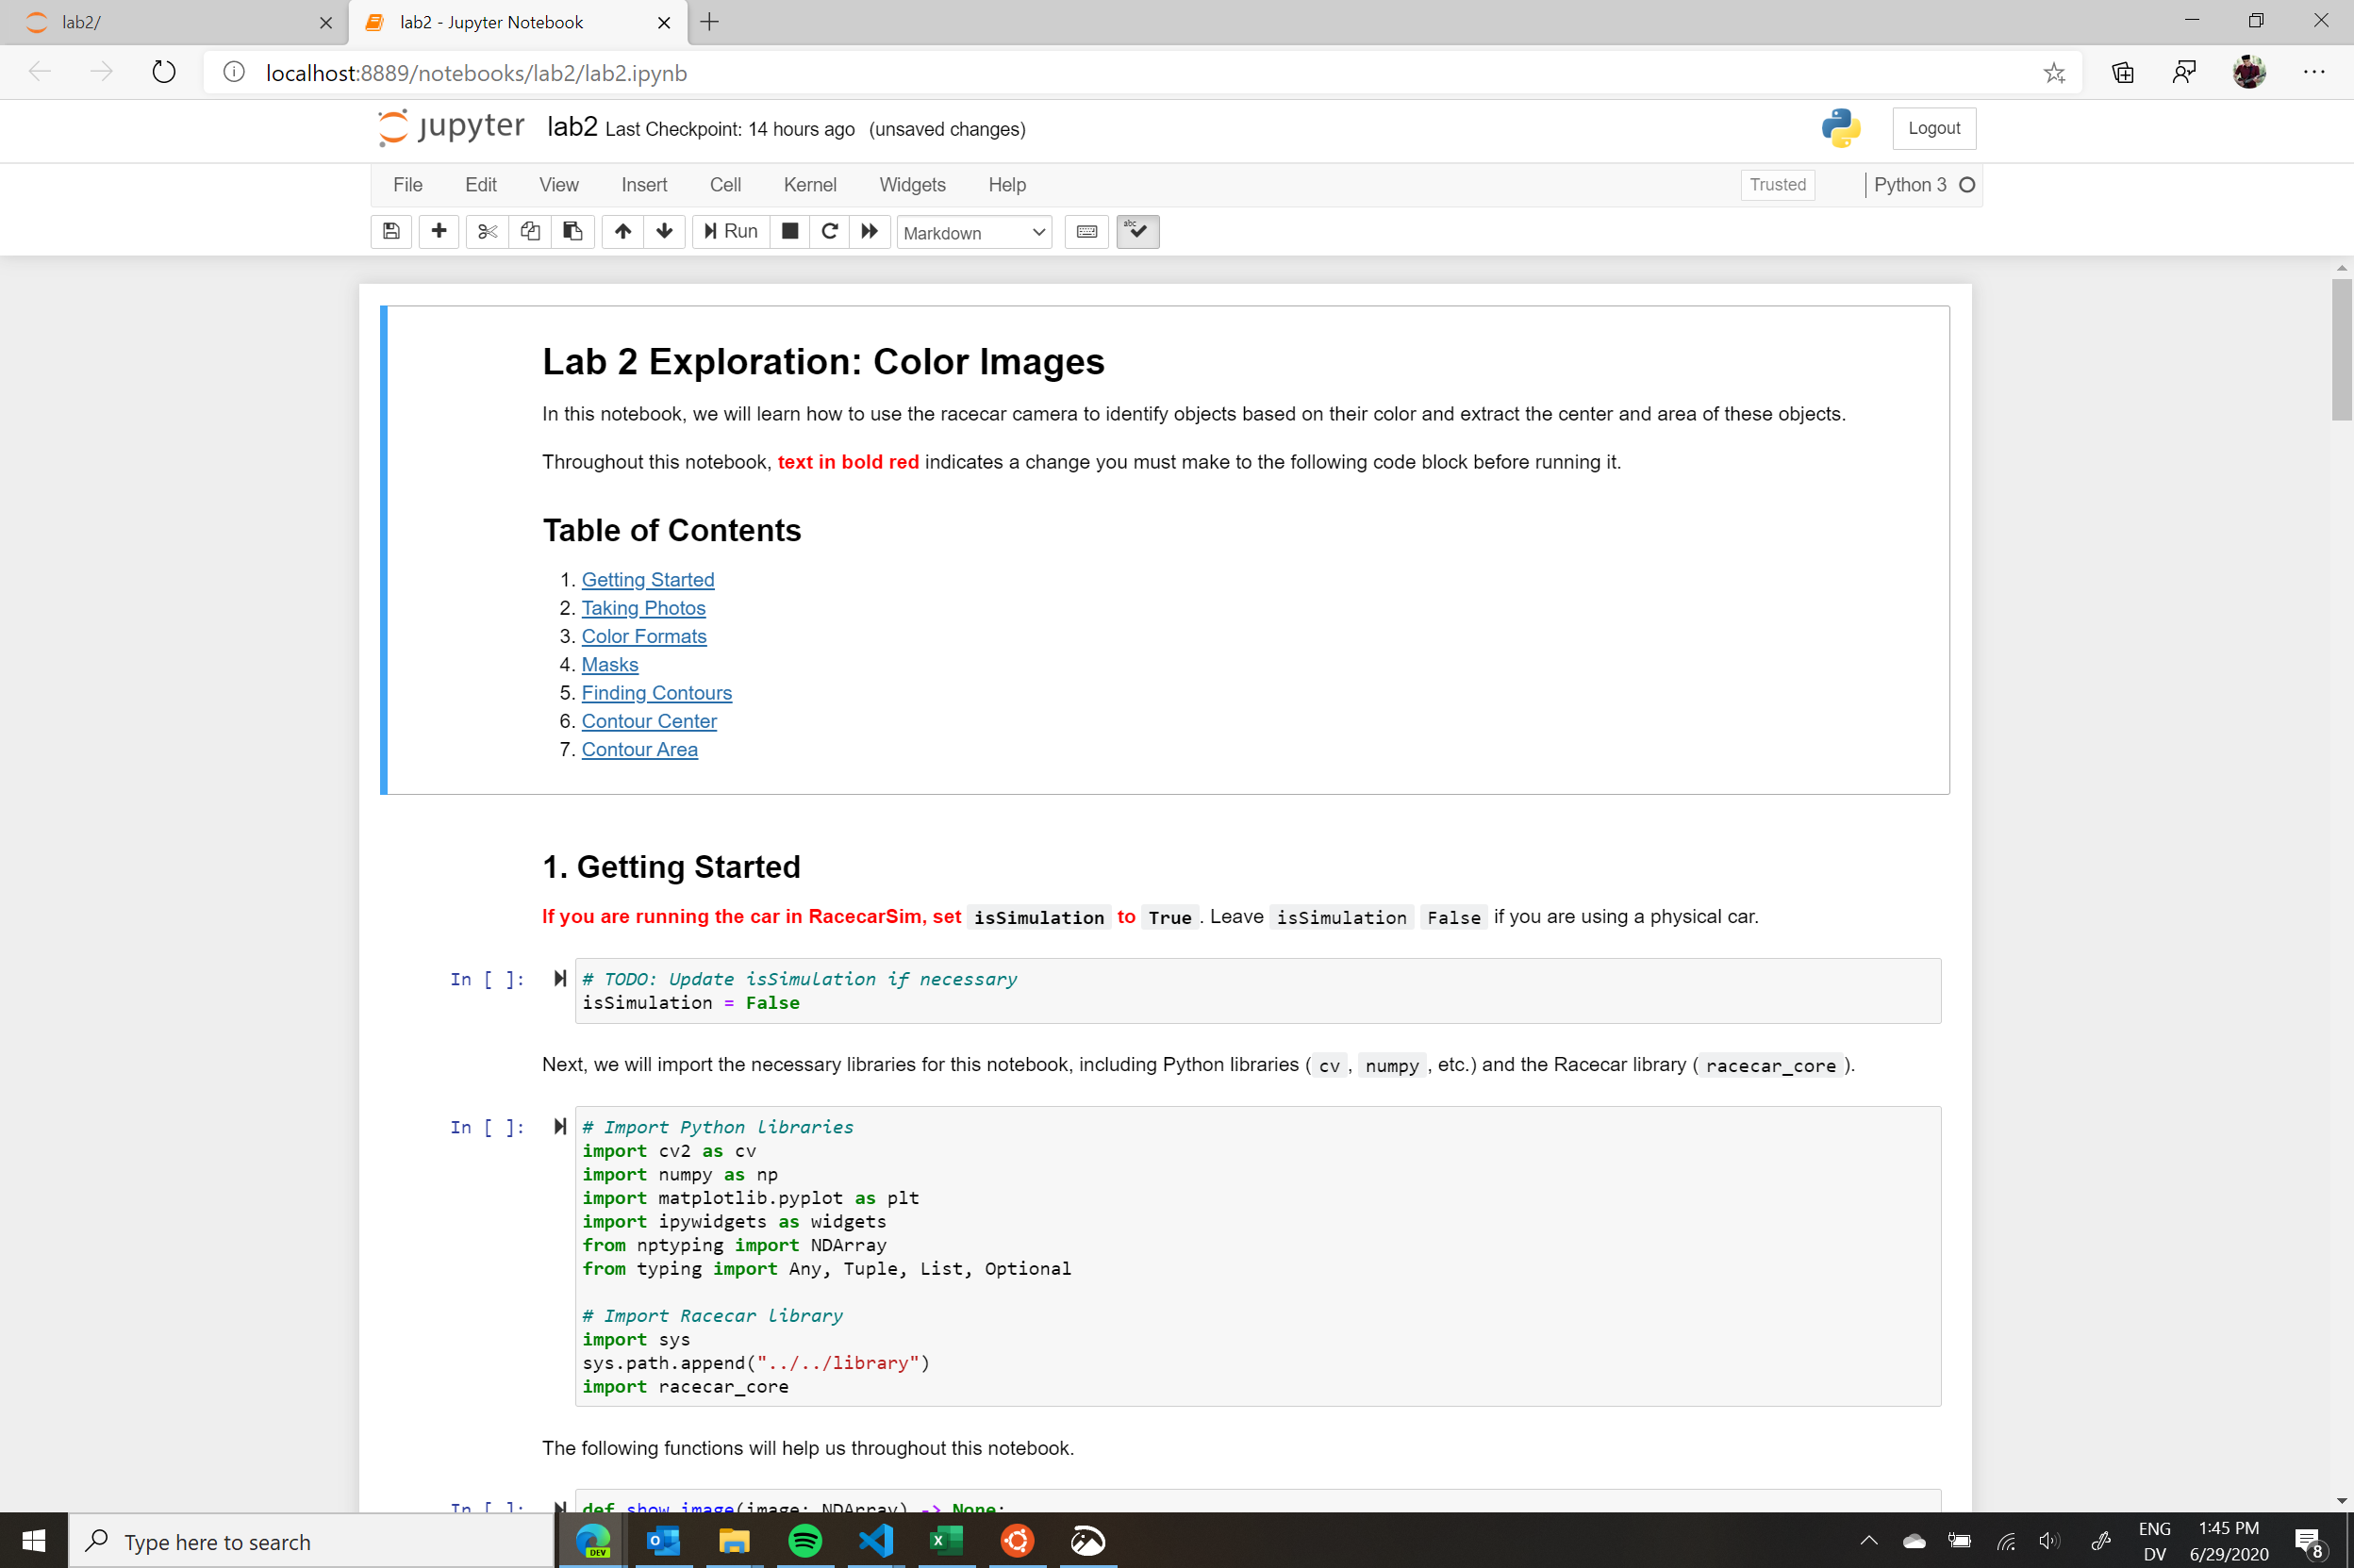
.ipynb(jupyter notebook) file. For example, we will navigate into thelab2directory and openlab2.ipynb.
This will open the Jupyter notebook in a new tab. You are now ready to begin writing and running code.
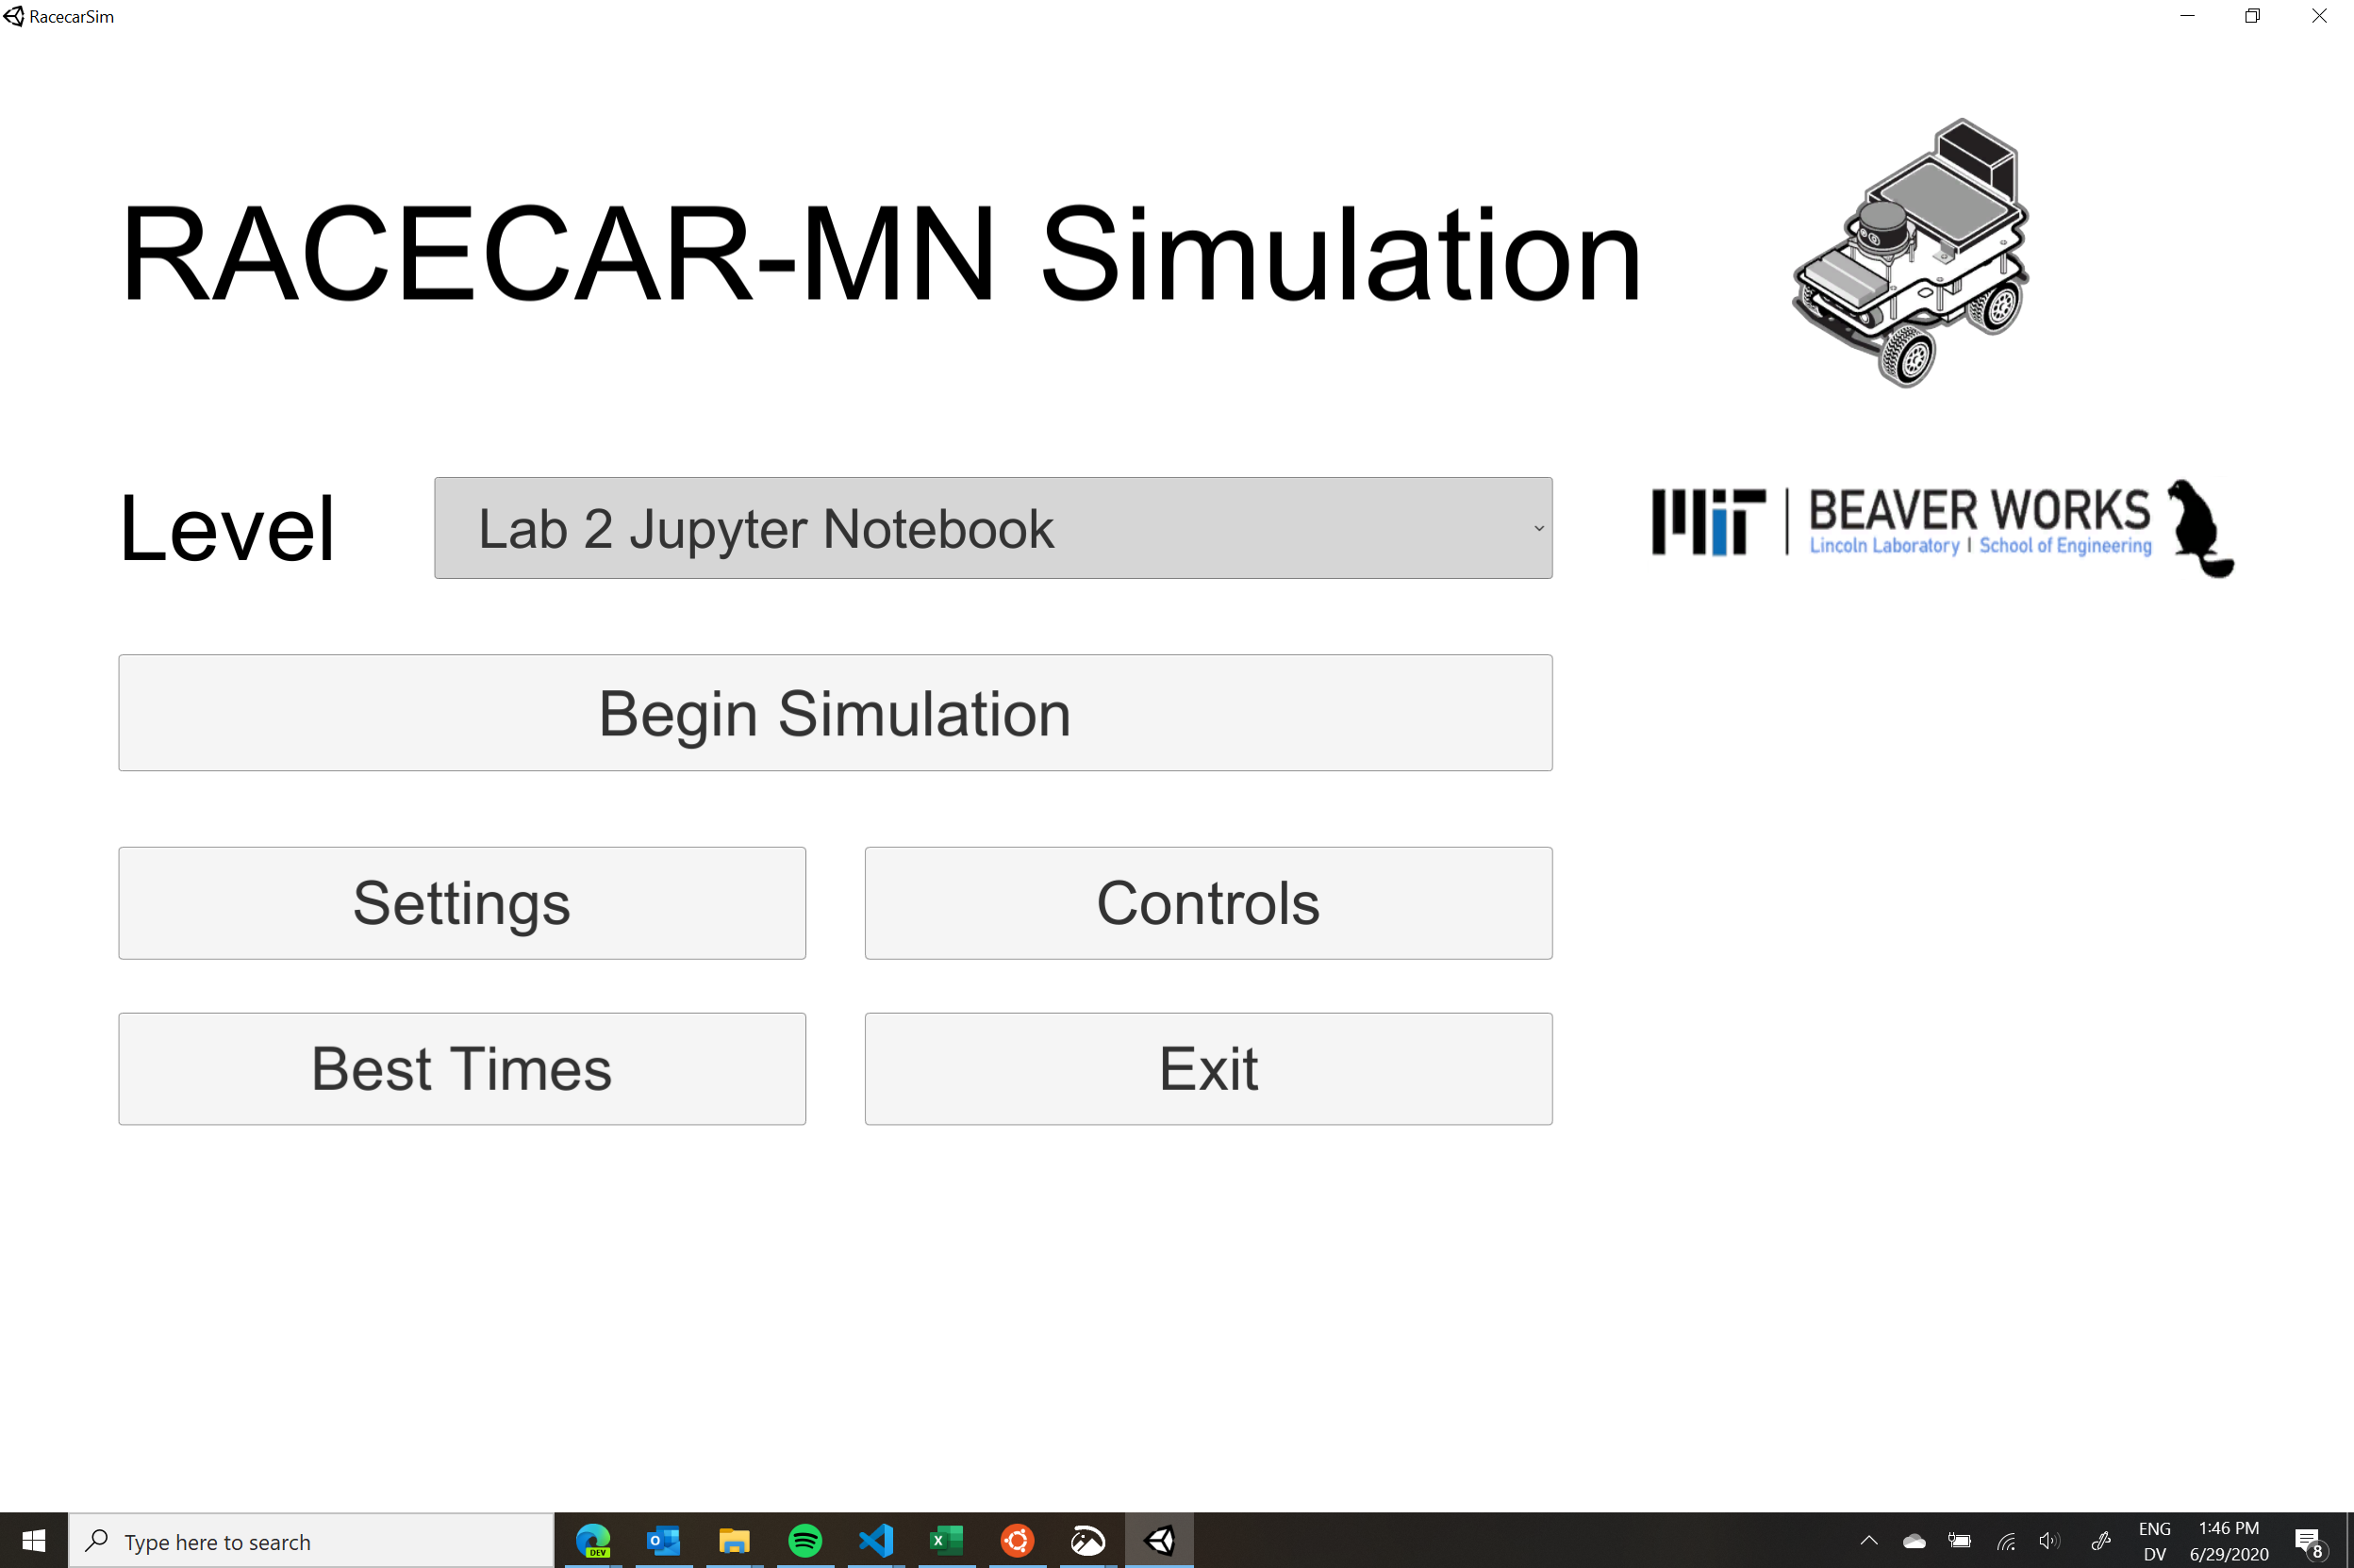
- Open RacecarSim. Select the level corresponding to your lab. For example, we will choose Lab 2 Jupyter Notebook.
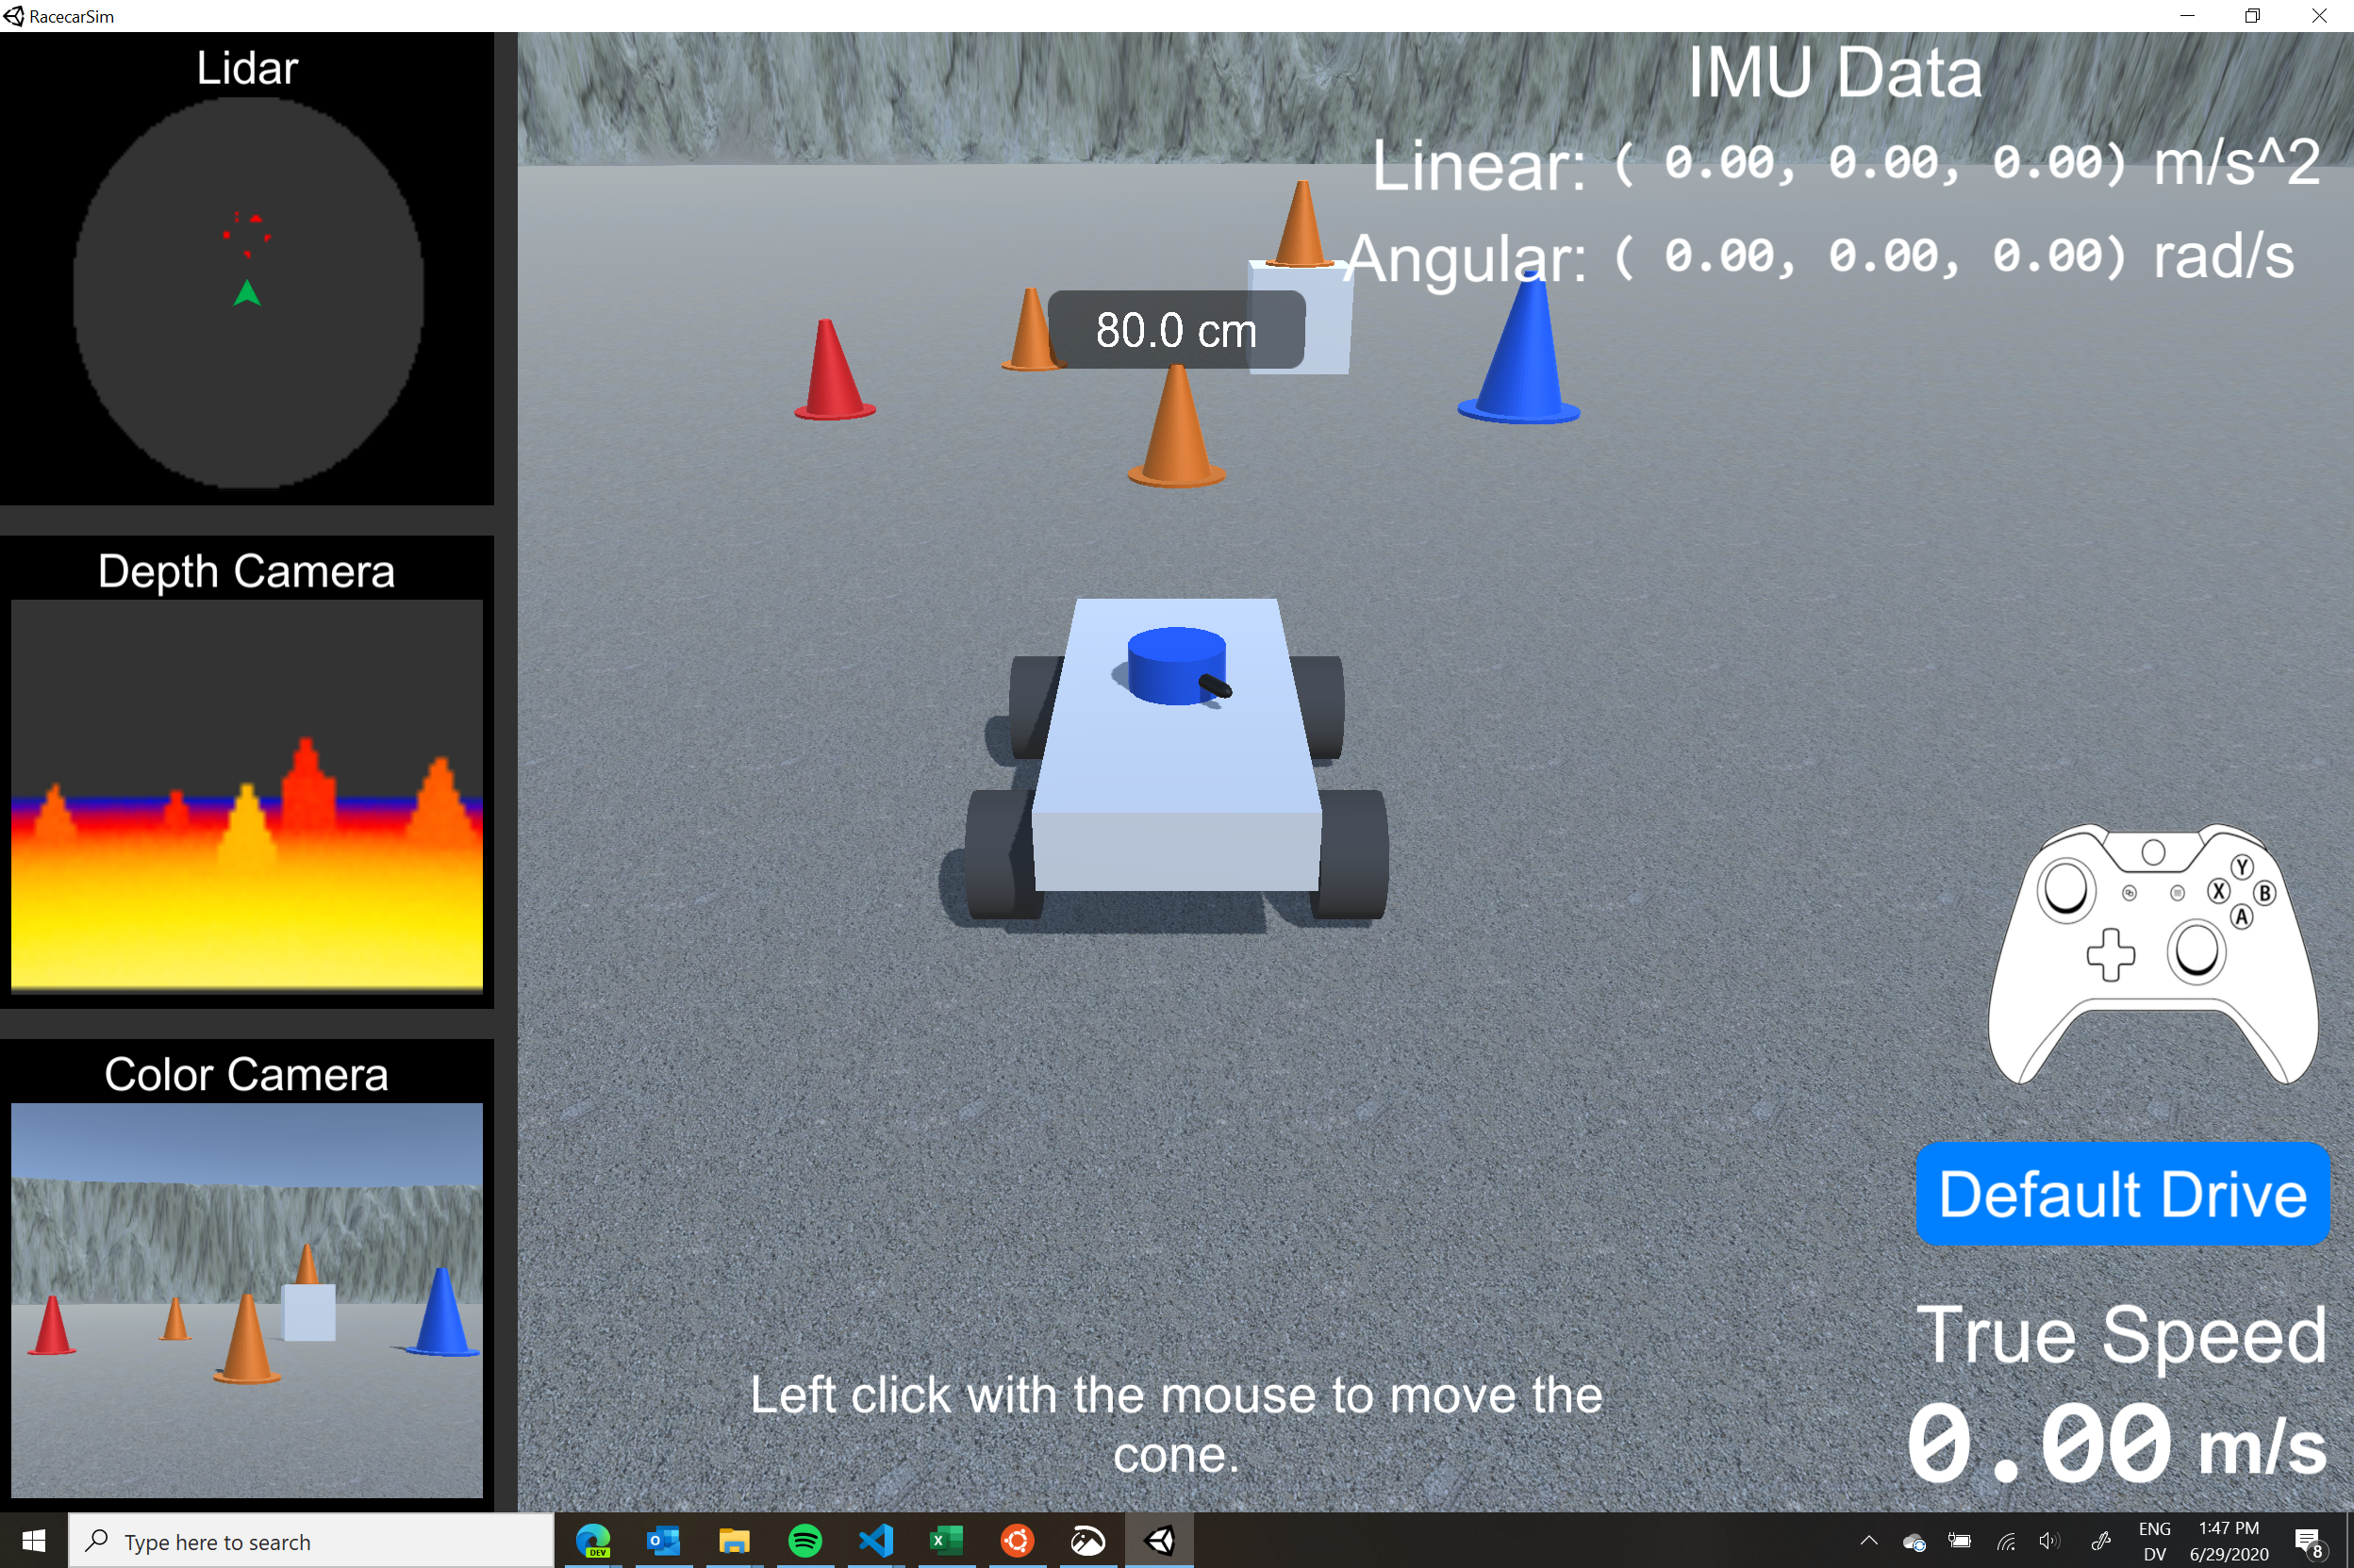
- Leave the car in Default Drive mode. RacecarSim is now ready to service requests from Jupyter. If you run a block of code in Jupyter which captures data (such as a color photo, depth photo, or lidar data), the Jupyter Notebook will ask RacecarSim for this data. RacecarSim will return the current data captured by the car.
Jupyter with a physical RACECAR-MN
This section has not been written yet.