Lab 4: LIDAR
So far, we have primarily used the car’s camera to view the world in front of the car. Unfortunately, the camera cannot see to the side or rear of the car, which makes other tasks such as wall following more difficult.
In this lab, we will use the LIDAR to gain a 360 degree view around the car and use this expanded field of view to solve new problems such as wall following.
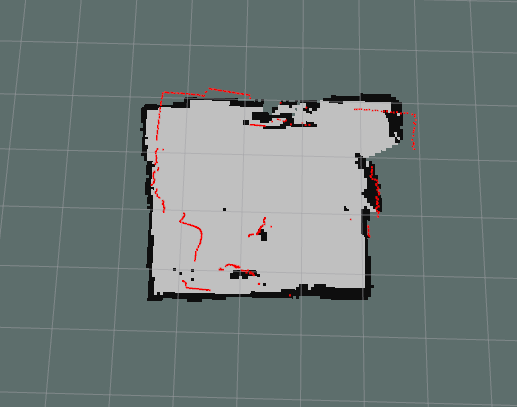
A SLAM map generated by the RACECAR-MN LIDAR (shown in RVIZ).
You can view the starter code for this lab in the labs directory of your student repository.
Objectives
Main objective
Use the LIDAR to increase the car’s field of view and use this to complete new navigational tasks.
Learning objectives
- Explore the SLAM visualization using the LIDAR.
- Use the LIDAR Module to extract LIDAR information.
- Use the LIDAR information to identify and respond to objects around the car.
Instructions
Physical RACECAR-MN Only: LIDAR SLAM
On the physical RACECAR-MN, we can use RVIZ to perform LIDAR SLAM.
- If not already running, start the lidar using the command
roslaunch ydlidar_ros X4.launch. - Make sure that you have the
DISPLAYcorrectly set to use the car screen for the visualization. - Using the screen on the car (with mouse and keyboard), you will see an RVIZ window will open.
- You will see immediately on the screen scan continuously updating.
- If you want to see the SLAM map click the
Addbutton in the lower left.- You will see a long list of options, scroll until you find
LaserScan. Once added, select the topic as/scan.- Now the points from the Lidar are converted into a SLAM map.
- Try navigating the car around the room, to see if you can create a usable SLAM map!
- Save the final image you have before closing out of the RVIZ window.
Jupyter Notebook
Work through the lab 4 Jupyter notebook (labs/lab4/lab4.ipynb). It will teach you how to read data from the LIDAR and write important helper functions for working with LIDAR data.
Lab 4A: Safety Stop (Revisited)
In lab 3A from ref:lab_3, you implemented a safety stop which prevents the car from driving forward into an object. You will now use LIDAR data to also prevent the car from hitting objects in any direction.
Open the racecar directory on your computer in Visual Studio Code and open the starter code for lab 4A (labs/lab4/lab4A.py). The starter code currently drives using the same controls as in Lab 1: Driving.
Replace the TODO: (warm up) comment with a new safety stop that works in both directions by also preventing the car from driving backward into an object. You may wish to use the forward_dist and back_dist variables provided in the starter code.
Lab 4B: Wall Following
In lab 4B (labs/lab4/lab4b.py), your goal is to navigate a hallway with several sharp turns. We recommend using LIDAR data to identify the walls to the sides of the car, which are out of view of the depth camera.
Replace the TODO: (main challenge) comment with code to navigate the hallways without hitting any walls.