Visual Studio Code
Visual Studio Code (VS Code) is a text editor that we will use to write program files for RACECAR-MN. While there are many great text editors, we recommend VS Code because it is free and open source with great collaboration features, debugging tools, and integration with Git.
Installation
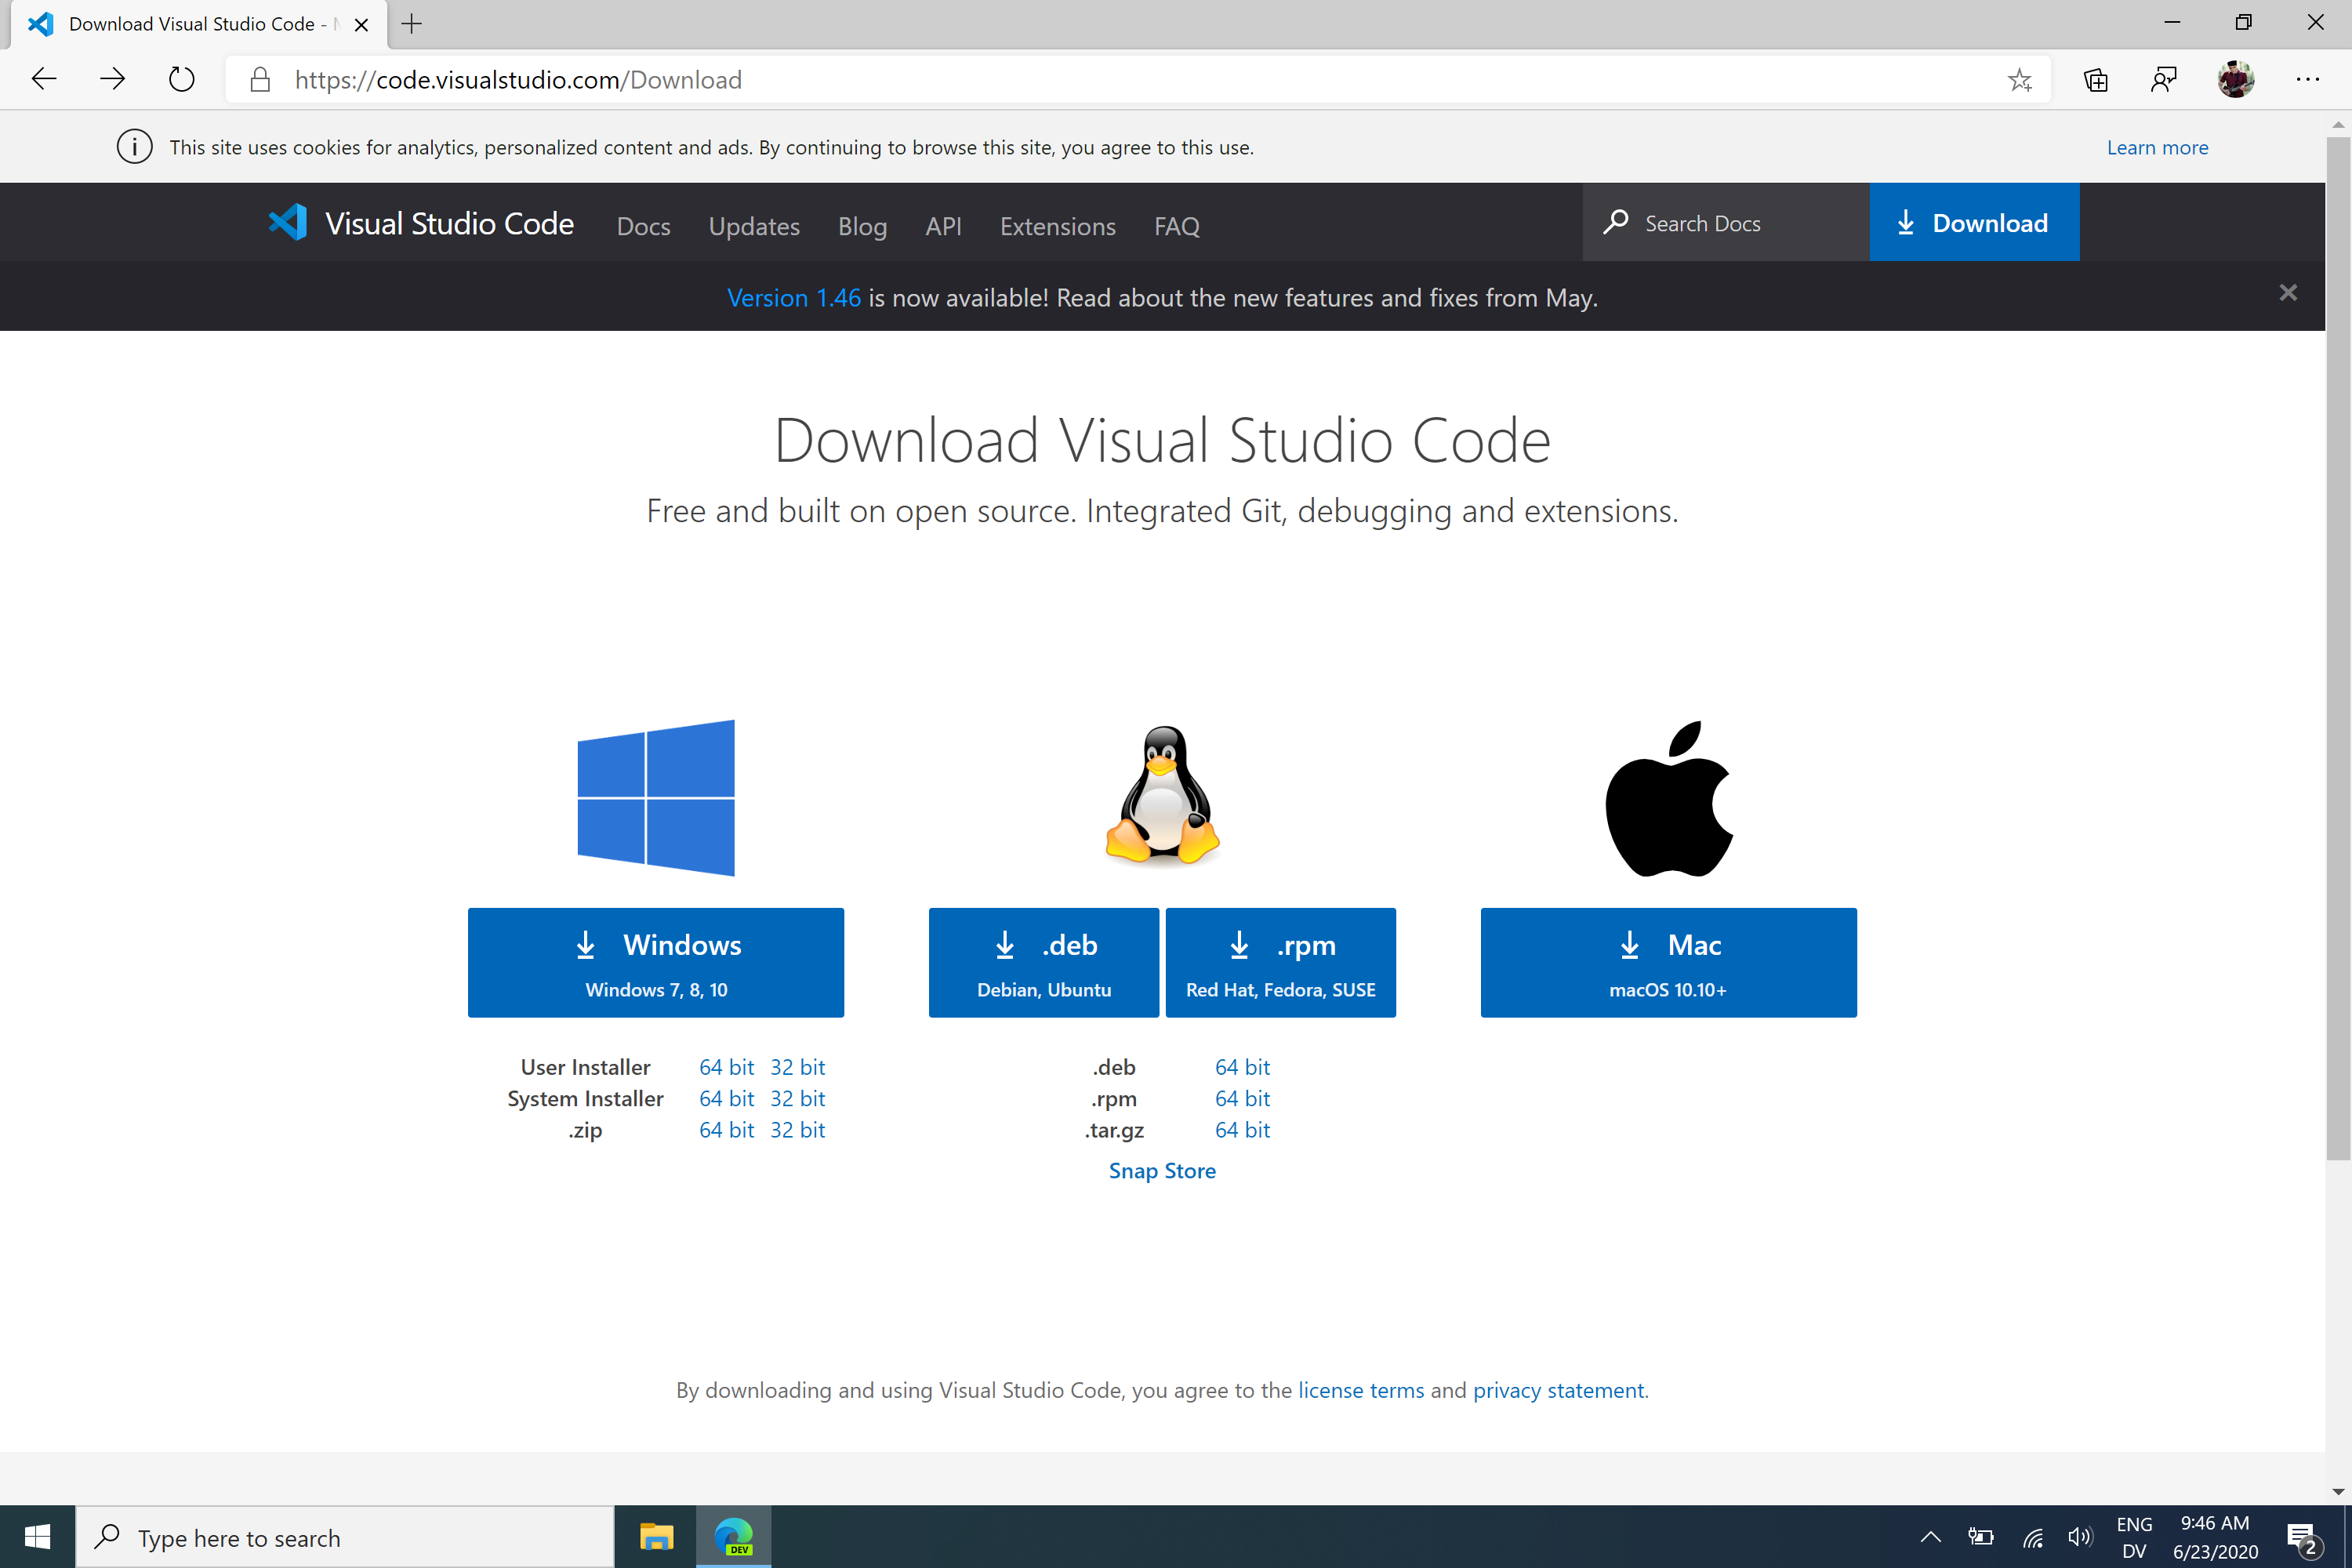
- Visit the Visual Studio Code download page. Once you select your operating system, the installer should begin downloading automatically.
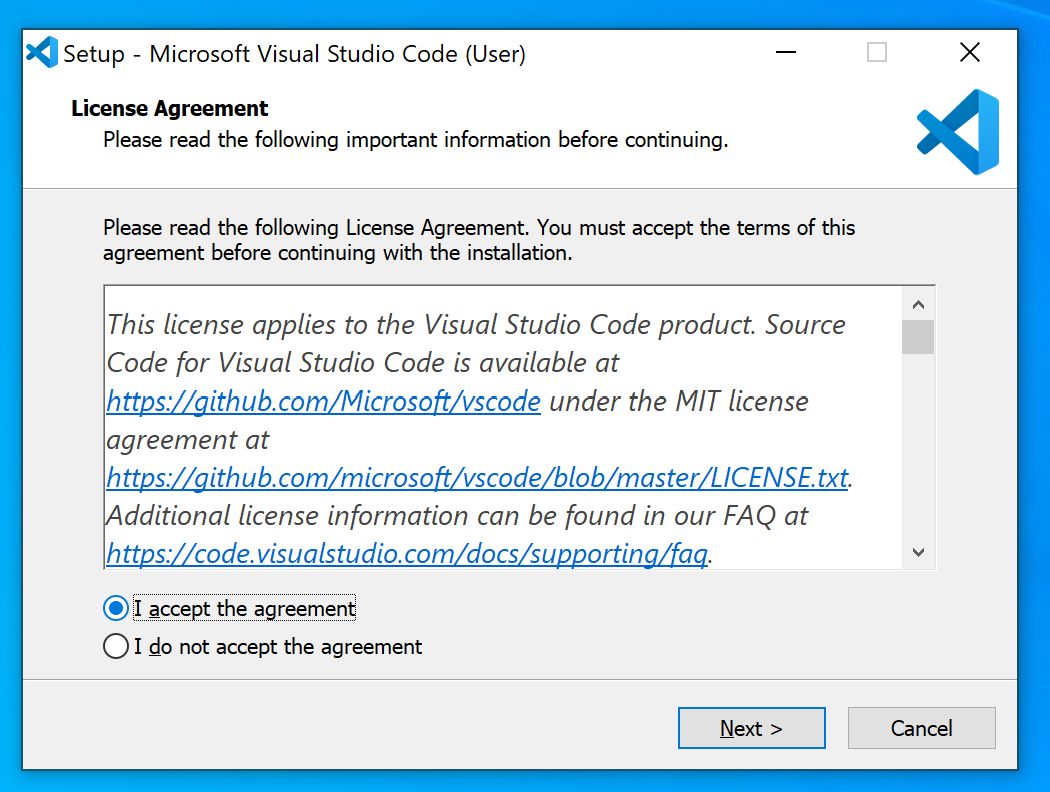
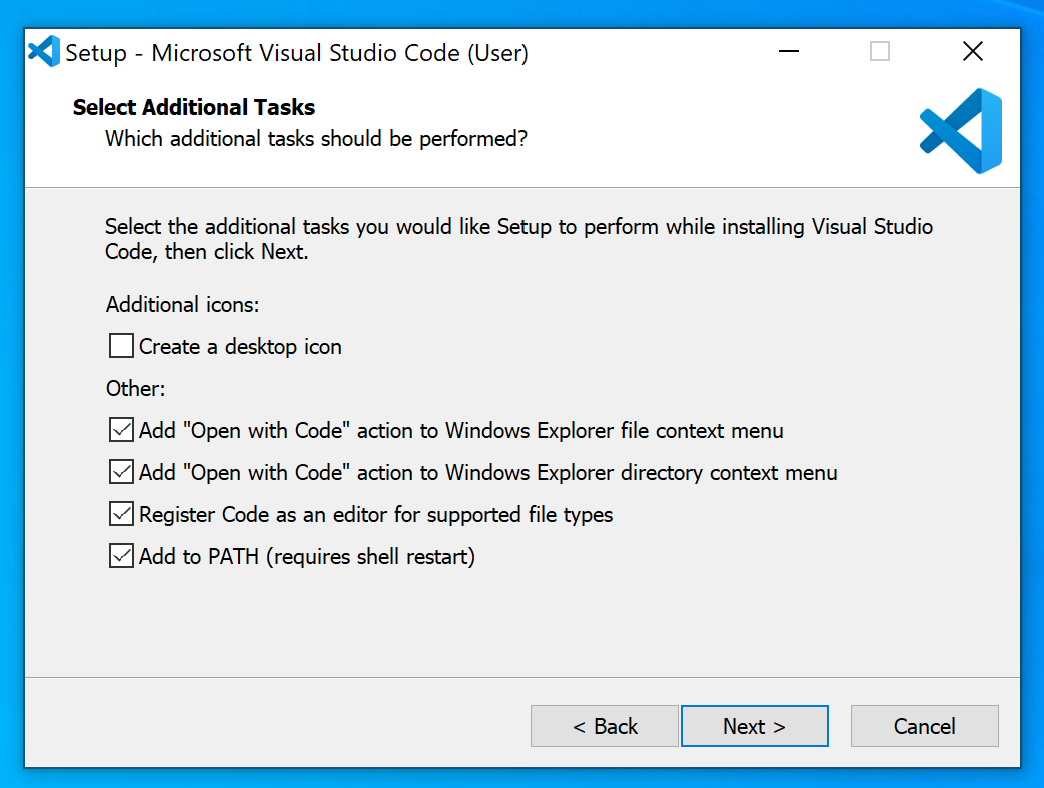
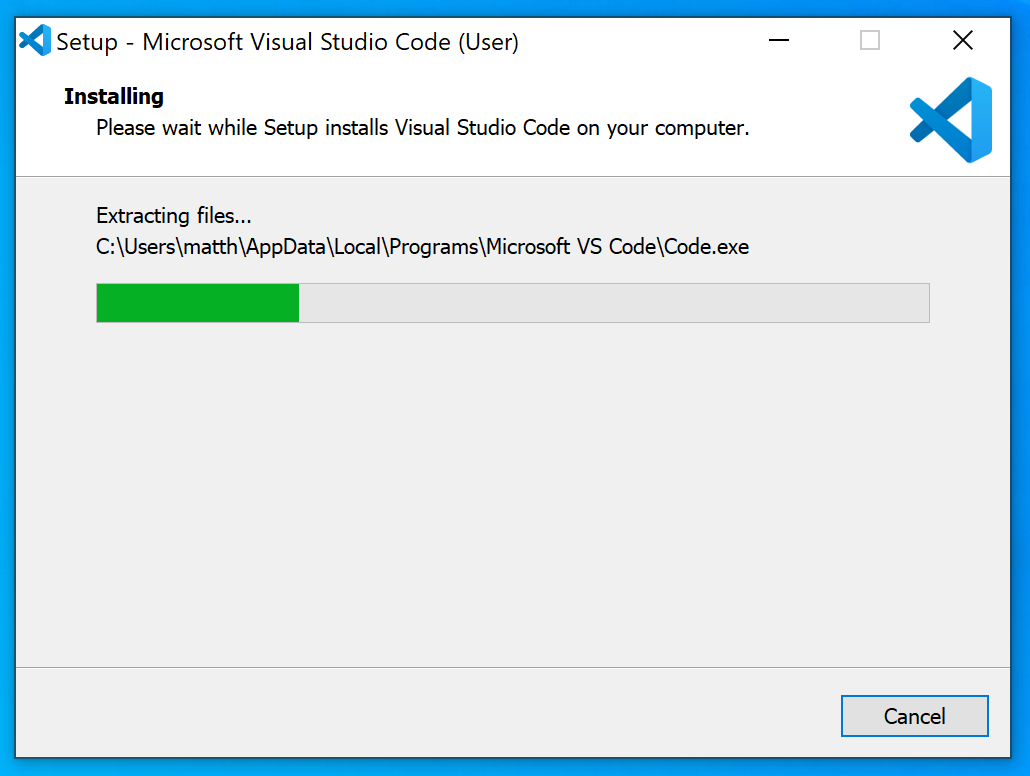
- Launch the VS Code installer once it finishes downloading. This will open a new window as shown below. Use the default settings until you reach the “Select Additional Tasks” page.
- On the “Select Additional Tasks” page, we highly recommend that you check the following options if they are available:
- Add “Open with Code” action to Windows Explorer file context menu
- Add “Open with Code” action to Windows Explorer directory context menu
- Register Code as an editor for supported file types
- Add to PATH (requires shell restart)
These features make it significantly easier to open a file or folder for editing.
- Use the default settings for the remaining pages and begin installation.
Extensions
Once VS Code is installed, add the following extensions to make it easier to program in Python.
Python
The VS Code Python extension provides several helpful features for programming in Python. This article provides an in-depth look at using Python with Visual Studio Code. We will cover the basics here.
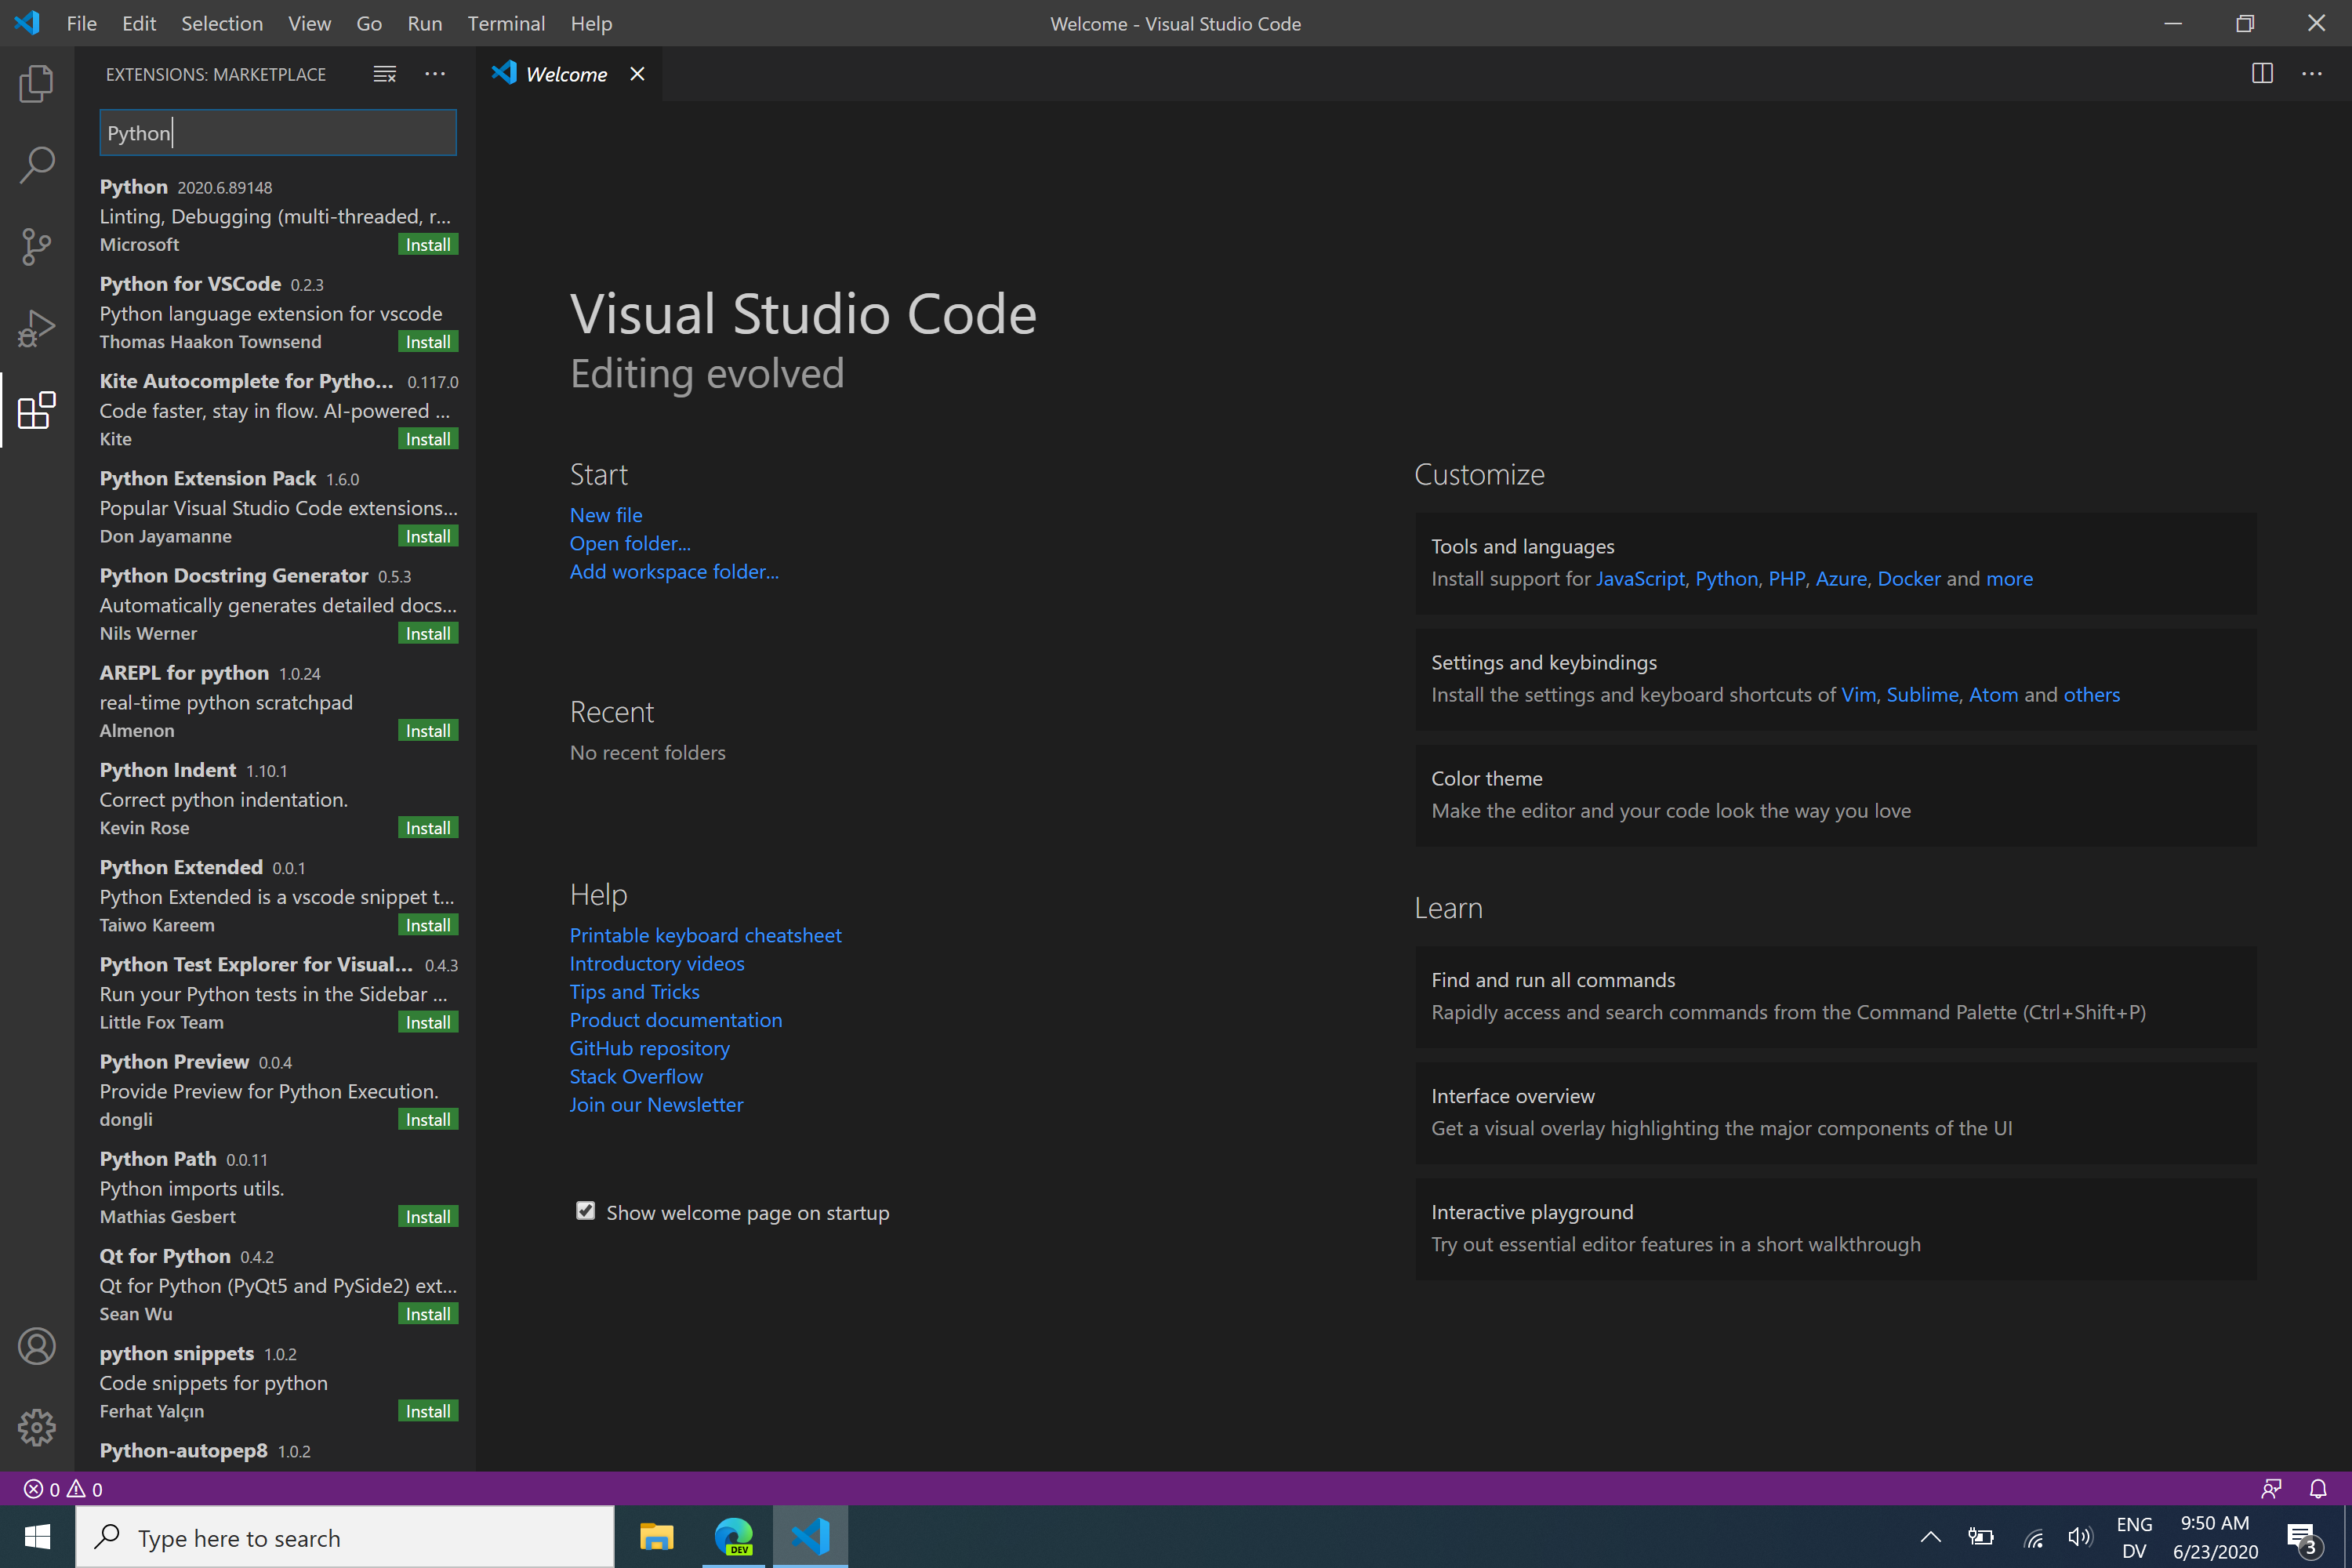
- Open Visual Studio Code and open the Extensions menu, which appears along the left side of the screen (the icon contains four squares). You can also open the Extensions menu with
Ctrl + Shift + X. In the Extensions search bar, type “Python”.
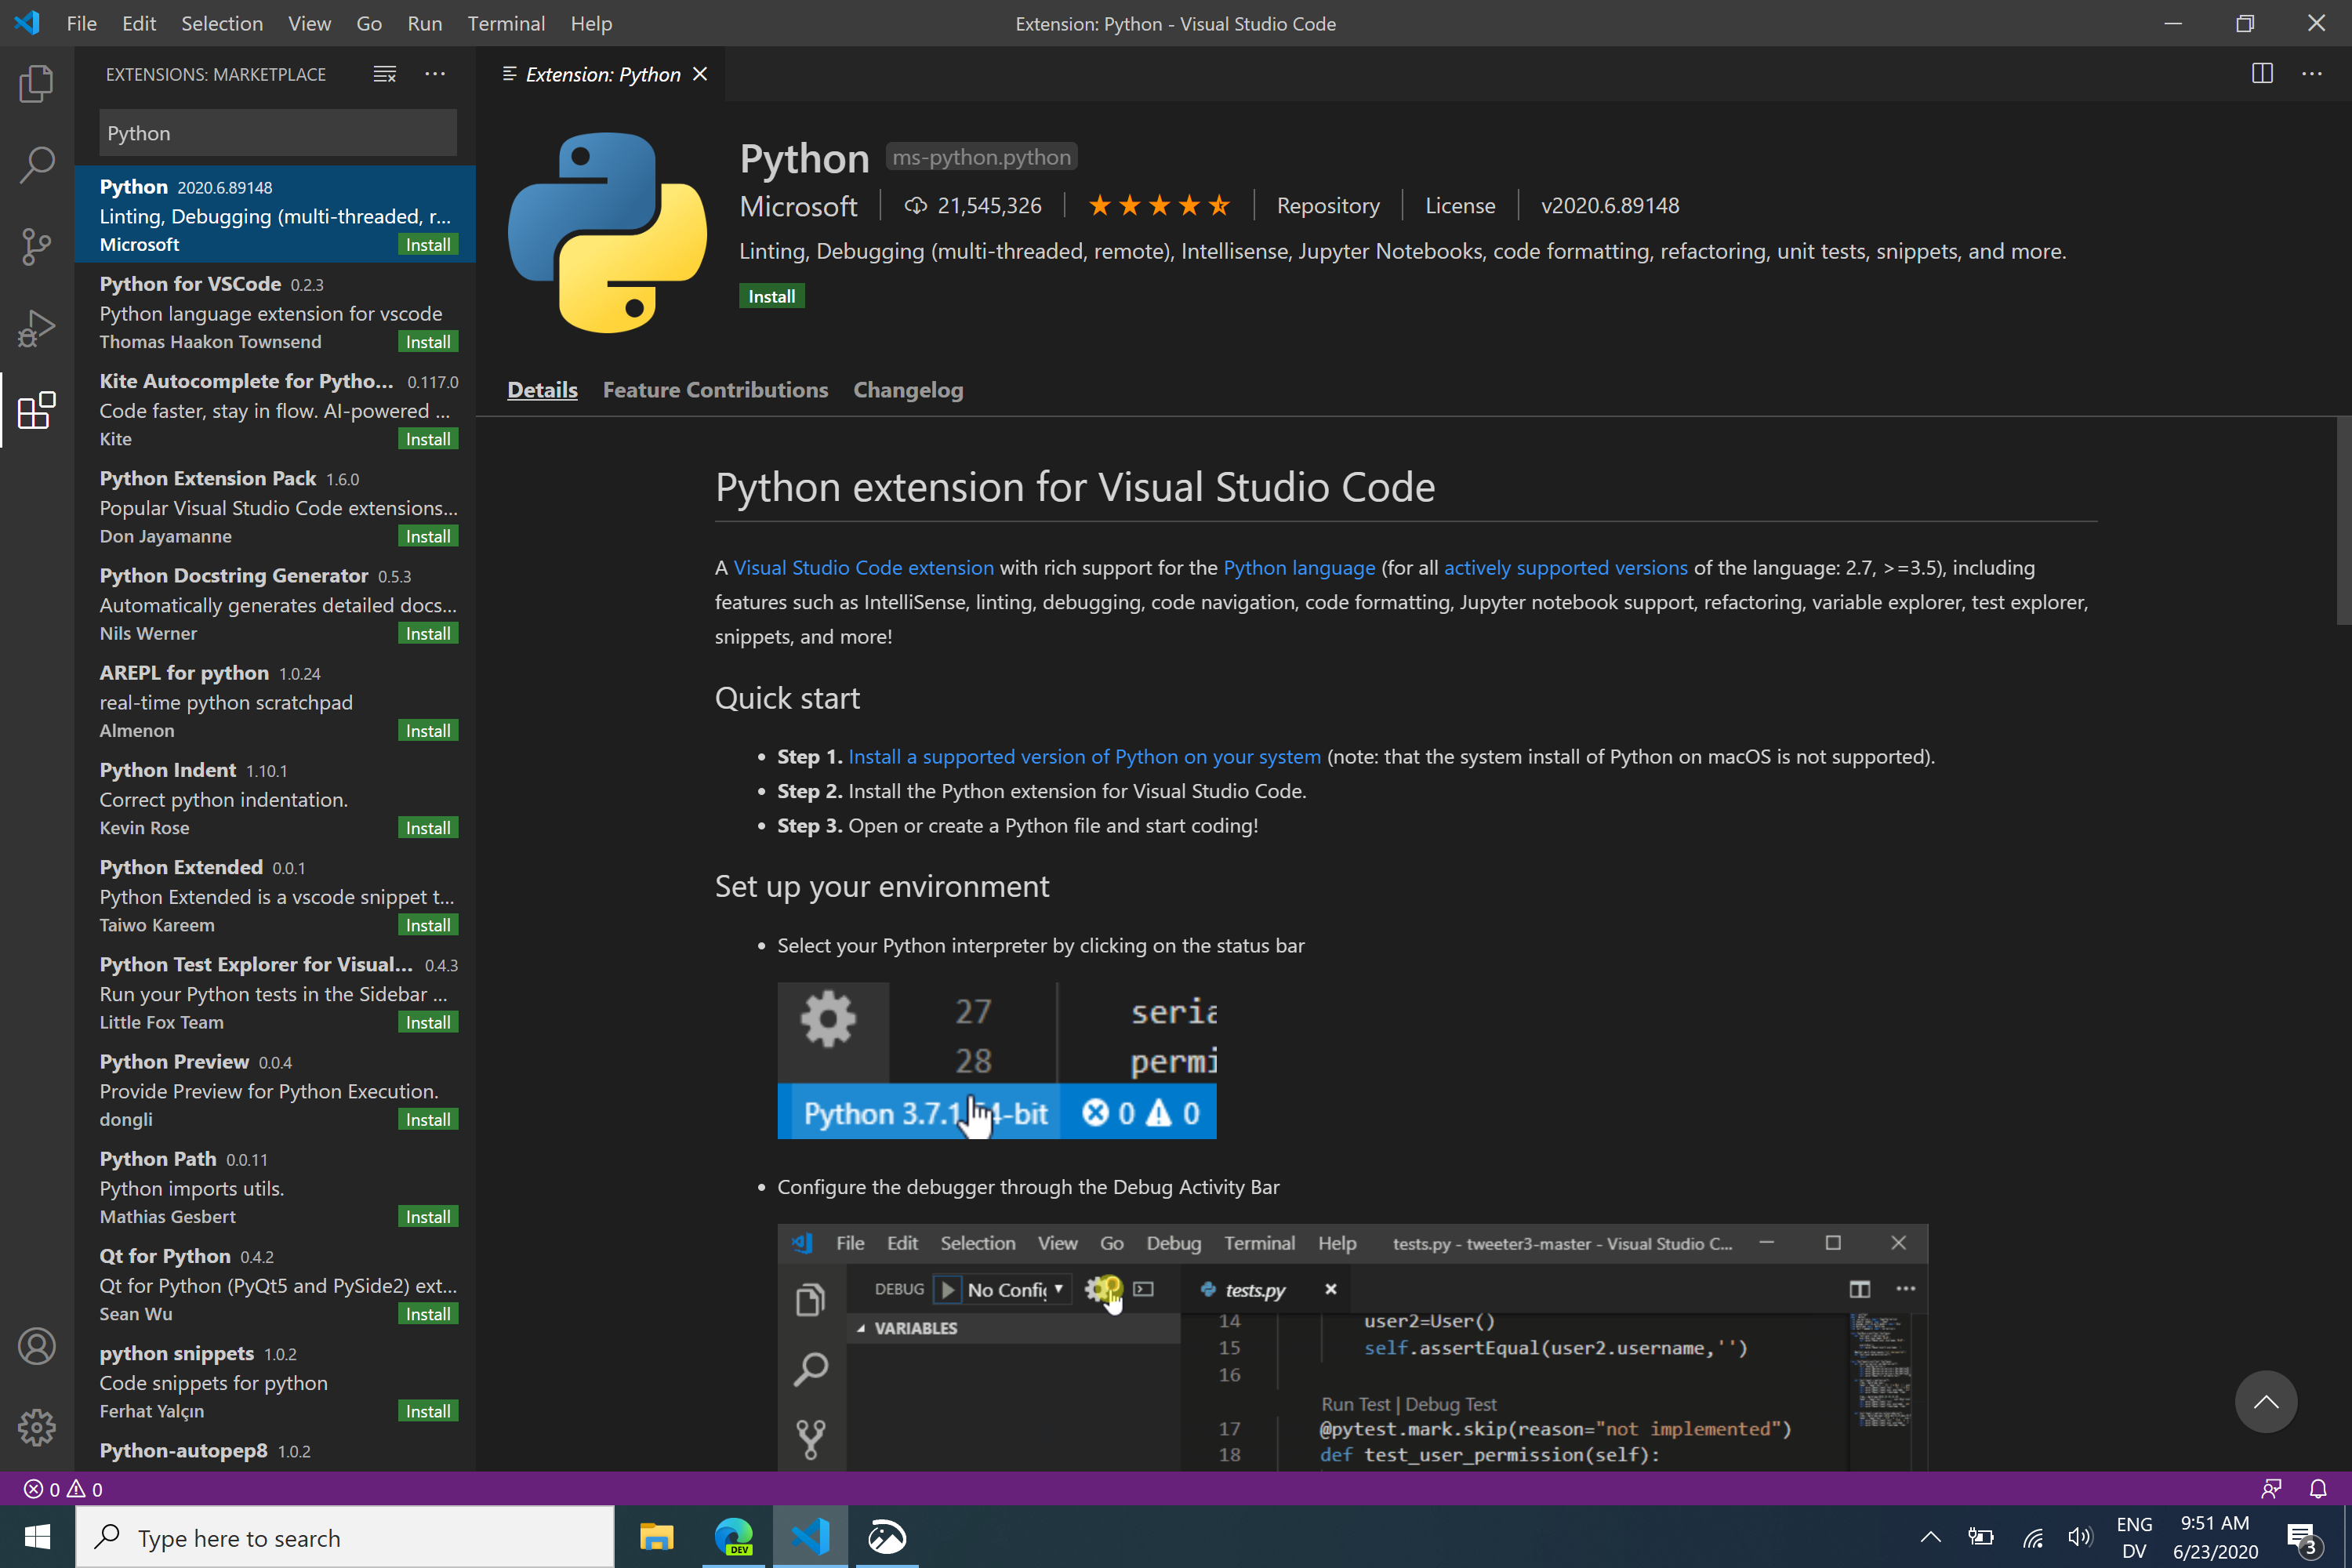
- Select the extension named “Python” created by Microsoft (it should be the first result). Click the green install button.
Python Black
Consistently formatted code is easier to read, better for collaboration, and more visually appealing. Formatting code by hand can be tedious, so we recommend installing Black, a Python auto-formatter which can automatically format your code.
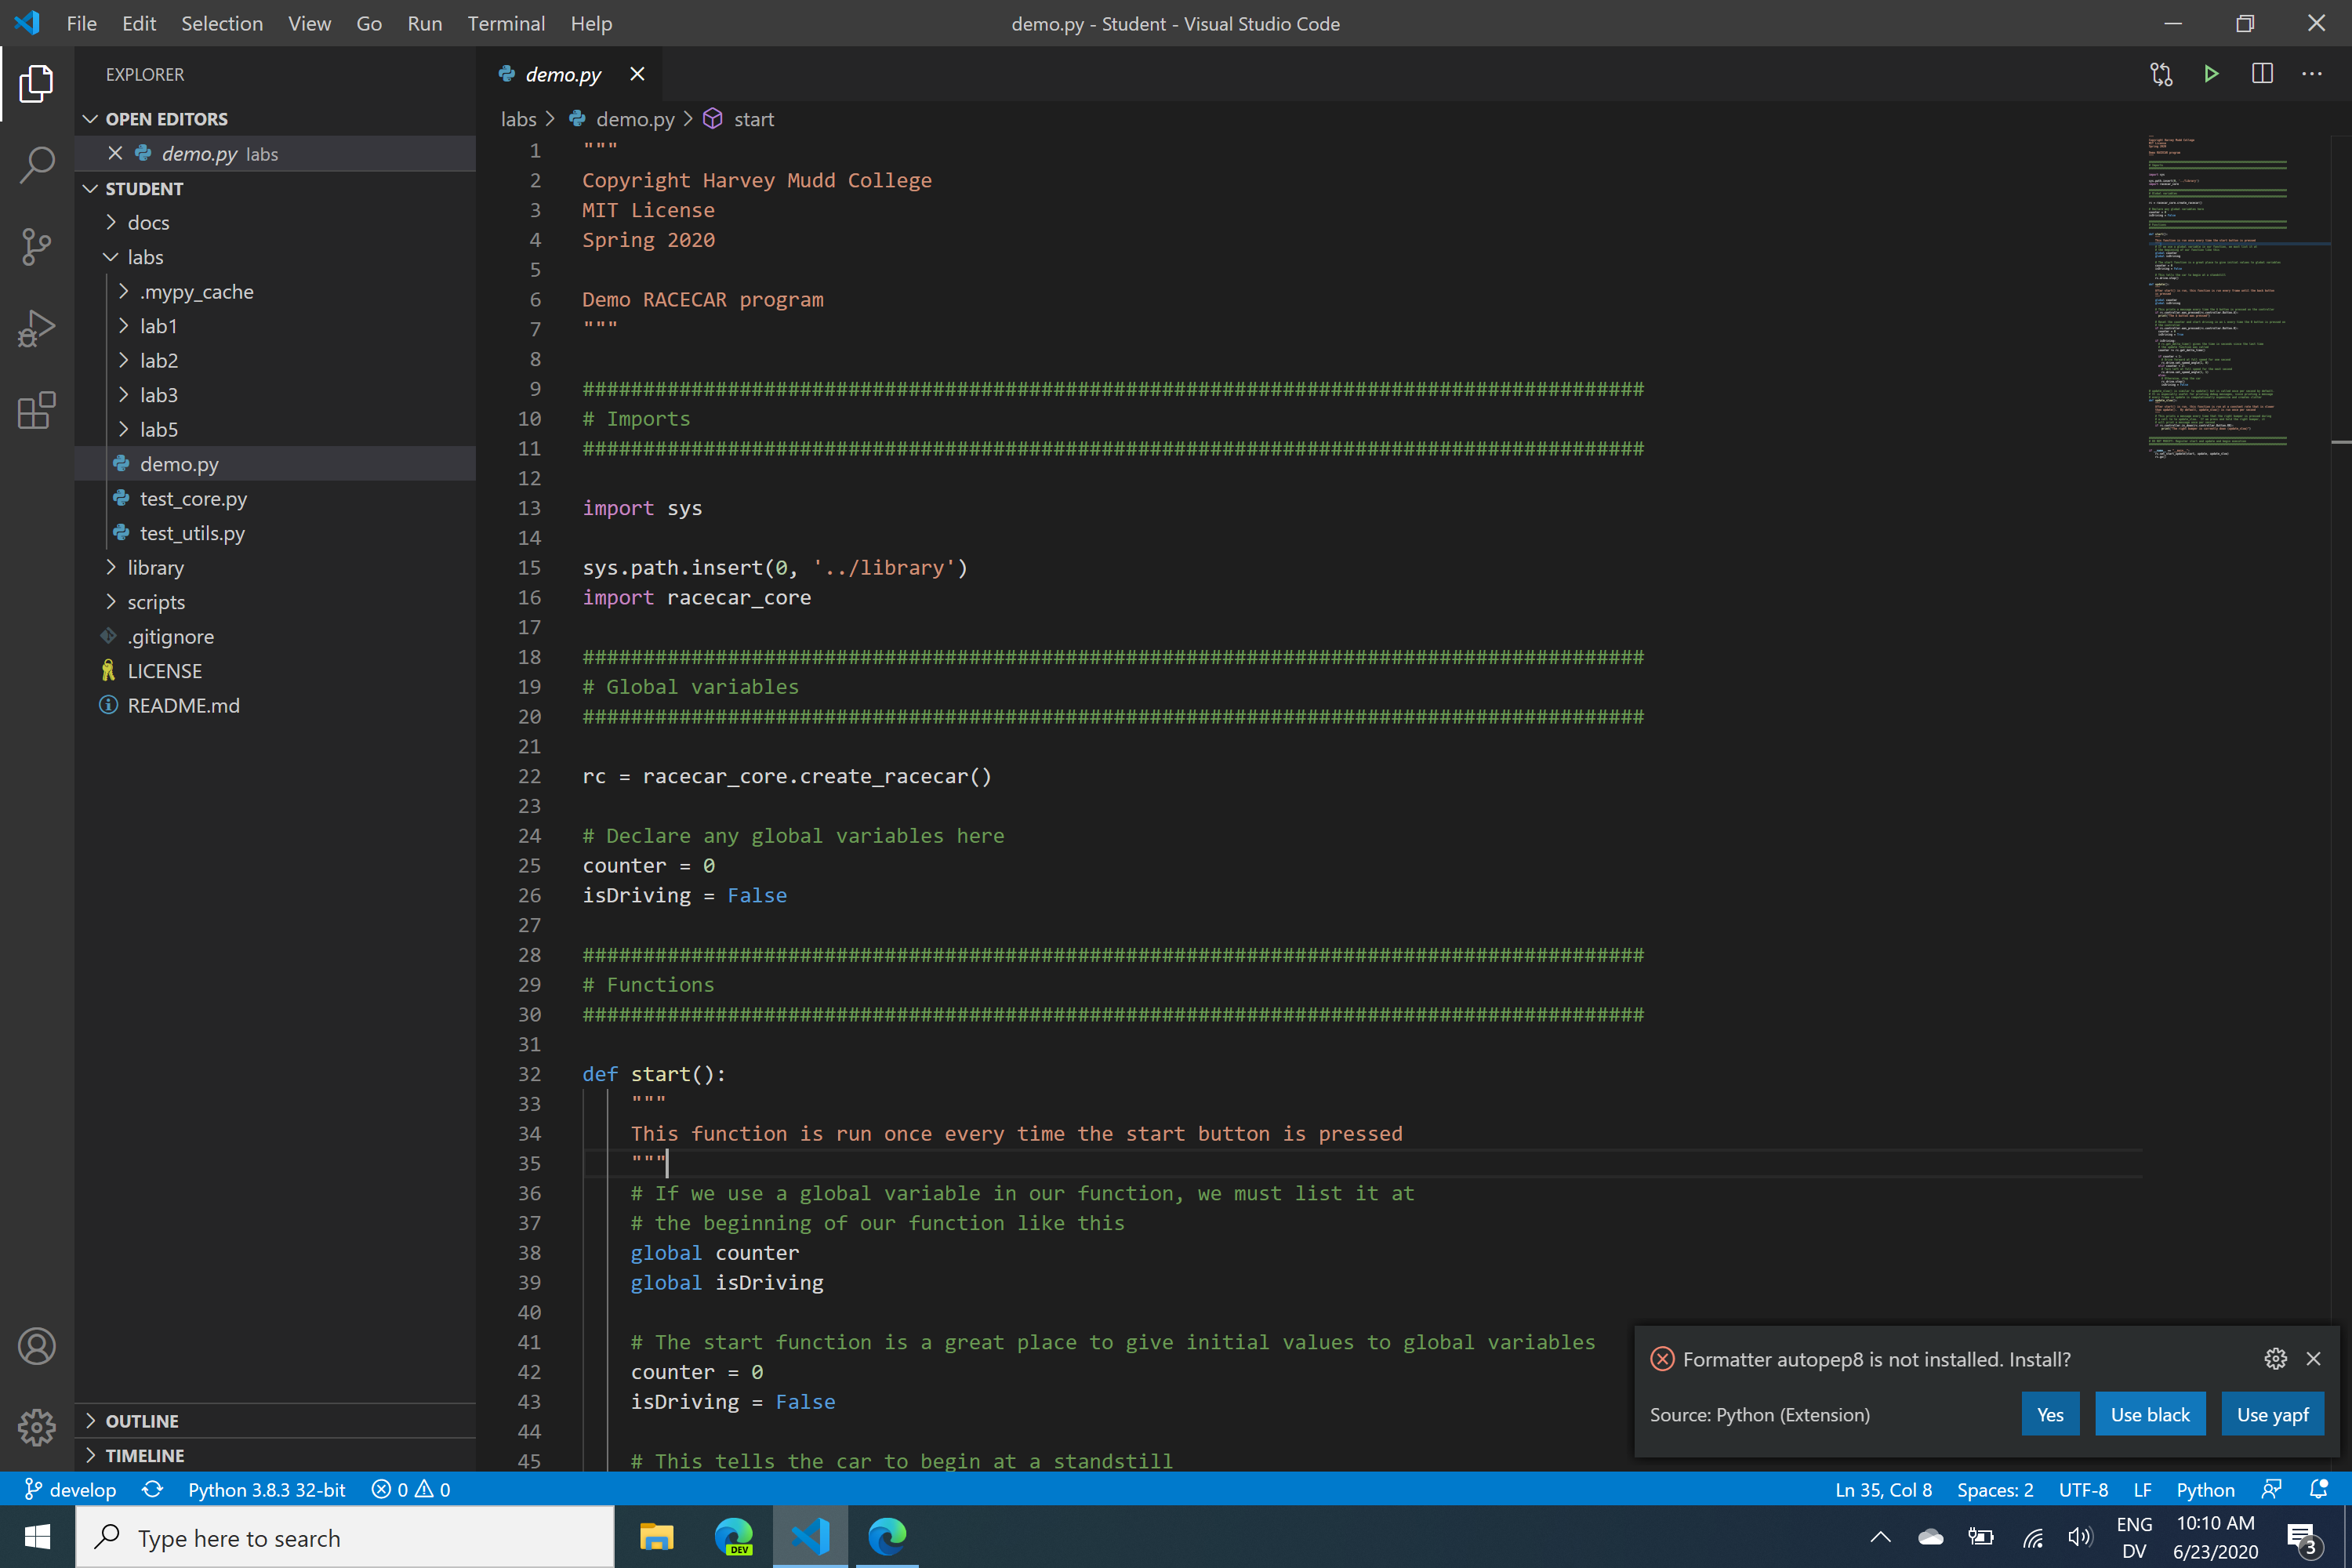
Open a Python file in VS Code (you can simply create a new file and name it temp.py). In this file, press Shift + Alt + F (Windows) or Shift + Option + F (Mac). In the bottom right of the screen, a message should appear saying “Formatter autopep8 is not installed. Install?”. We recommend Black over autopep8, so click the Use black button on the message.
This will automatically install black within Visual Studio Code. Once it is finished installing, you can auto-format any Python file by pressing Shift + Alt + F (Windows) or Shift + Option + F (Mac).
Note
Black will not run if the Python code contains syntax errors. If you notice that Black is not running, check your code for syntax errors.
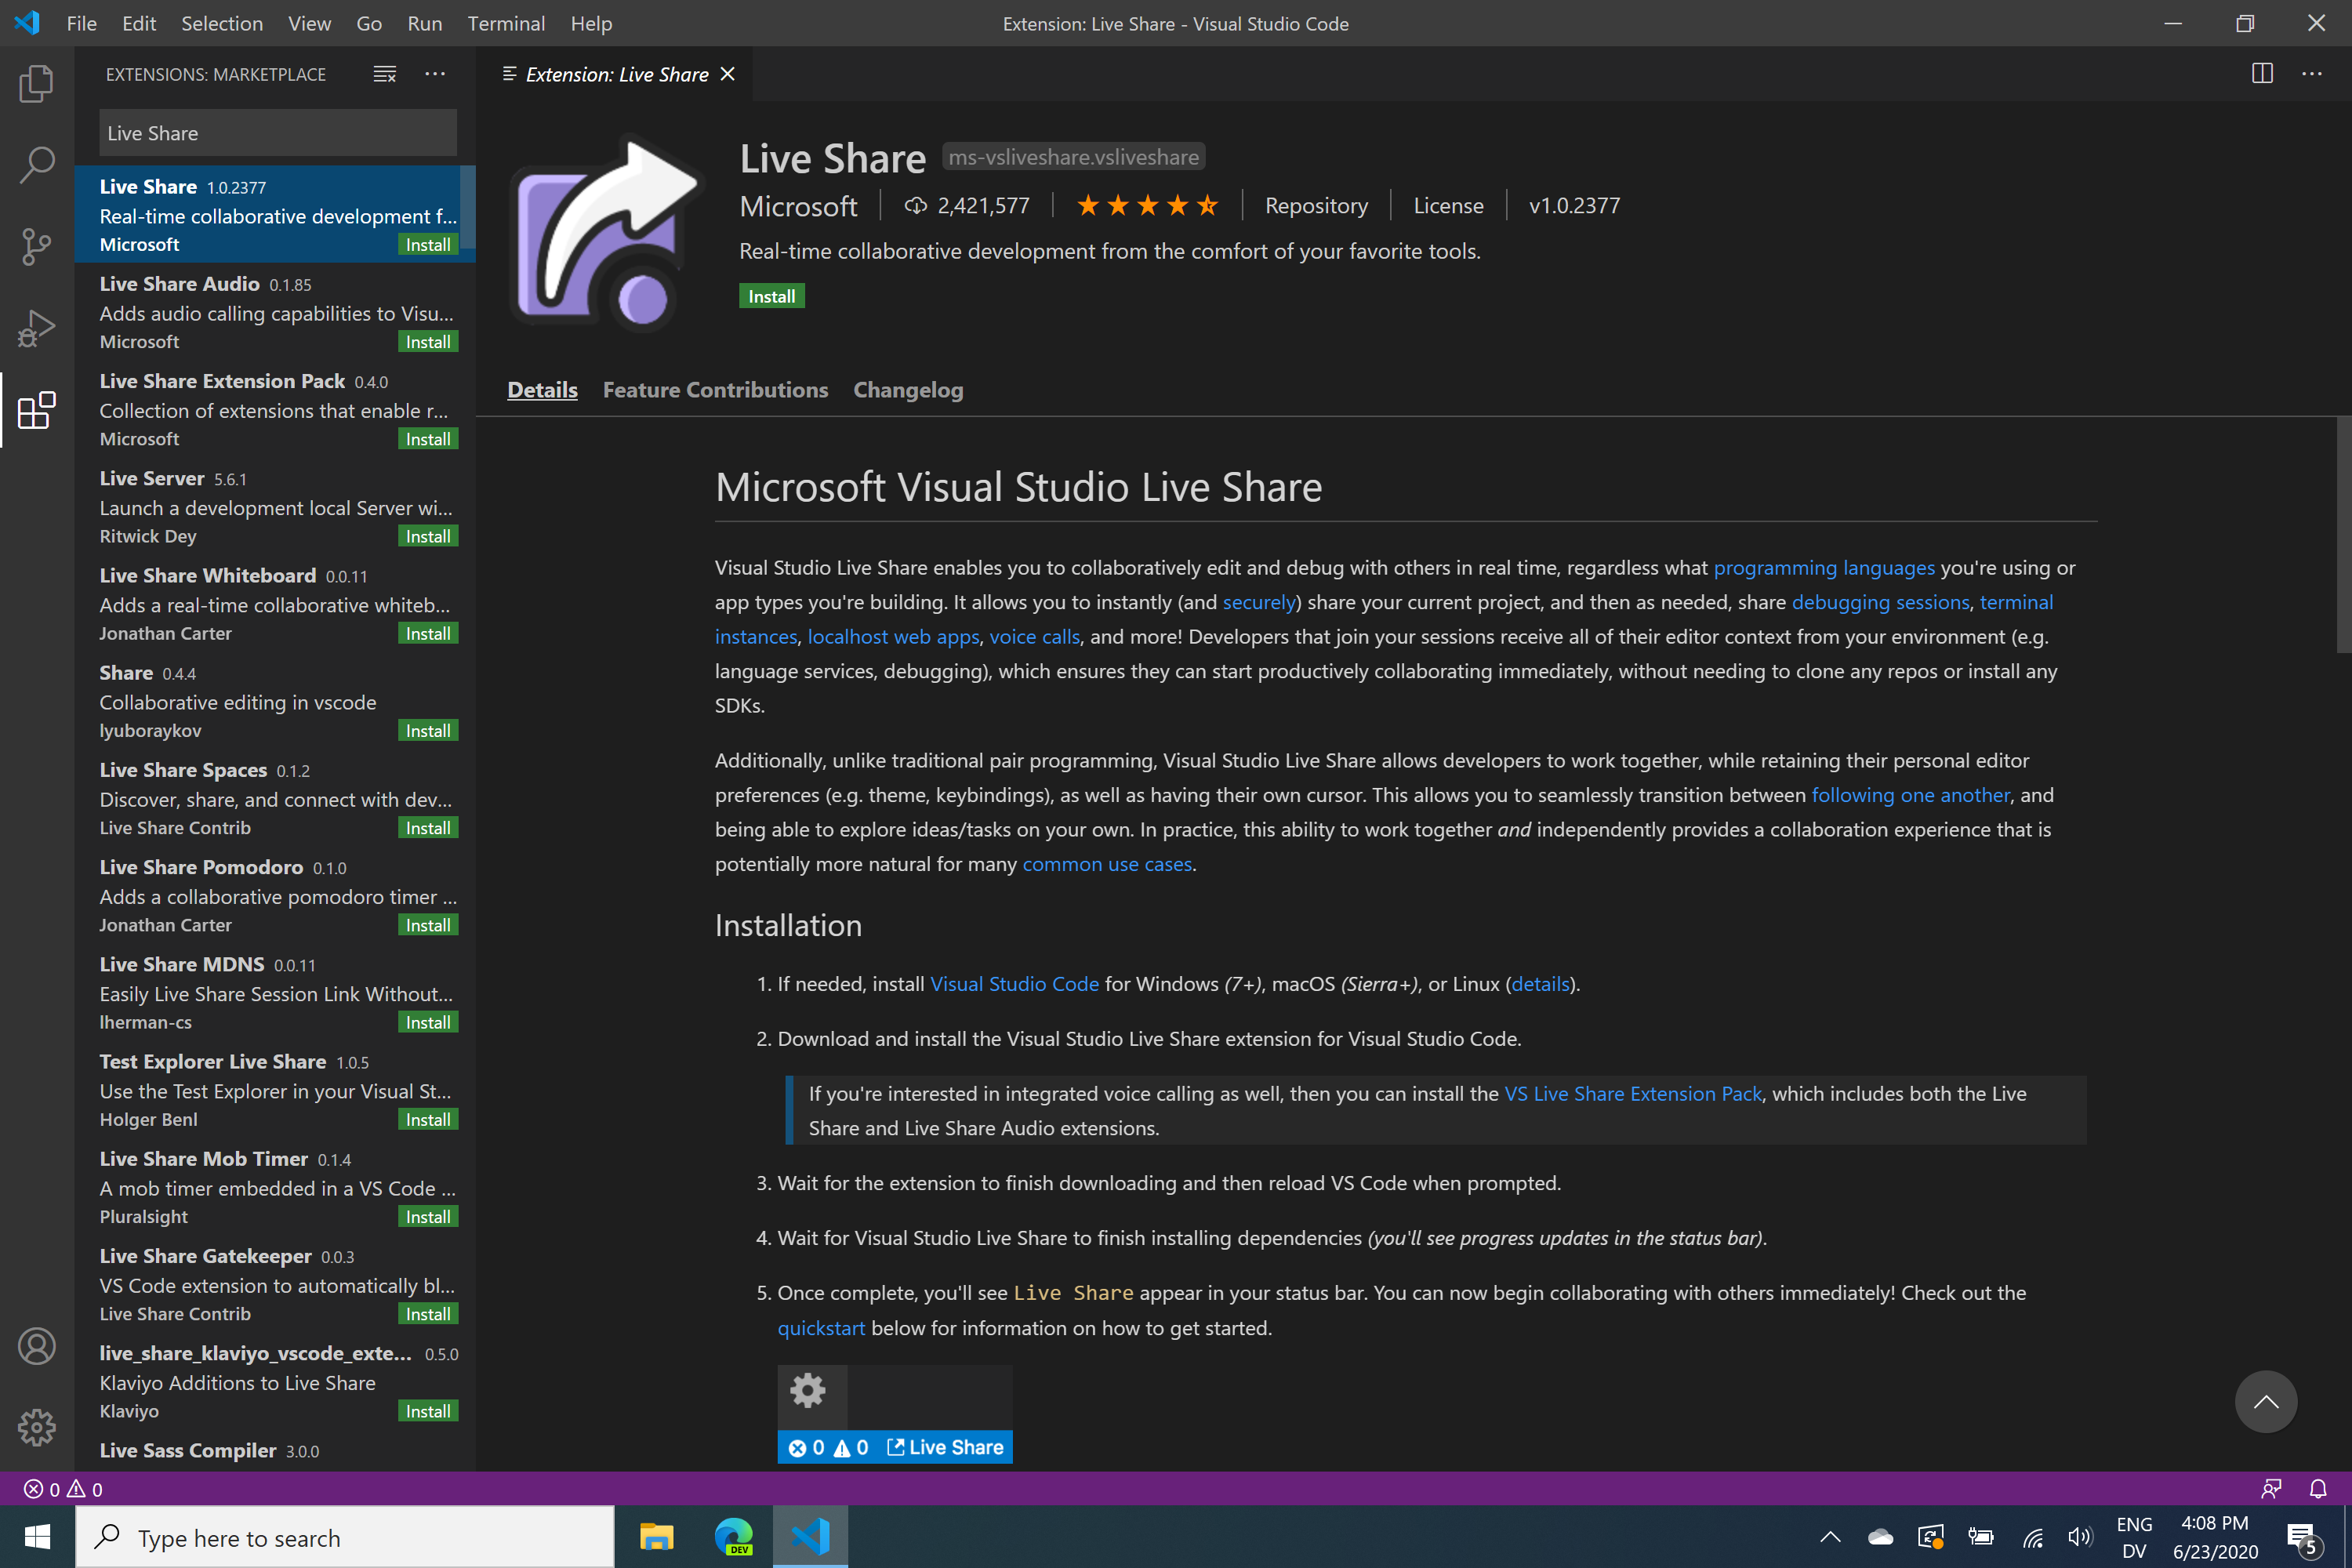
Live Share
VS Code Live Share allows multiple users to edit the same file simultaneously, just like a Google Doc. Install live share from the Extensions menu just like we installed the Python extension.
Spell Checker
If you wish to add a spell checker, we recommend the Code Spell Checker extension by Street Side Software. It properly handles camelCase and snake_case, making it useful for checking both comments and variable names. Misspelled words are shown with a blue underline, and you can see suggestions by selecting the word and pressing Ctrl + ..
Optional Customizations
Ruler
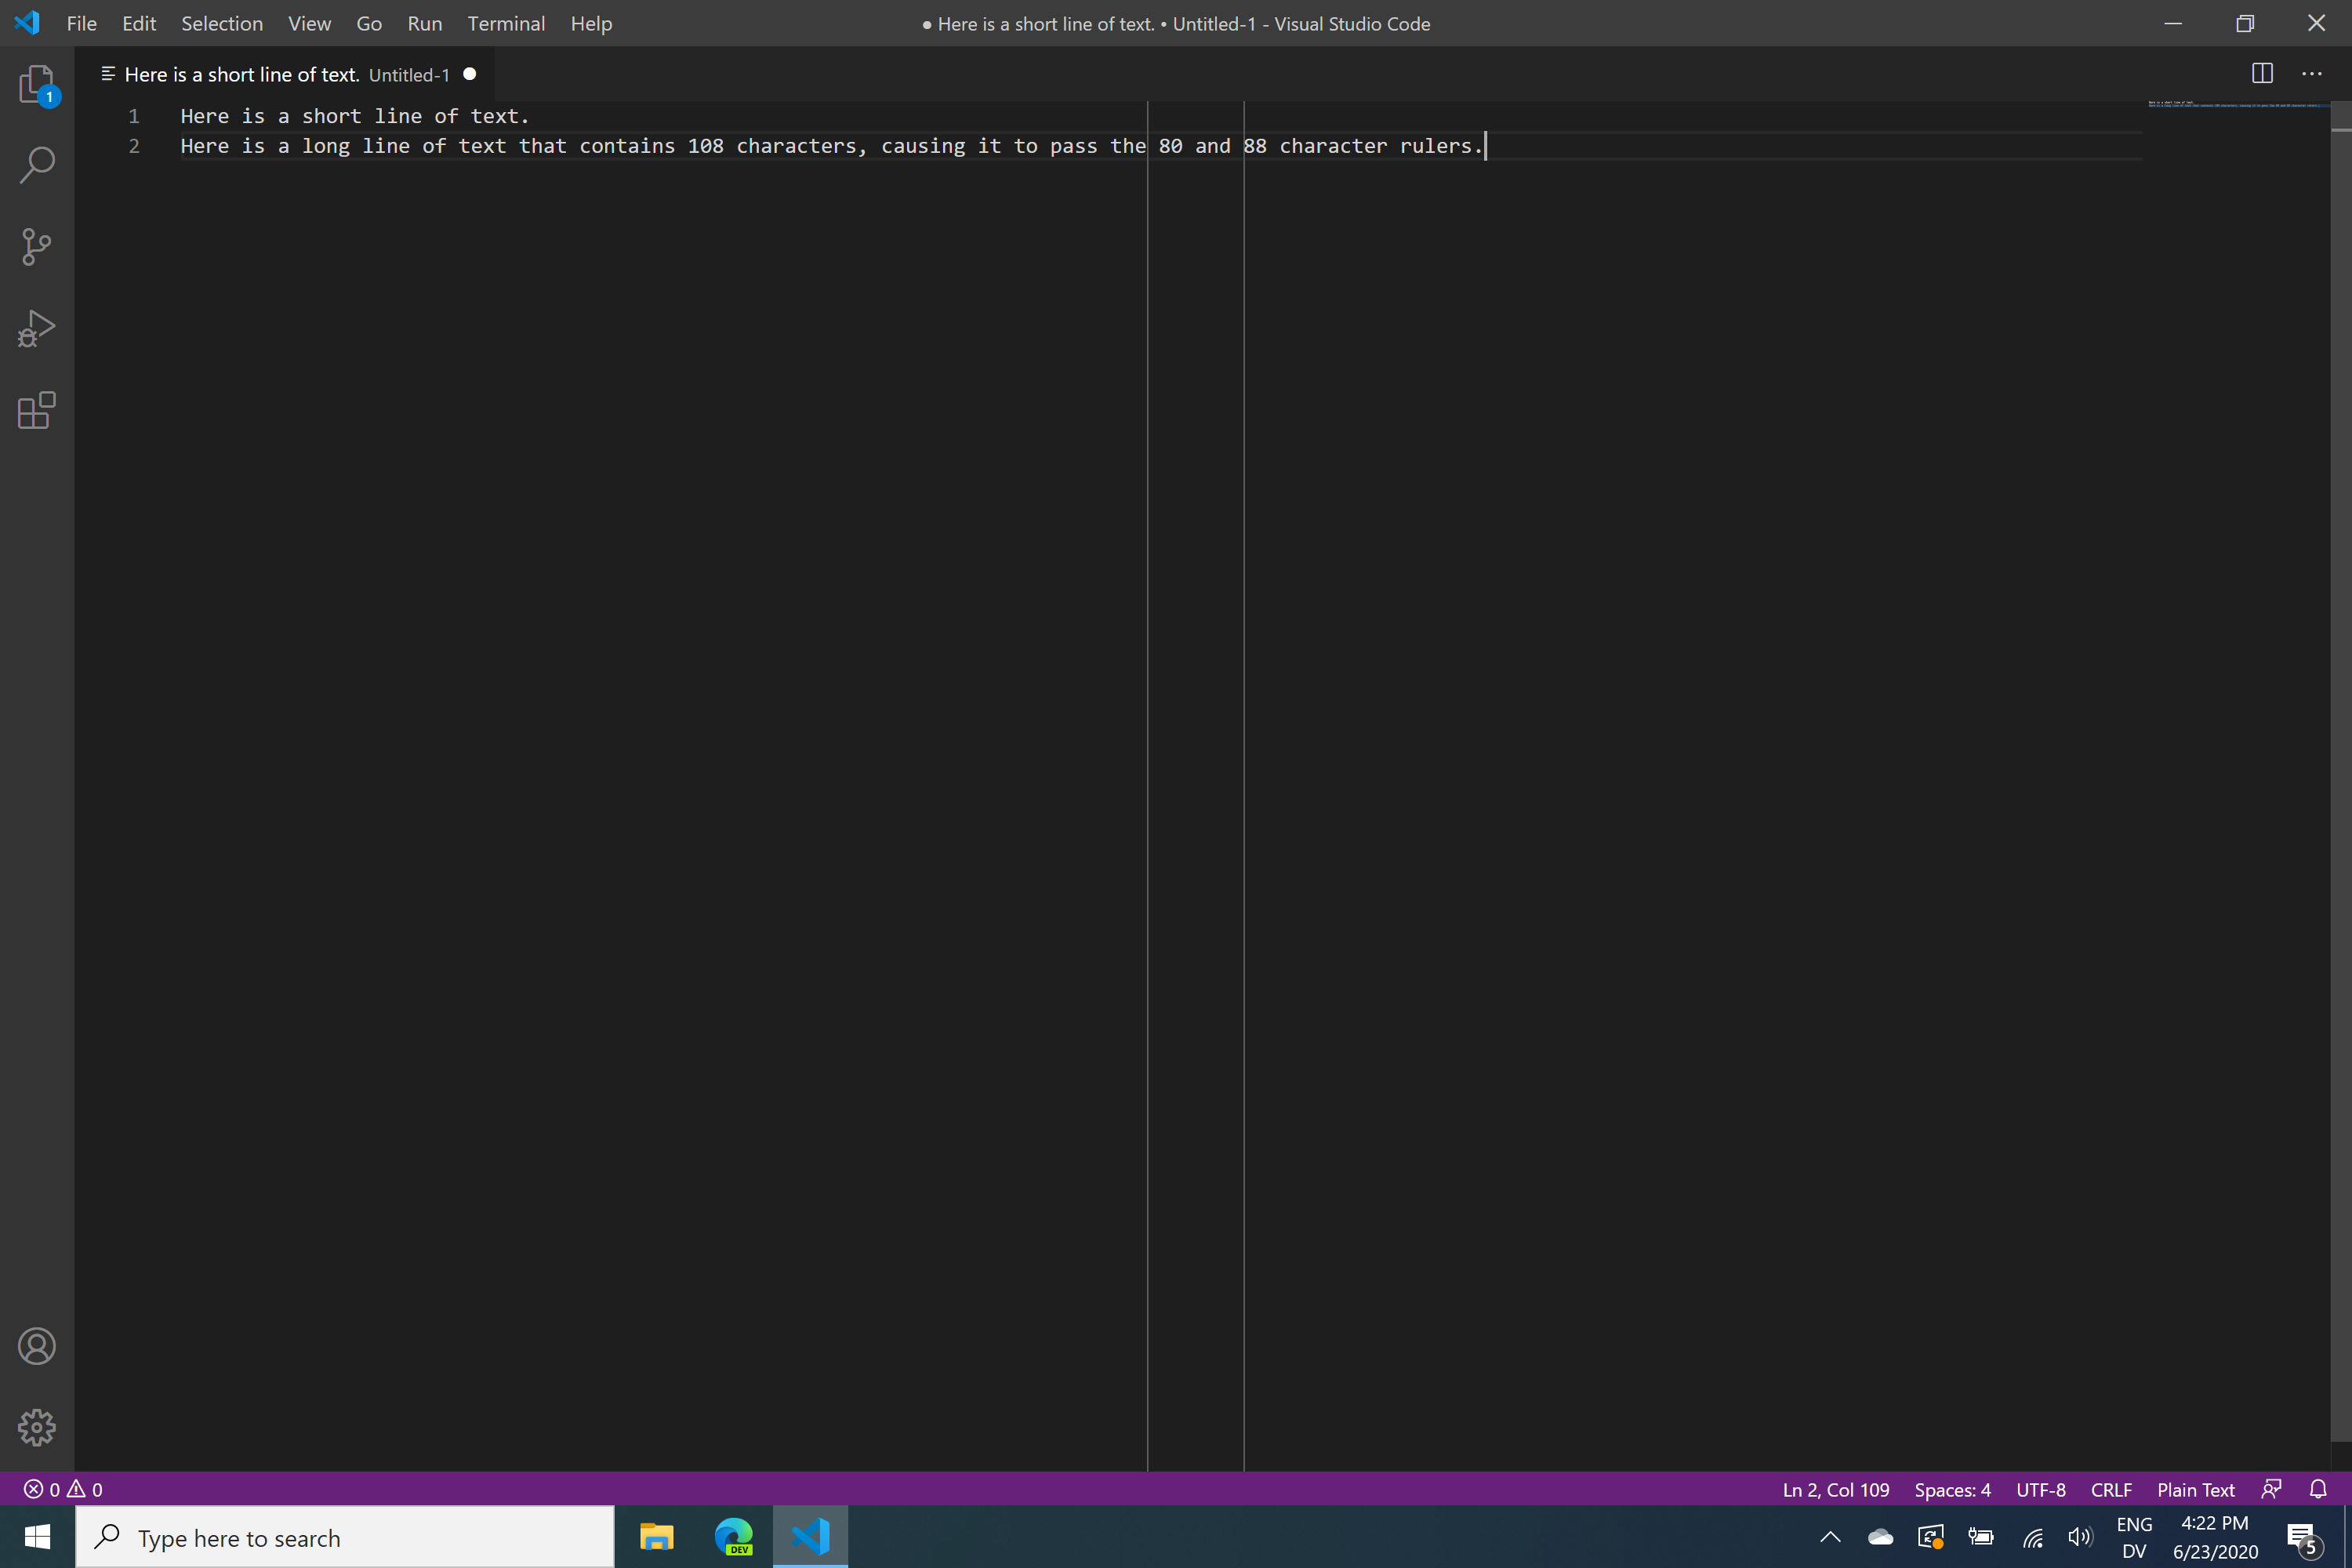
Python Black formats lines of code to contain at most 88 characters. To help visualize this boundary, we can add a “ruler” in VS Code.
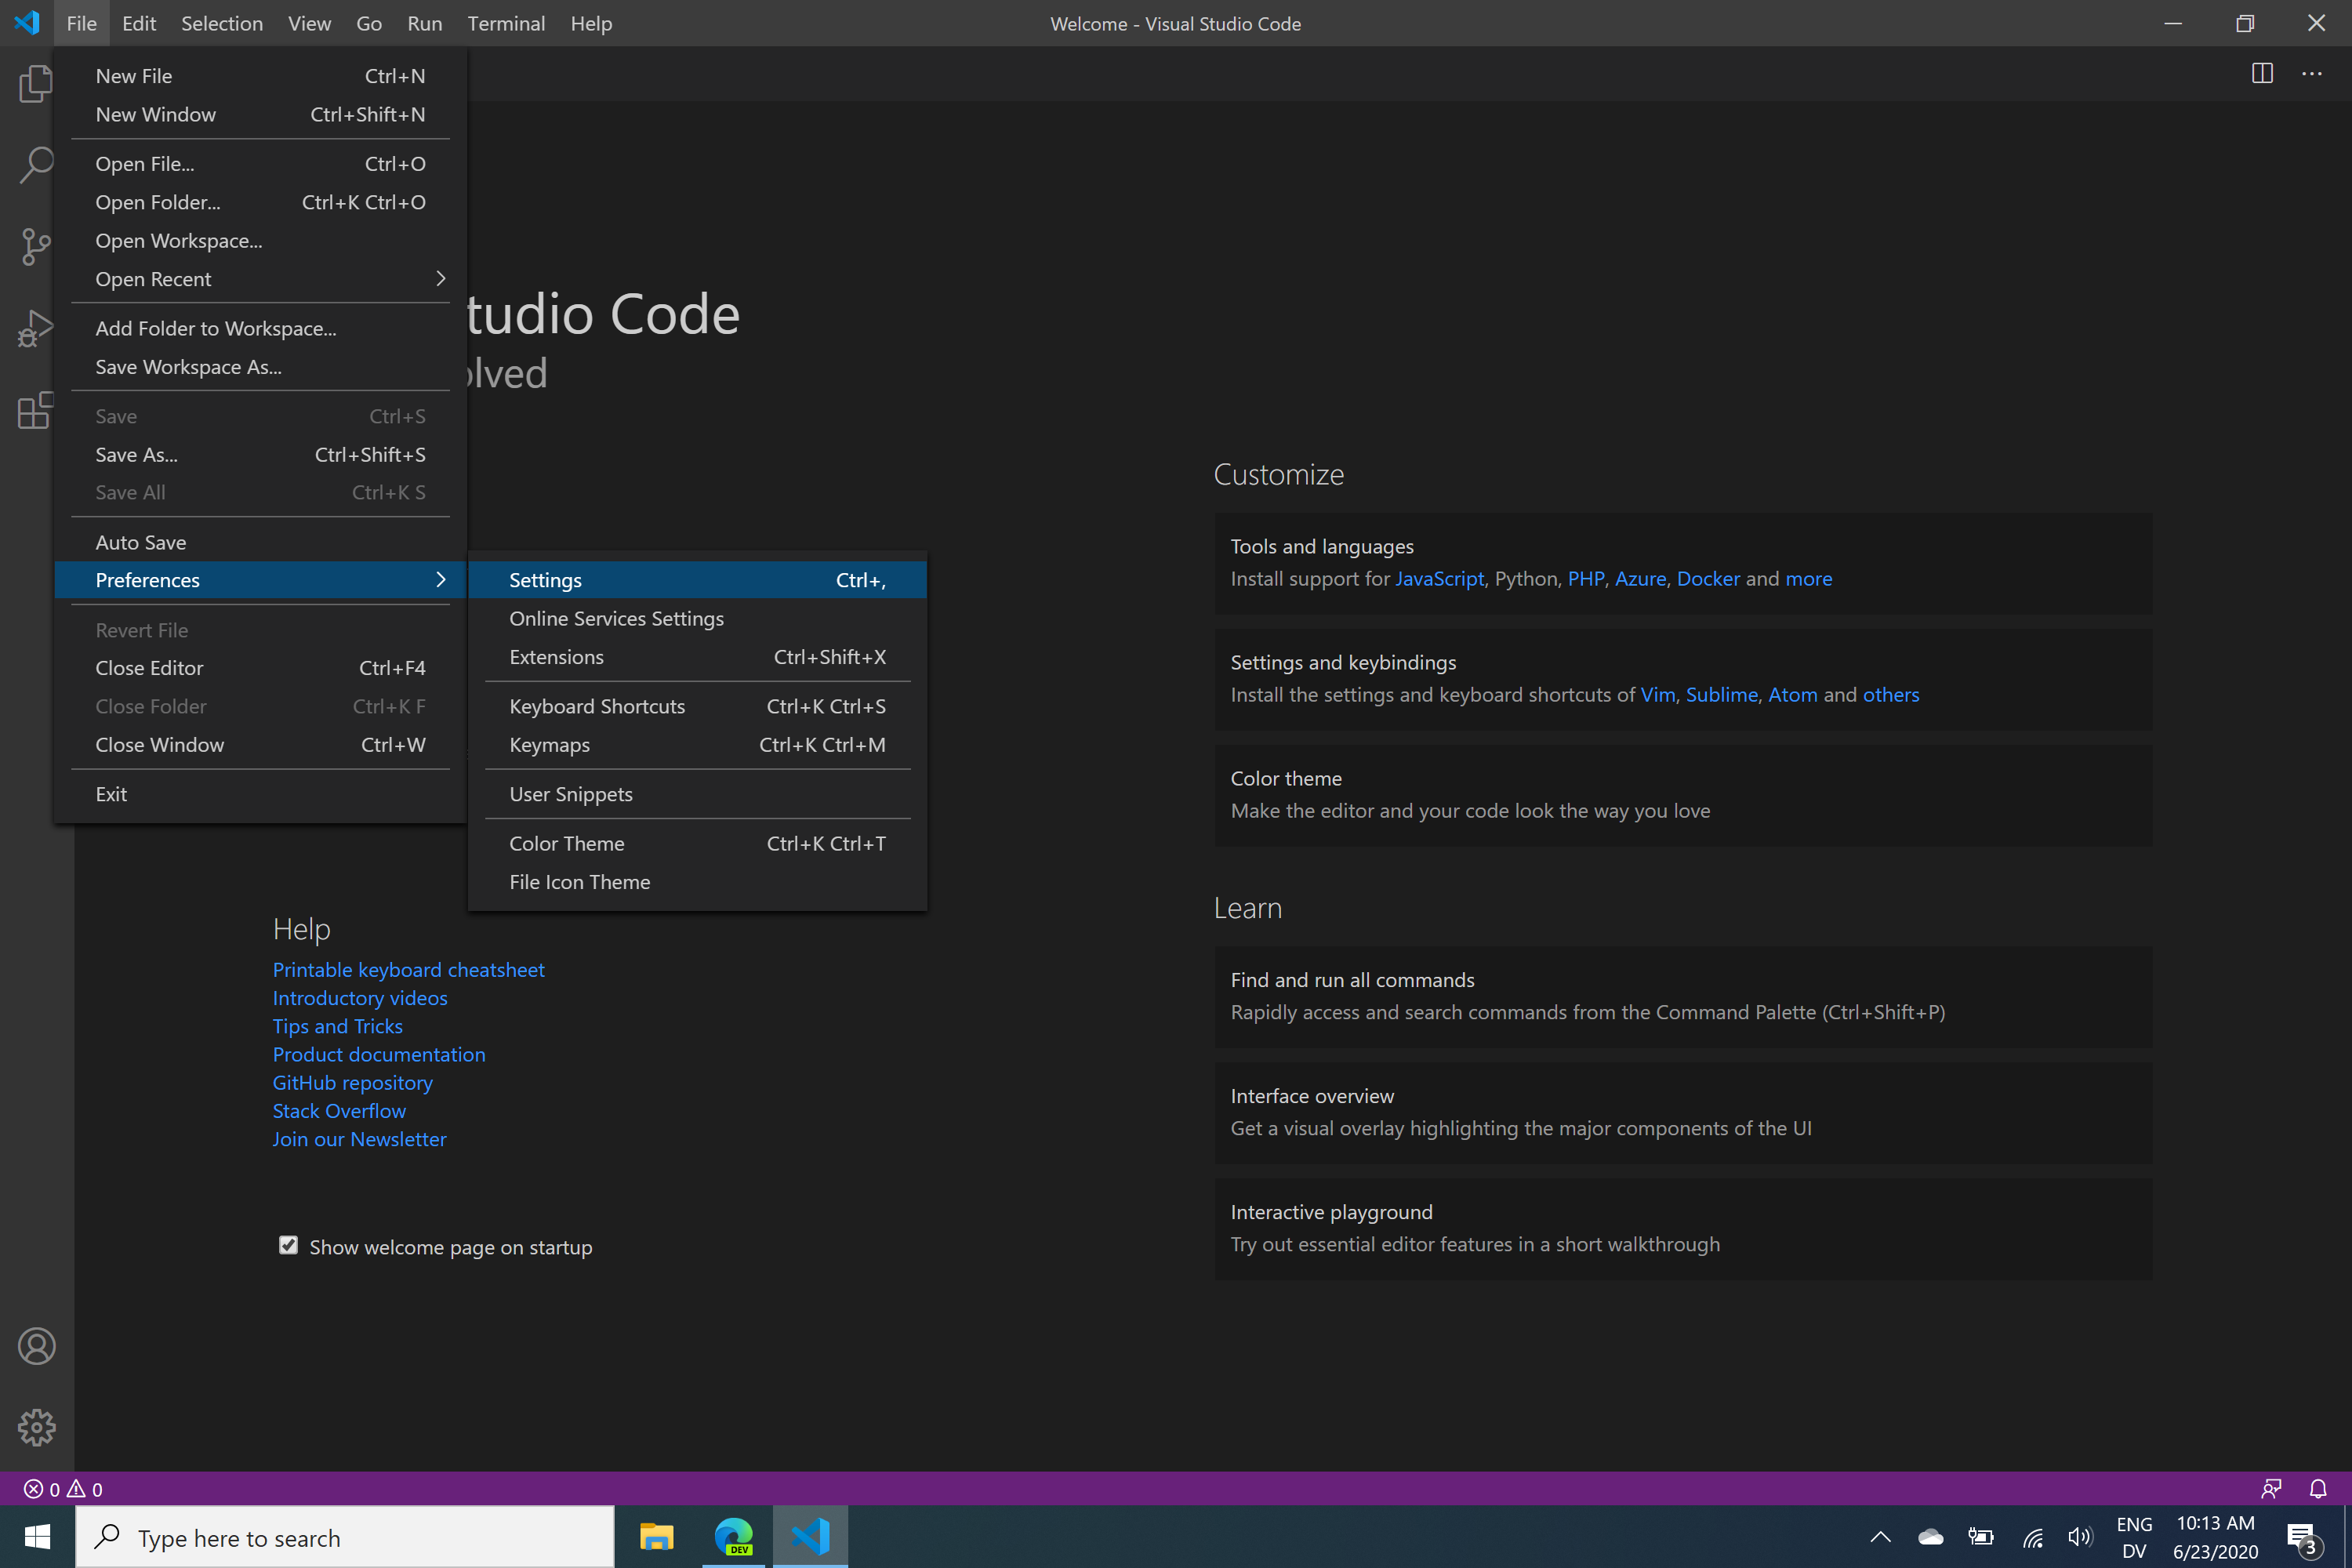
- Go to
File -> Preferences -> Settings.
- In the “Search Settings” bar, type “editor.rulers” and the “Editor: Rulers” setting should appear. Click
Edit in settings.json.

- This will open
settings.json, where you can specify the character columns at which to add rulers. For example, to add one ruler at 80 characters and one at 88 characters, add the line"editor.rulers": [80, 88].

- Save and close
settings.json. Now, you will see a thin gray line denoting the specified ruler(s).
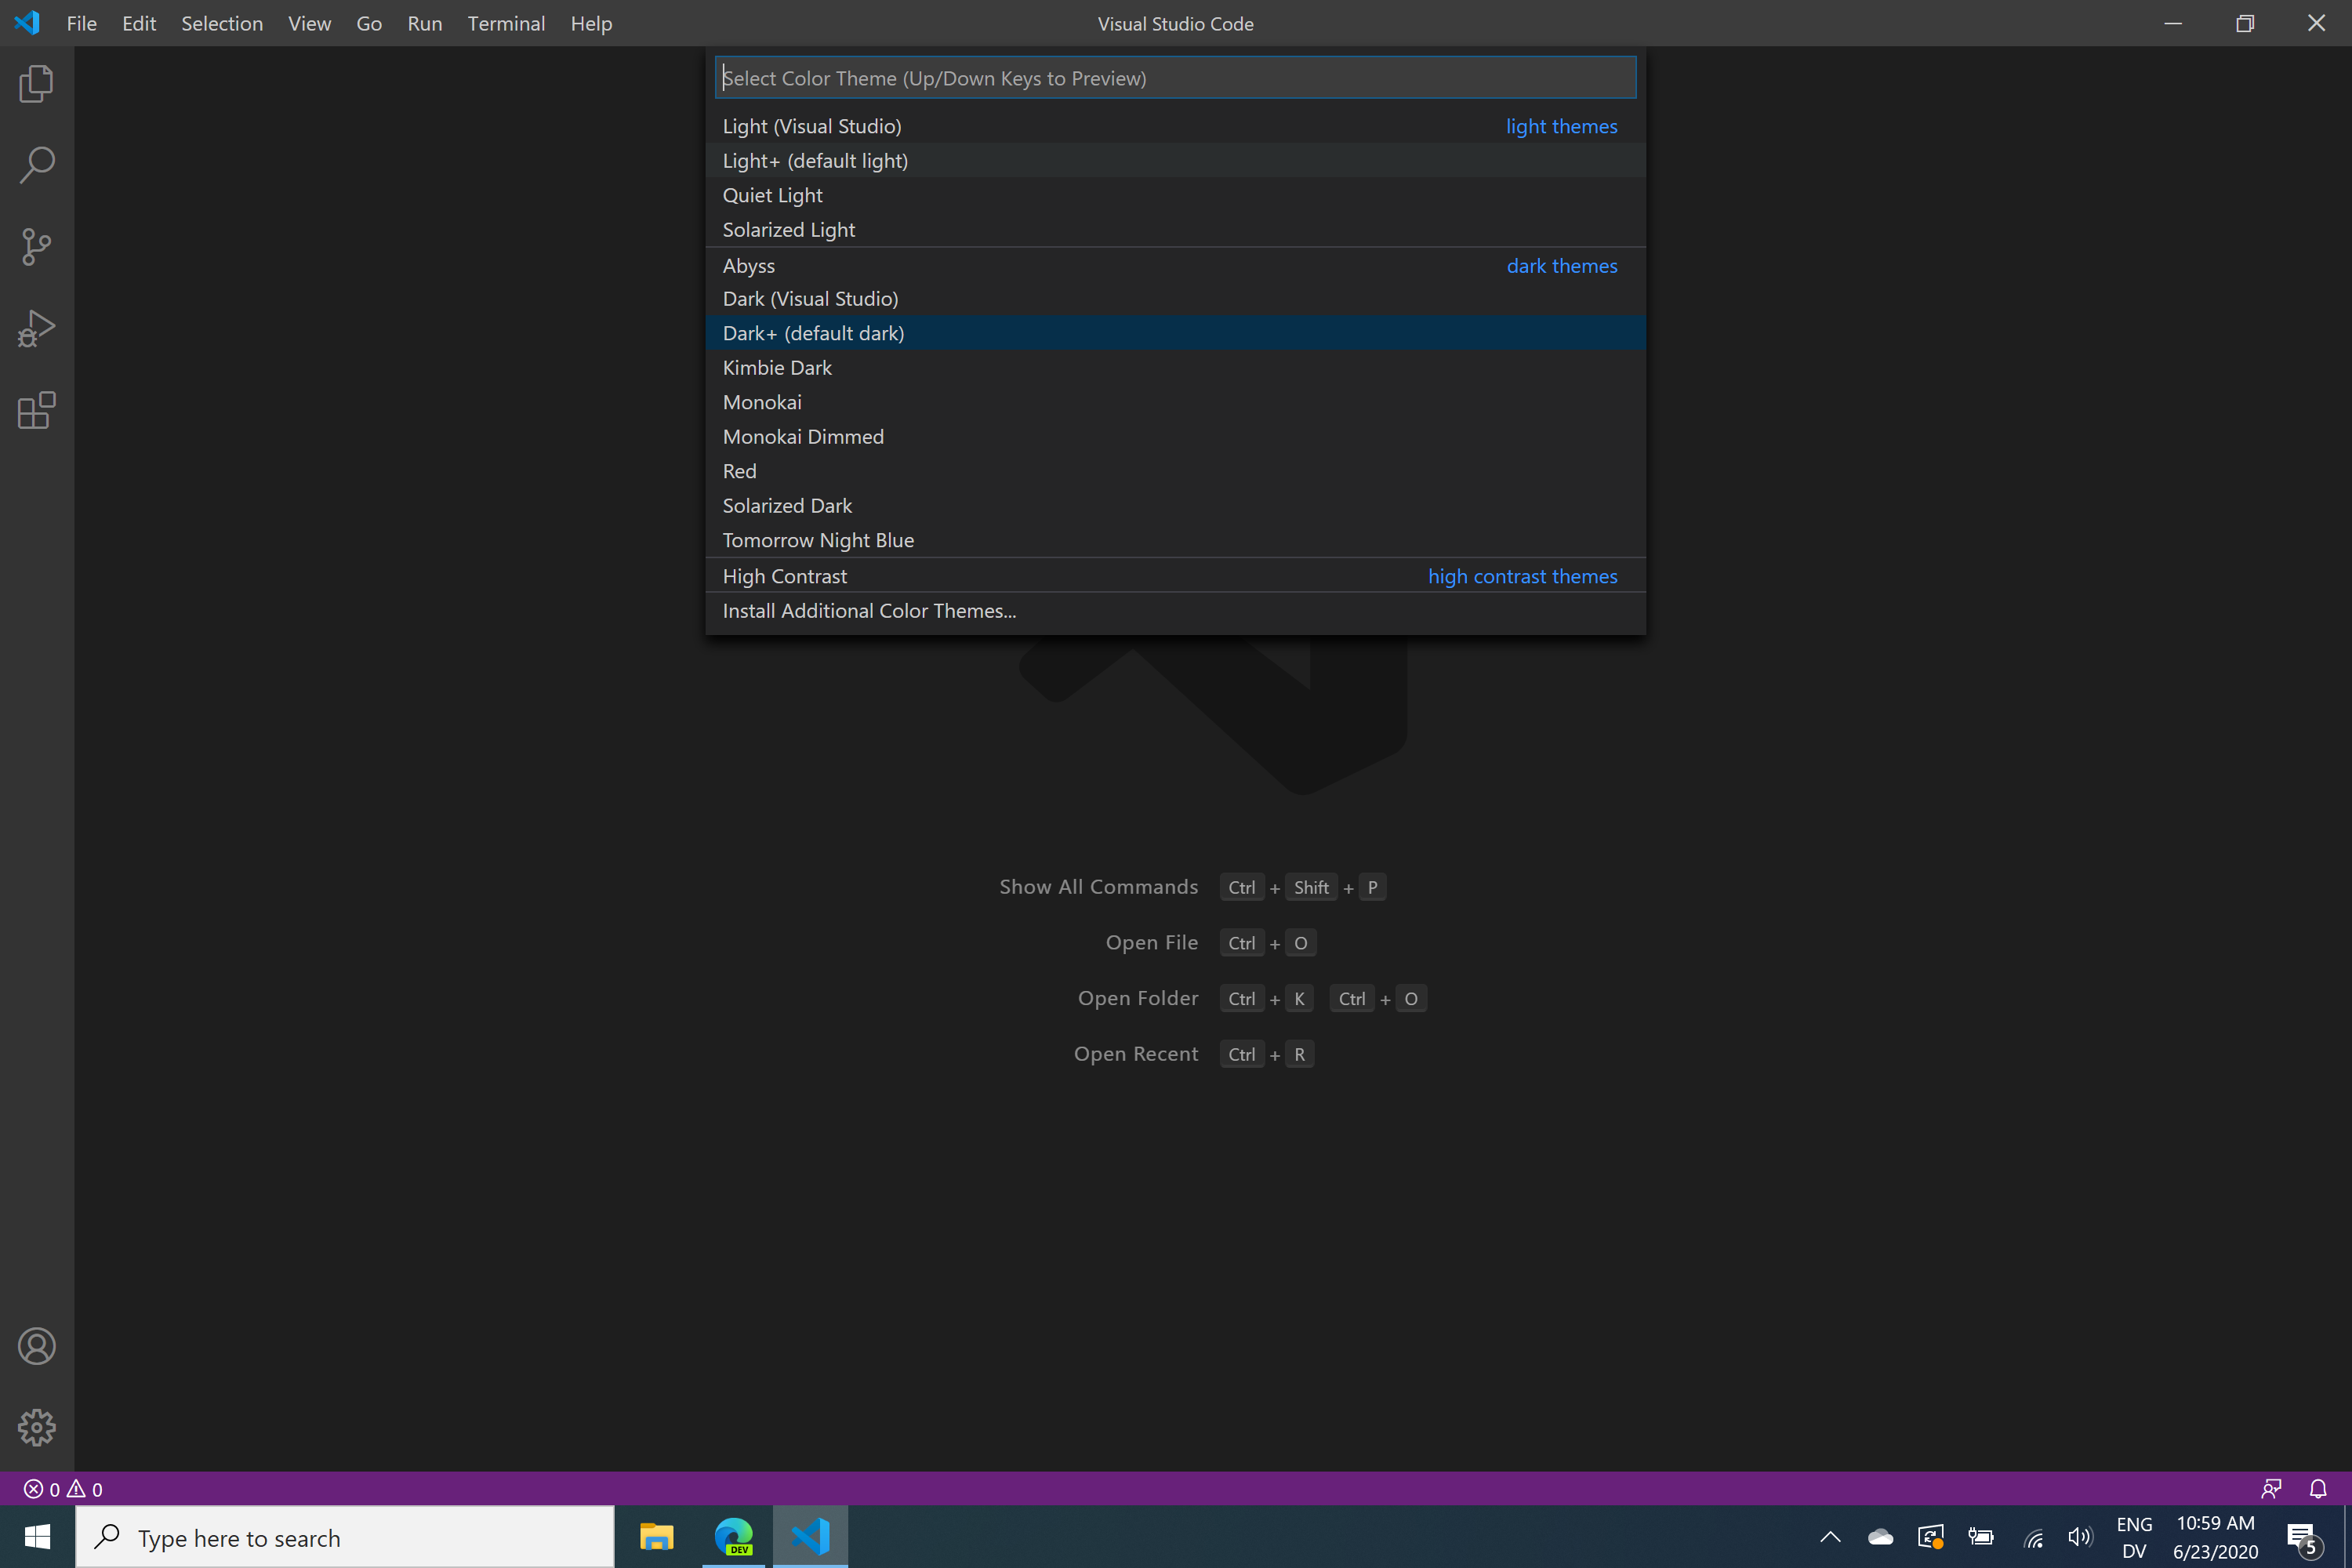
Color Theme
The Color Theme determines the colors used by VS Code, such as the background color and the syntax highlighting colors used in code files.
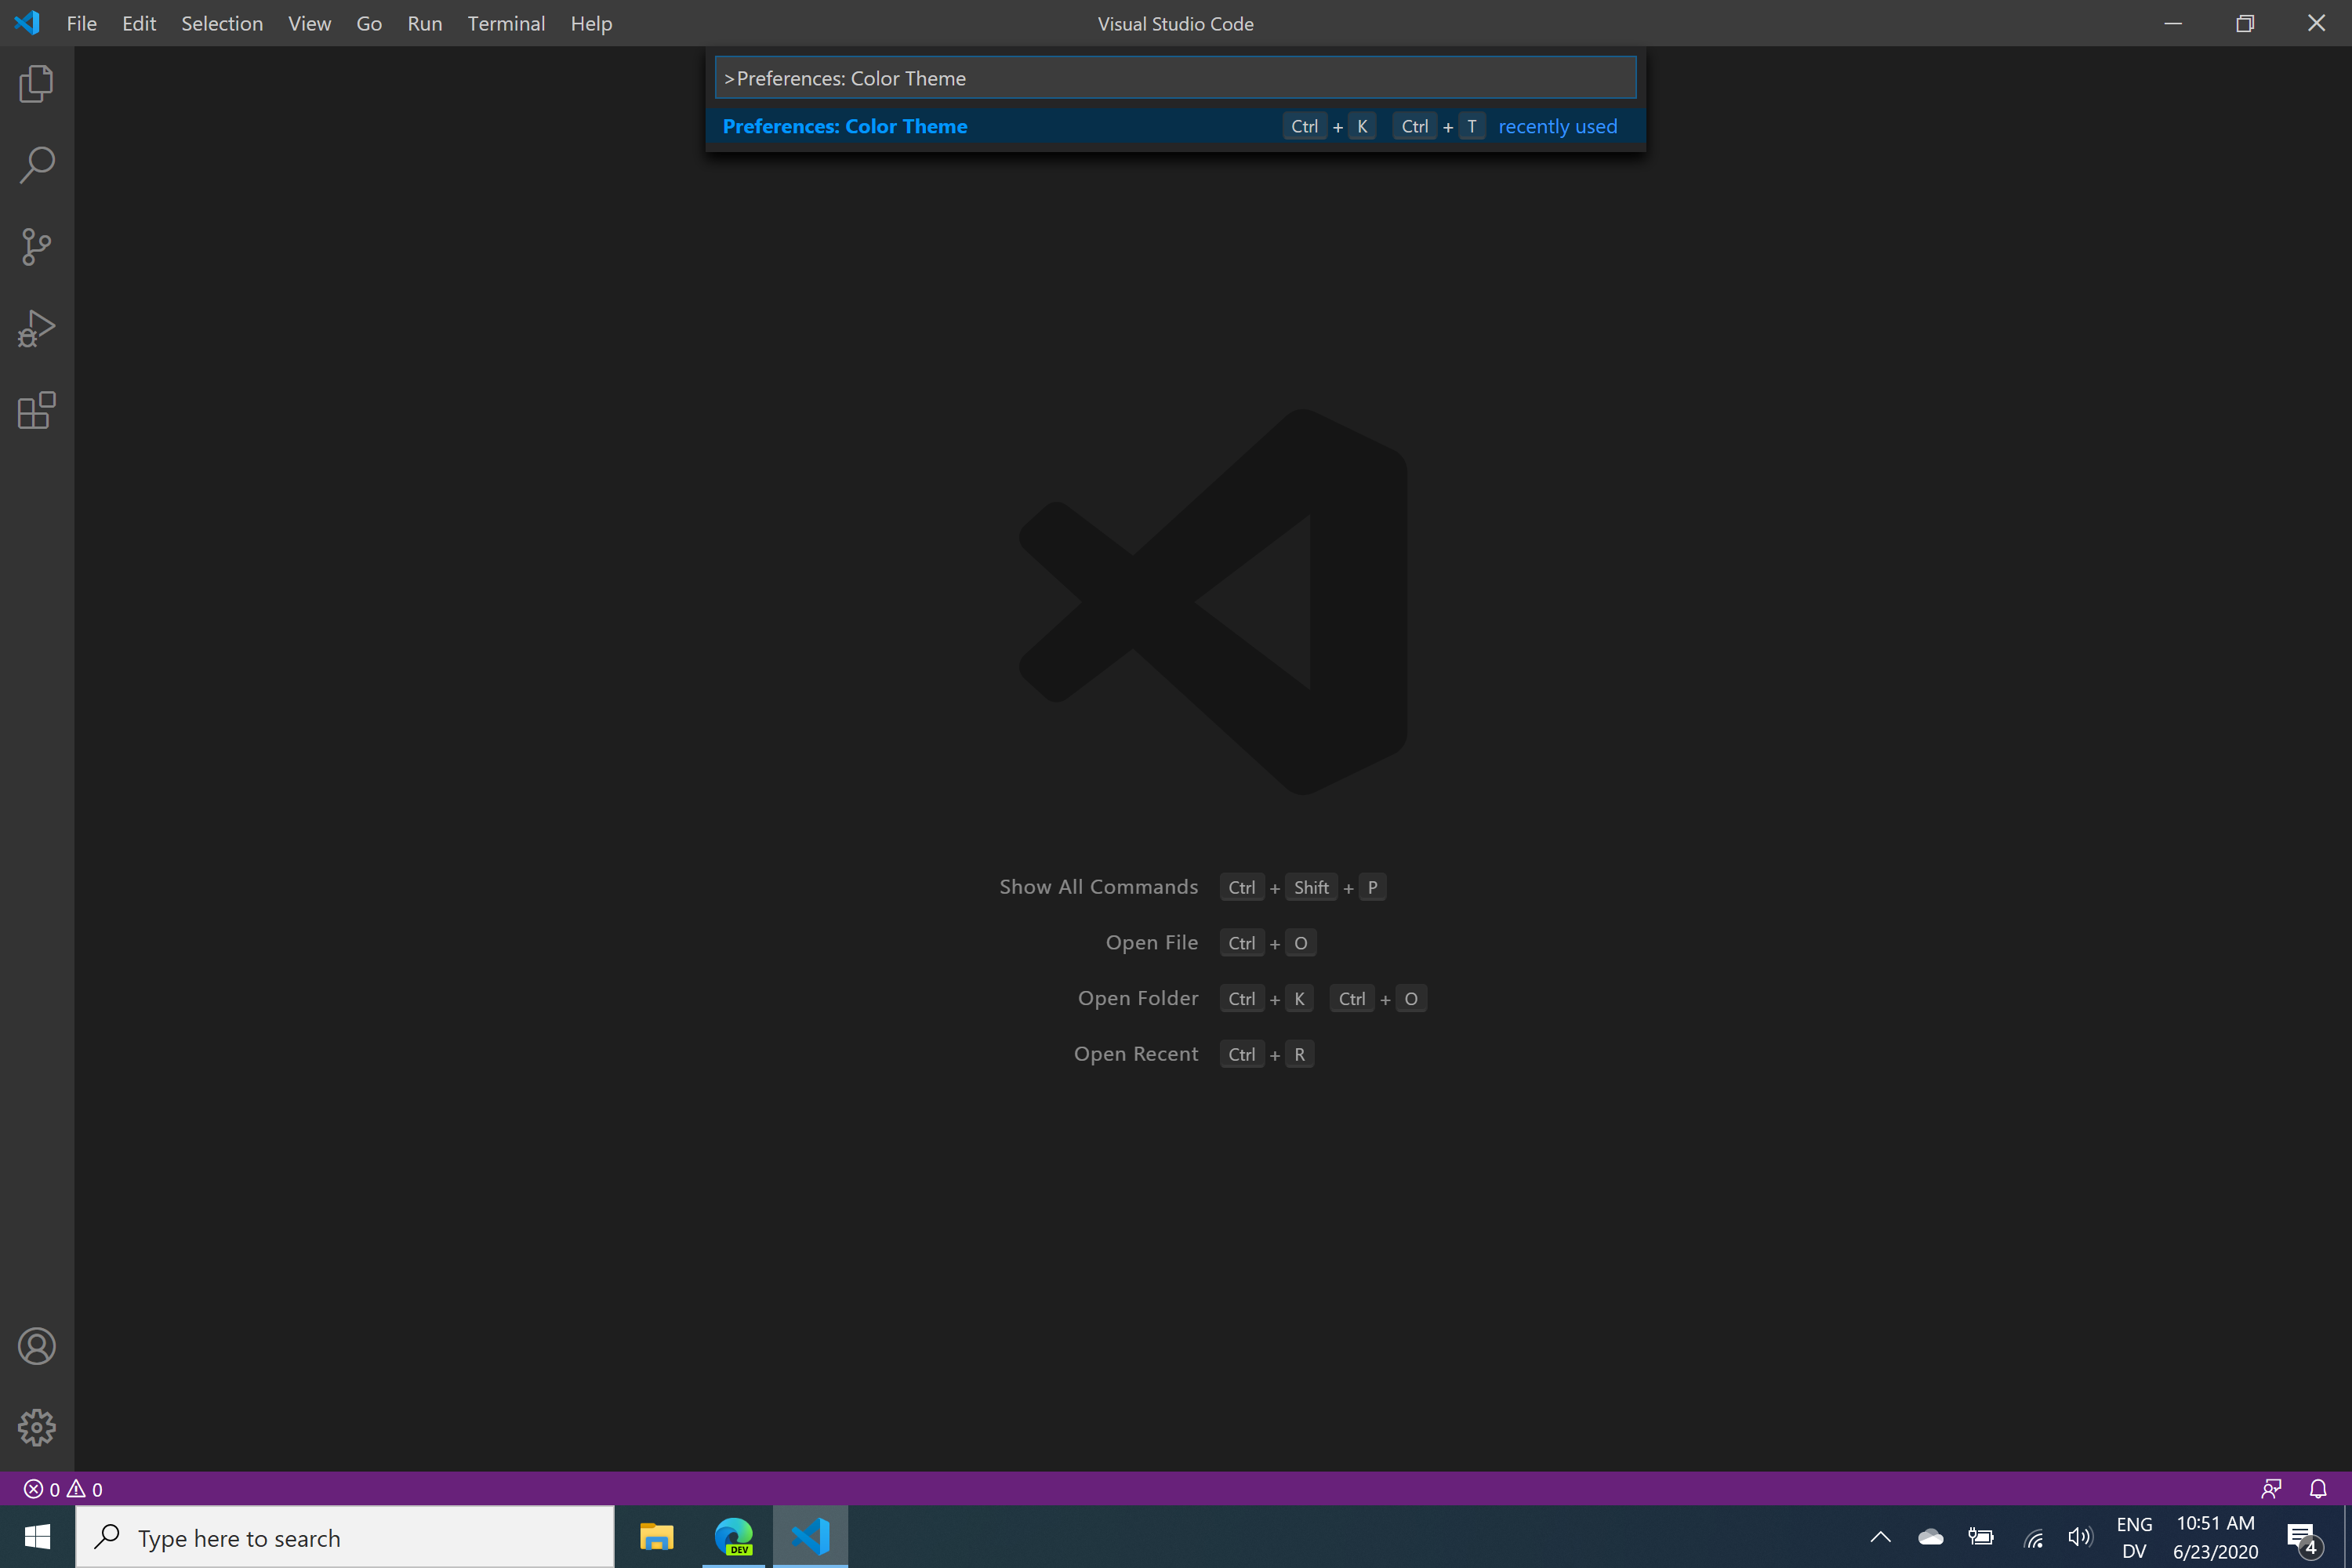
- To show the theme options, press
Ctrl + Shift + P, type “Preferences: Color Theme”, and hit enter.
- Click on the theme you wish to load. I personally prefer the
light+theme.
After you select a new theme, you should see the colors change. If you copy and paste code to Microsoft Word, the theme colors are (usually) maintained.