Step 10: Top Plate
New parts used in this step (see the Parts List for details):
- Six 8-32 9/16 screws (B)
- Six washers
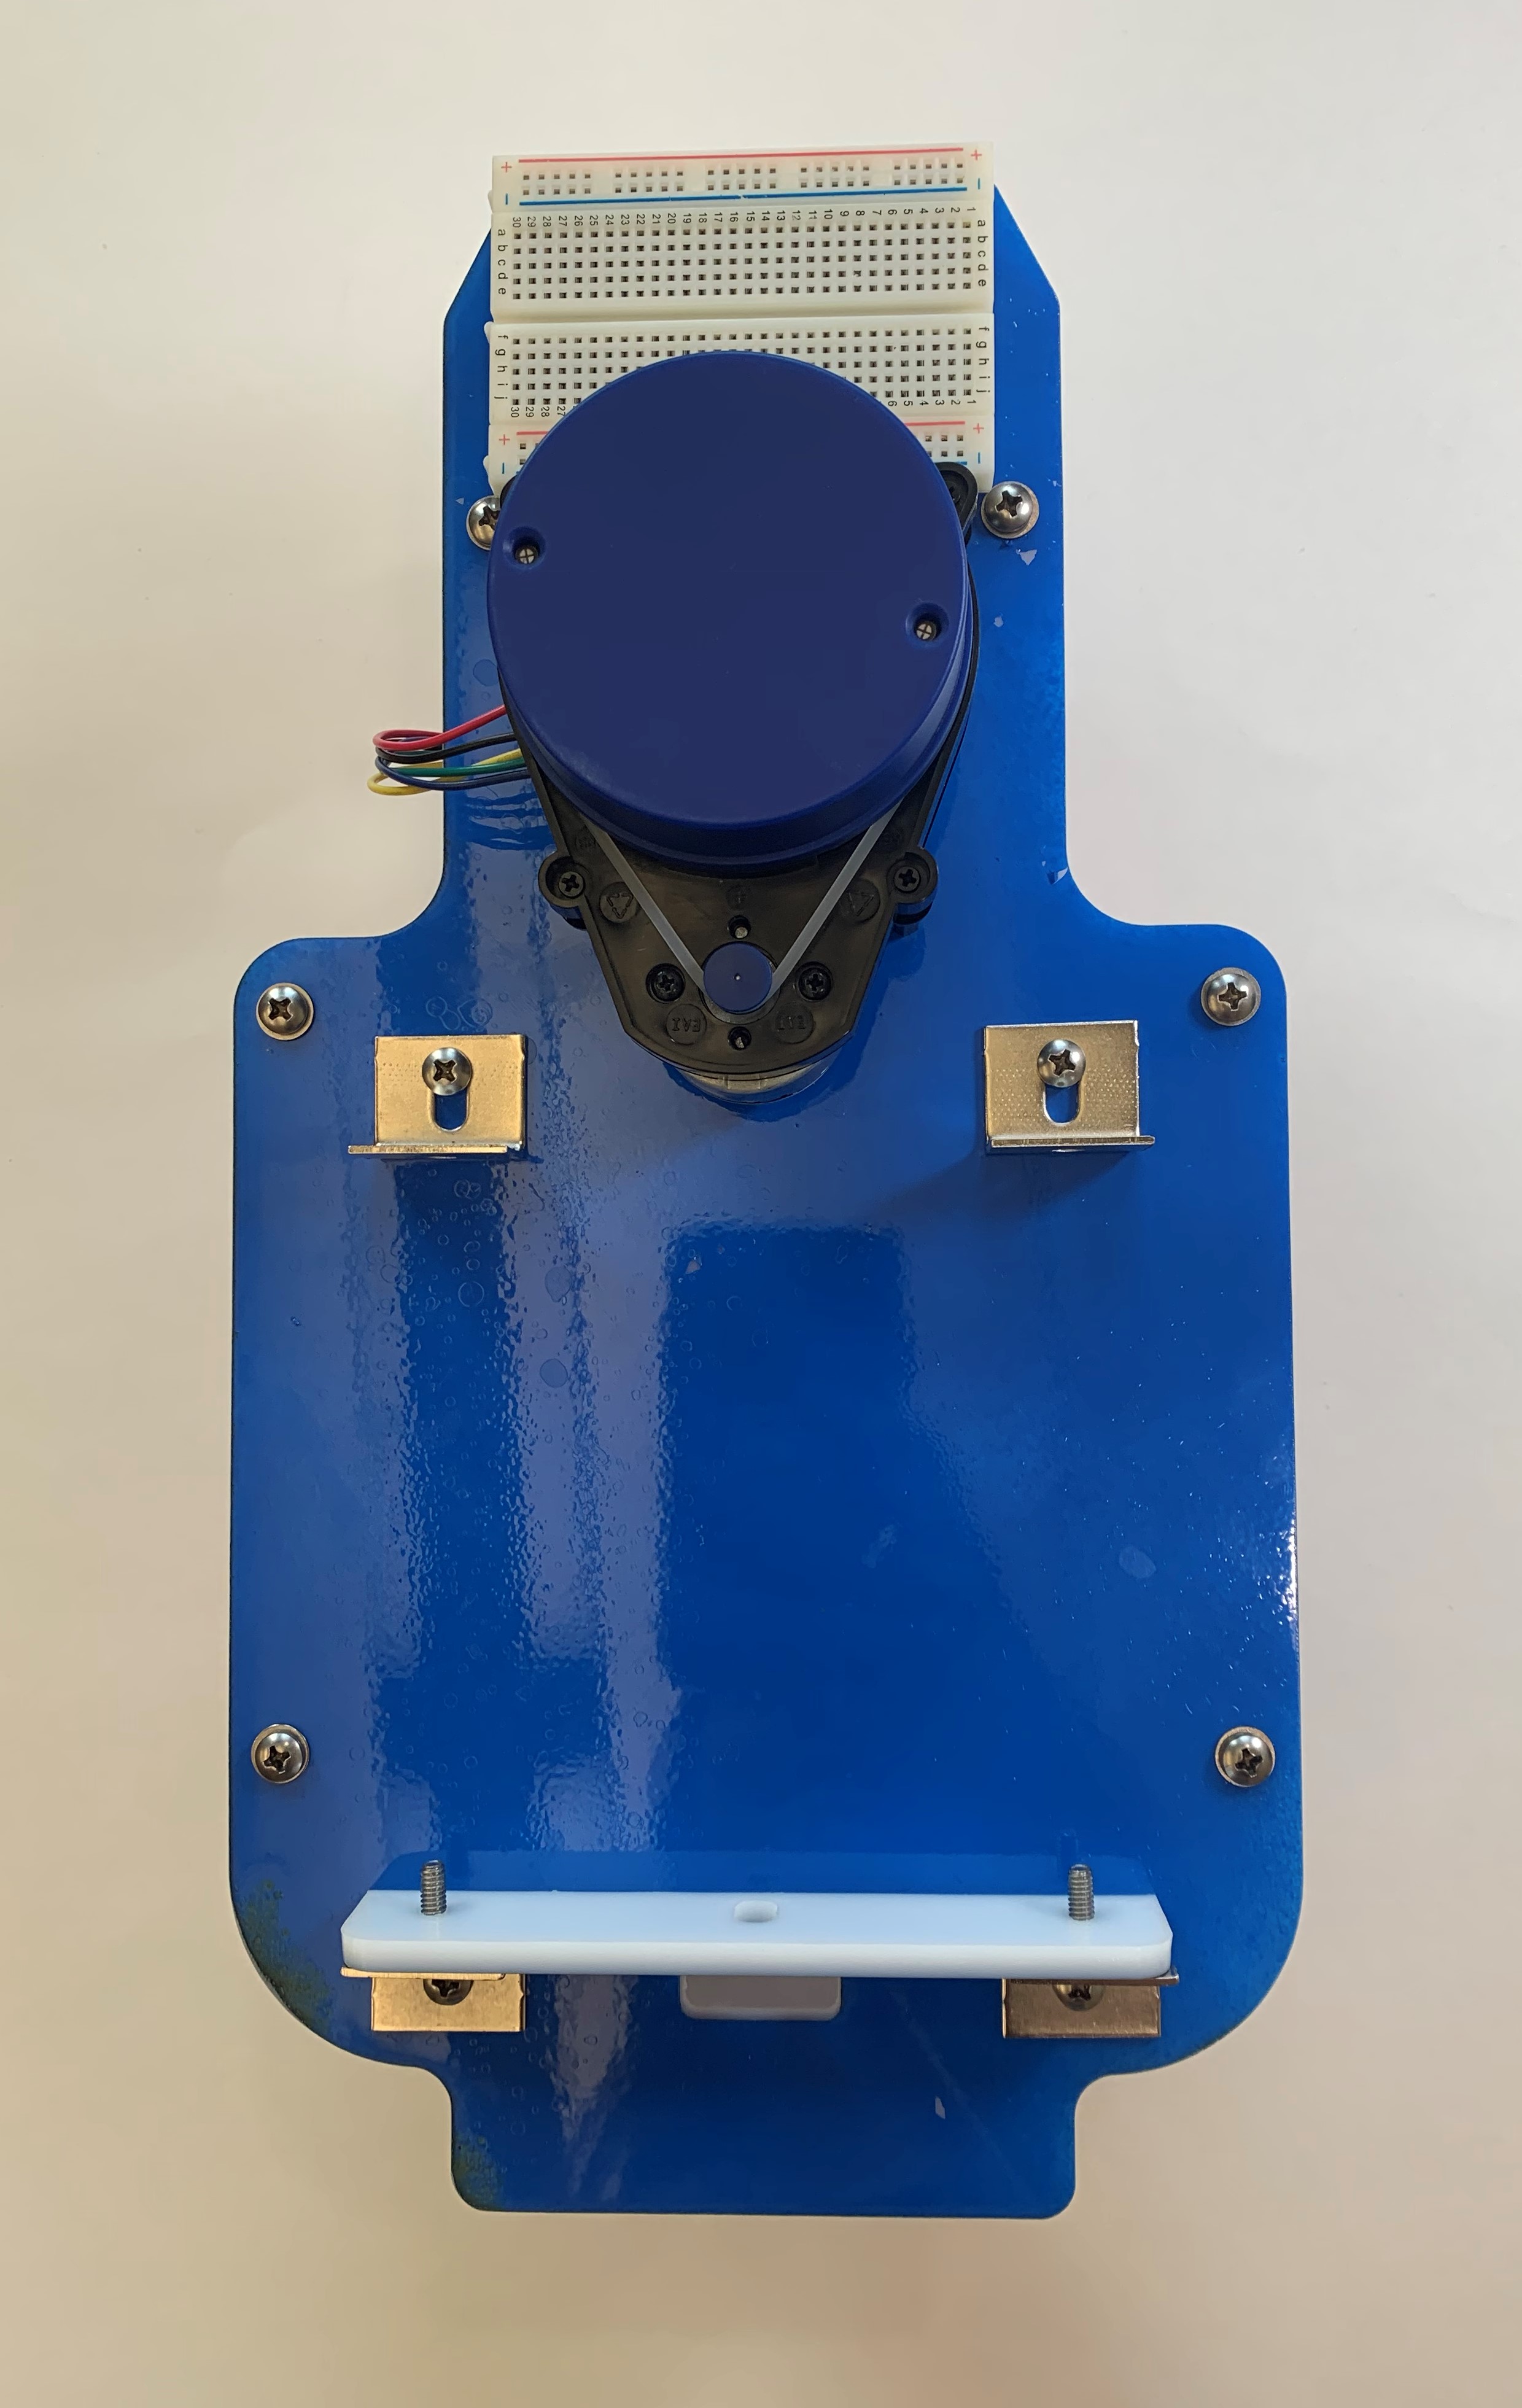
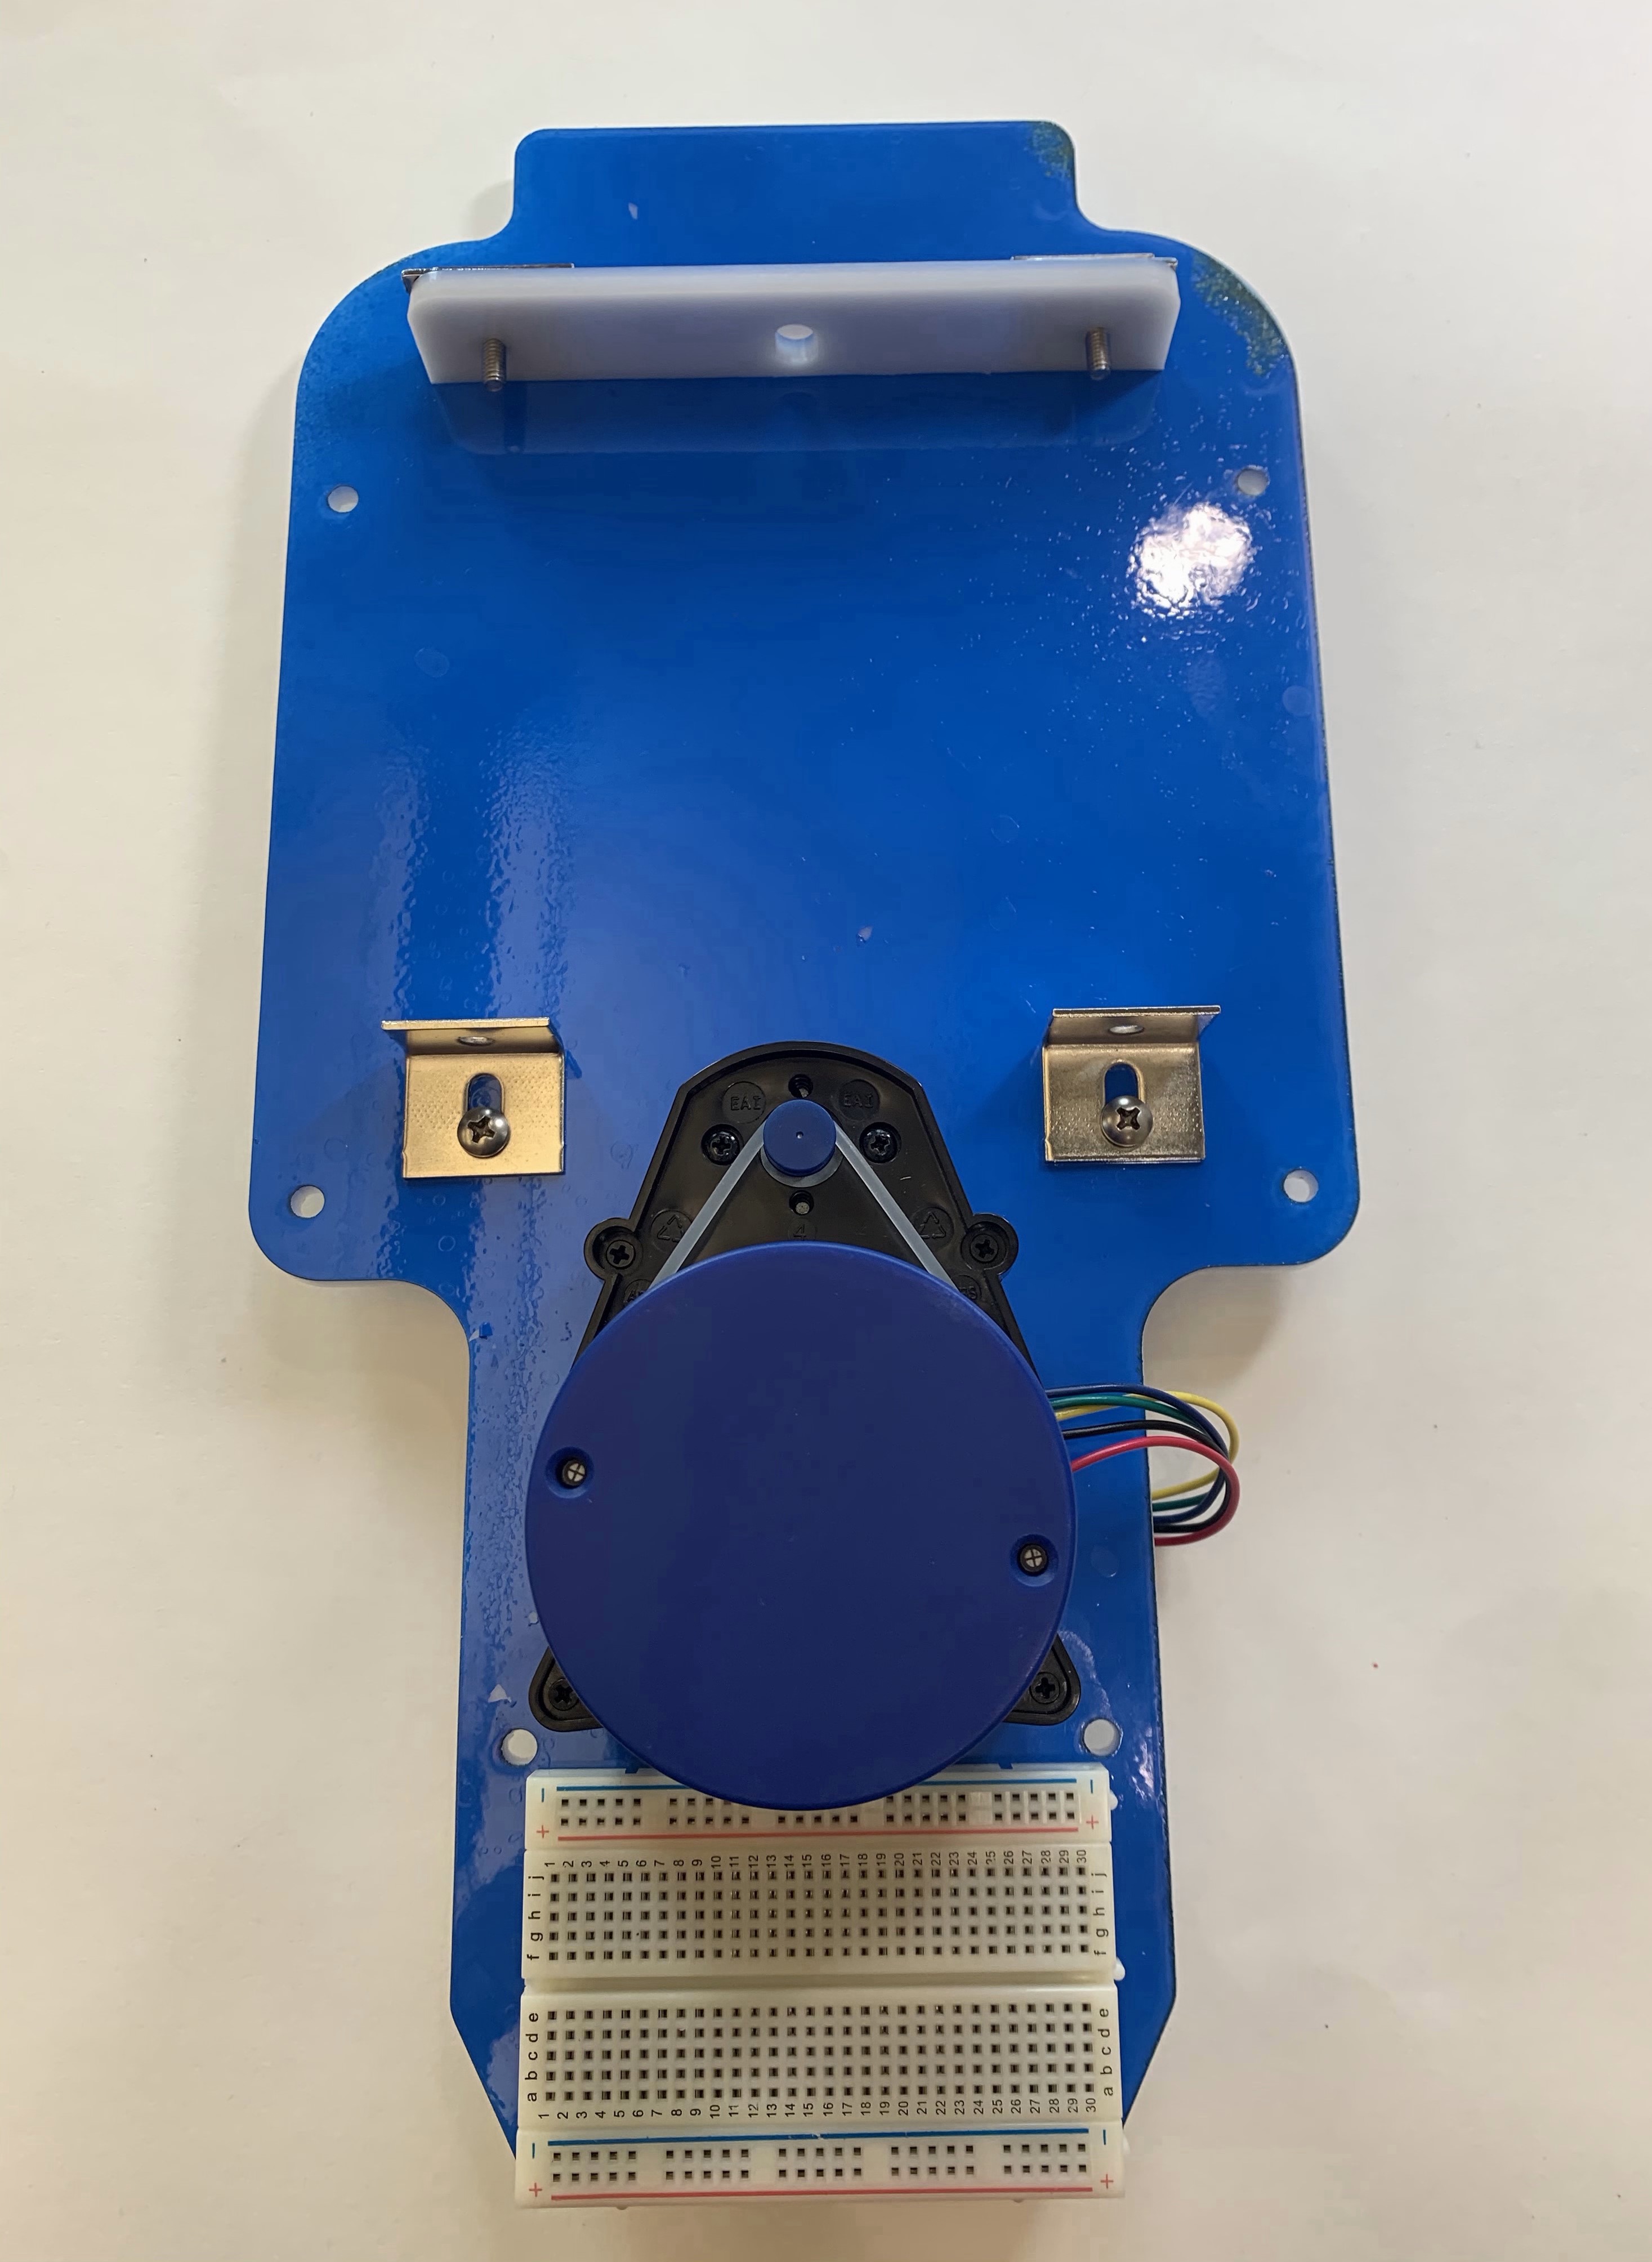
10.1 Remove Monitor
Remove the monitor by unscrewing the M6x1 8mm screw (G) used in step 7.3. This is necessary because the monitor blocks two of the screw holes needed in step 10.2.

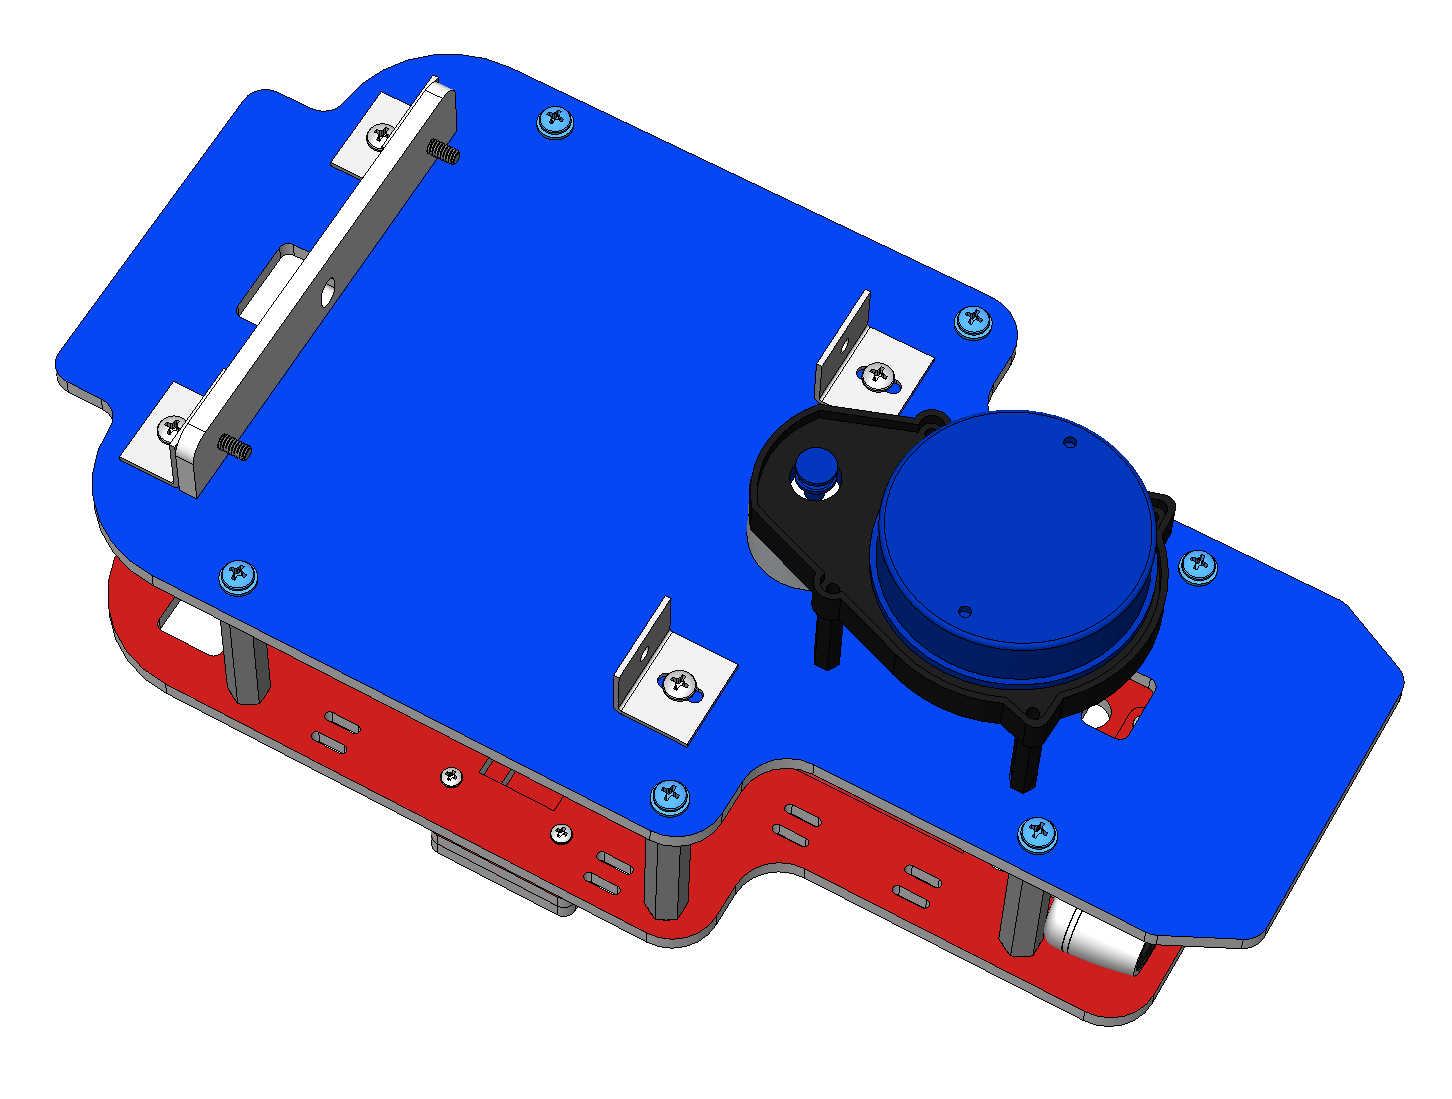
10.2 Attach Top Plate
Screw tightness: very tight
On the top plate, you will find the same pattern of six holes used in step 6. Align these holes with the 8-32 FF standoffs attached to the bottom plate. Secure each hole with a washer and an 8-32 9/16 screw (B) such that the washer and screw head are on the blue side of the top plate. Tighten the screws in multiple stages using a crisscross pattern with a large philips screwdriver. Since the standoff is already held in place on the bottom plate, you do not need to use a wrench.