Step 12: USB Hubs
New parts used in this step (see the Parts List for details):
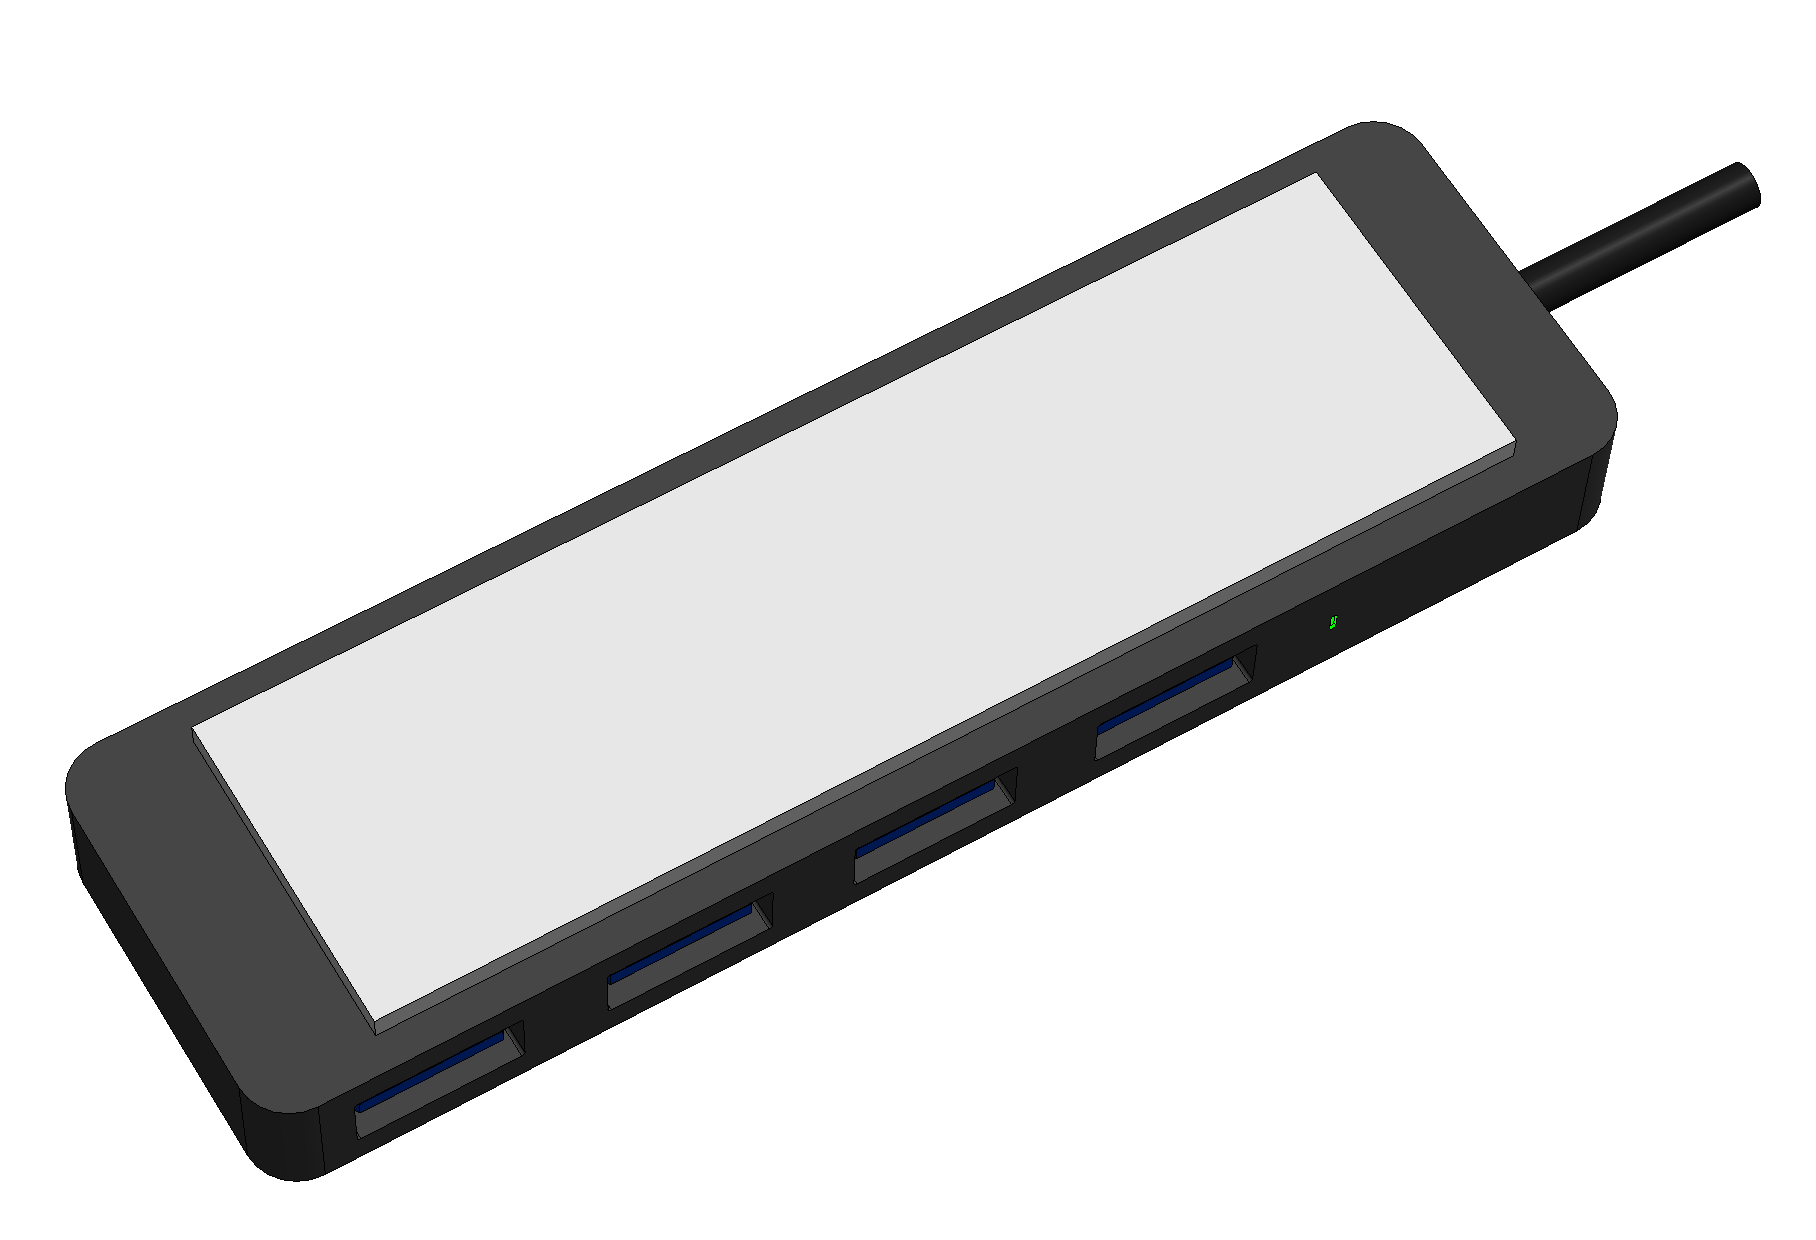
- Two USB hubs
- foam tape
12.1 Apply Foam Tape
Cut one piece of foam tape approximately 3.5 inches long and attach the sticky side to the middle of a USB hub by firmly pressing the foam tape. Be sure to place the tape on the bottom of the USB hub, which is the side that does not say “Anker”. Finally, remove the wax paper from the foam tape to expose the other sticky side.
Repeat this process for a second USB hub.

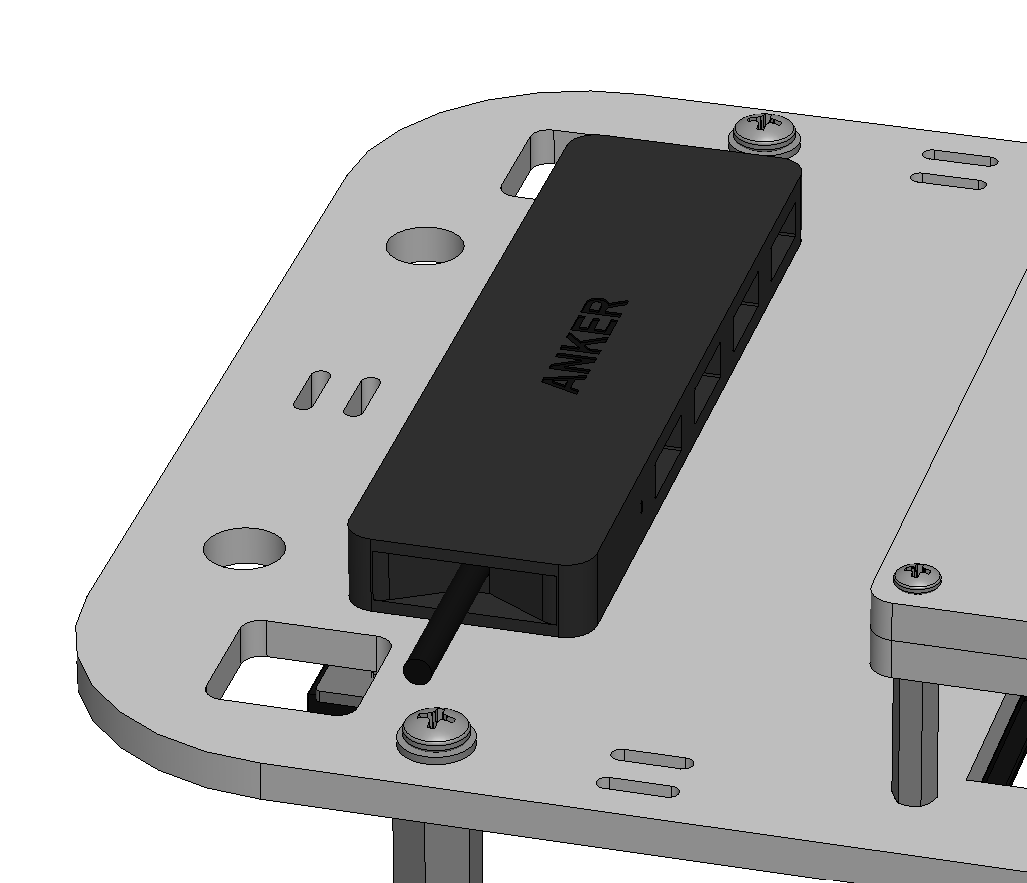
12.2 Attach Bottom USB Hub
On the uncolored side of the bottom plate, attach the first USB hub toward the back of the car with the USB ports pointing toward the battery cradle. Make sure that the front edge of the USB hub is roughly in line with the middle of the square holes as shown in the pictures below. Firmly press the USB hub to secure the foam tape.
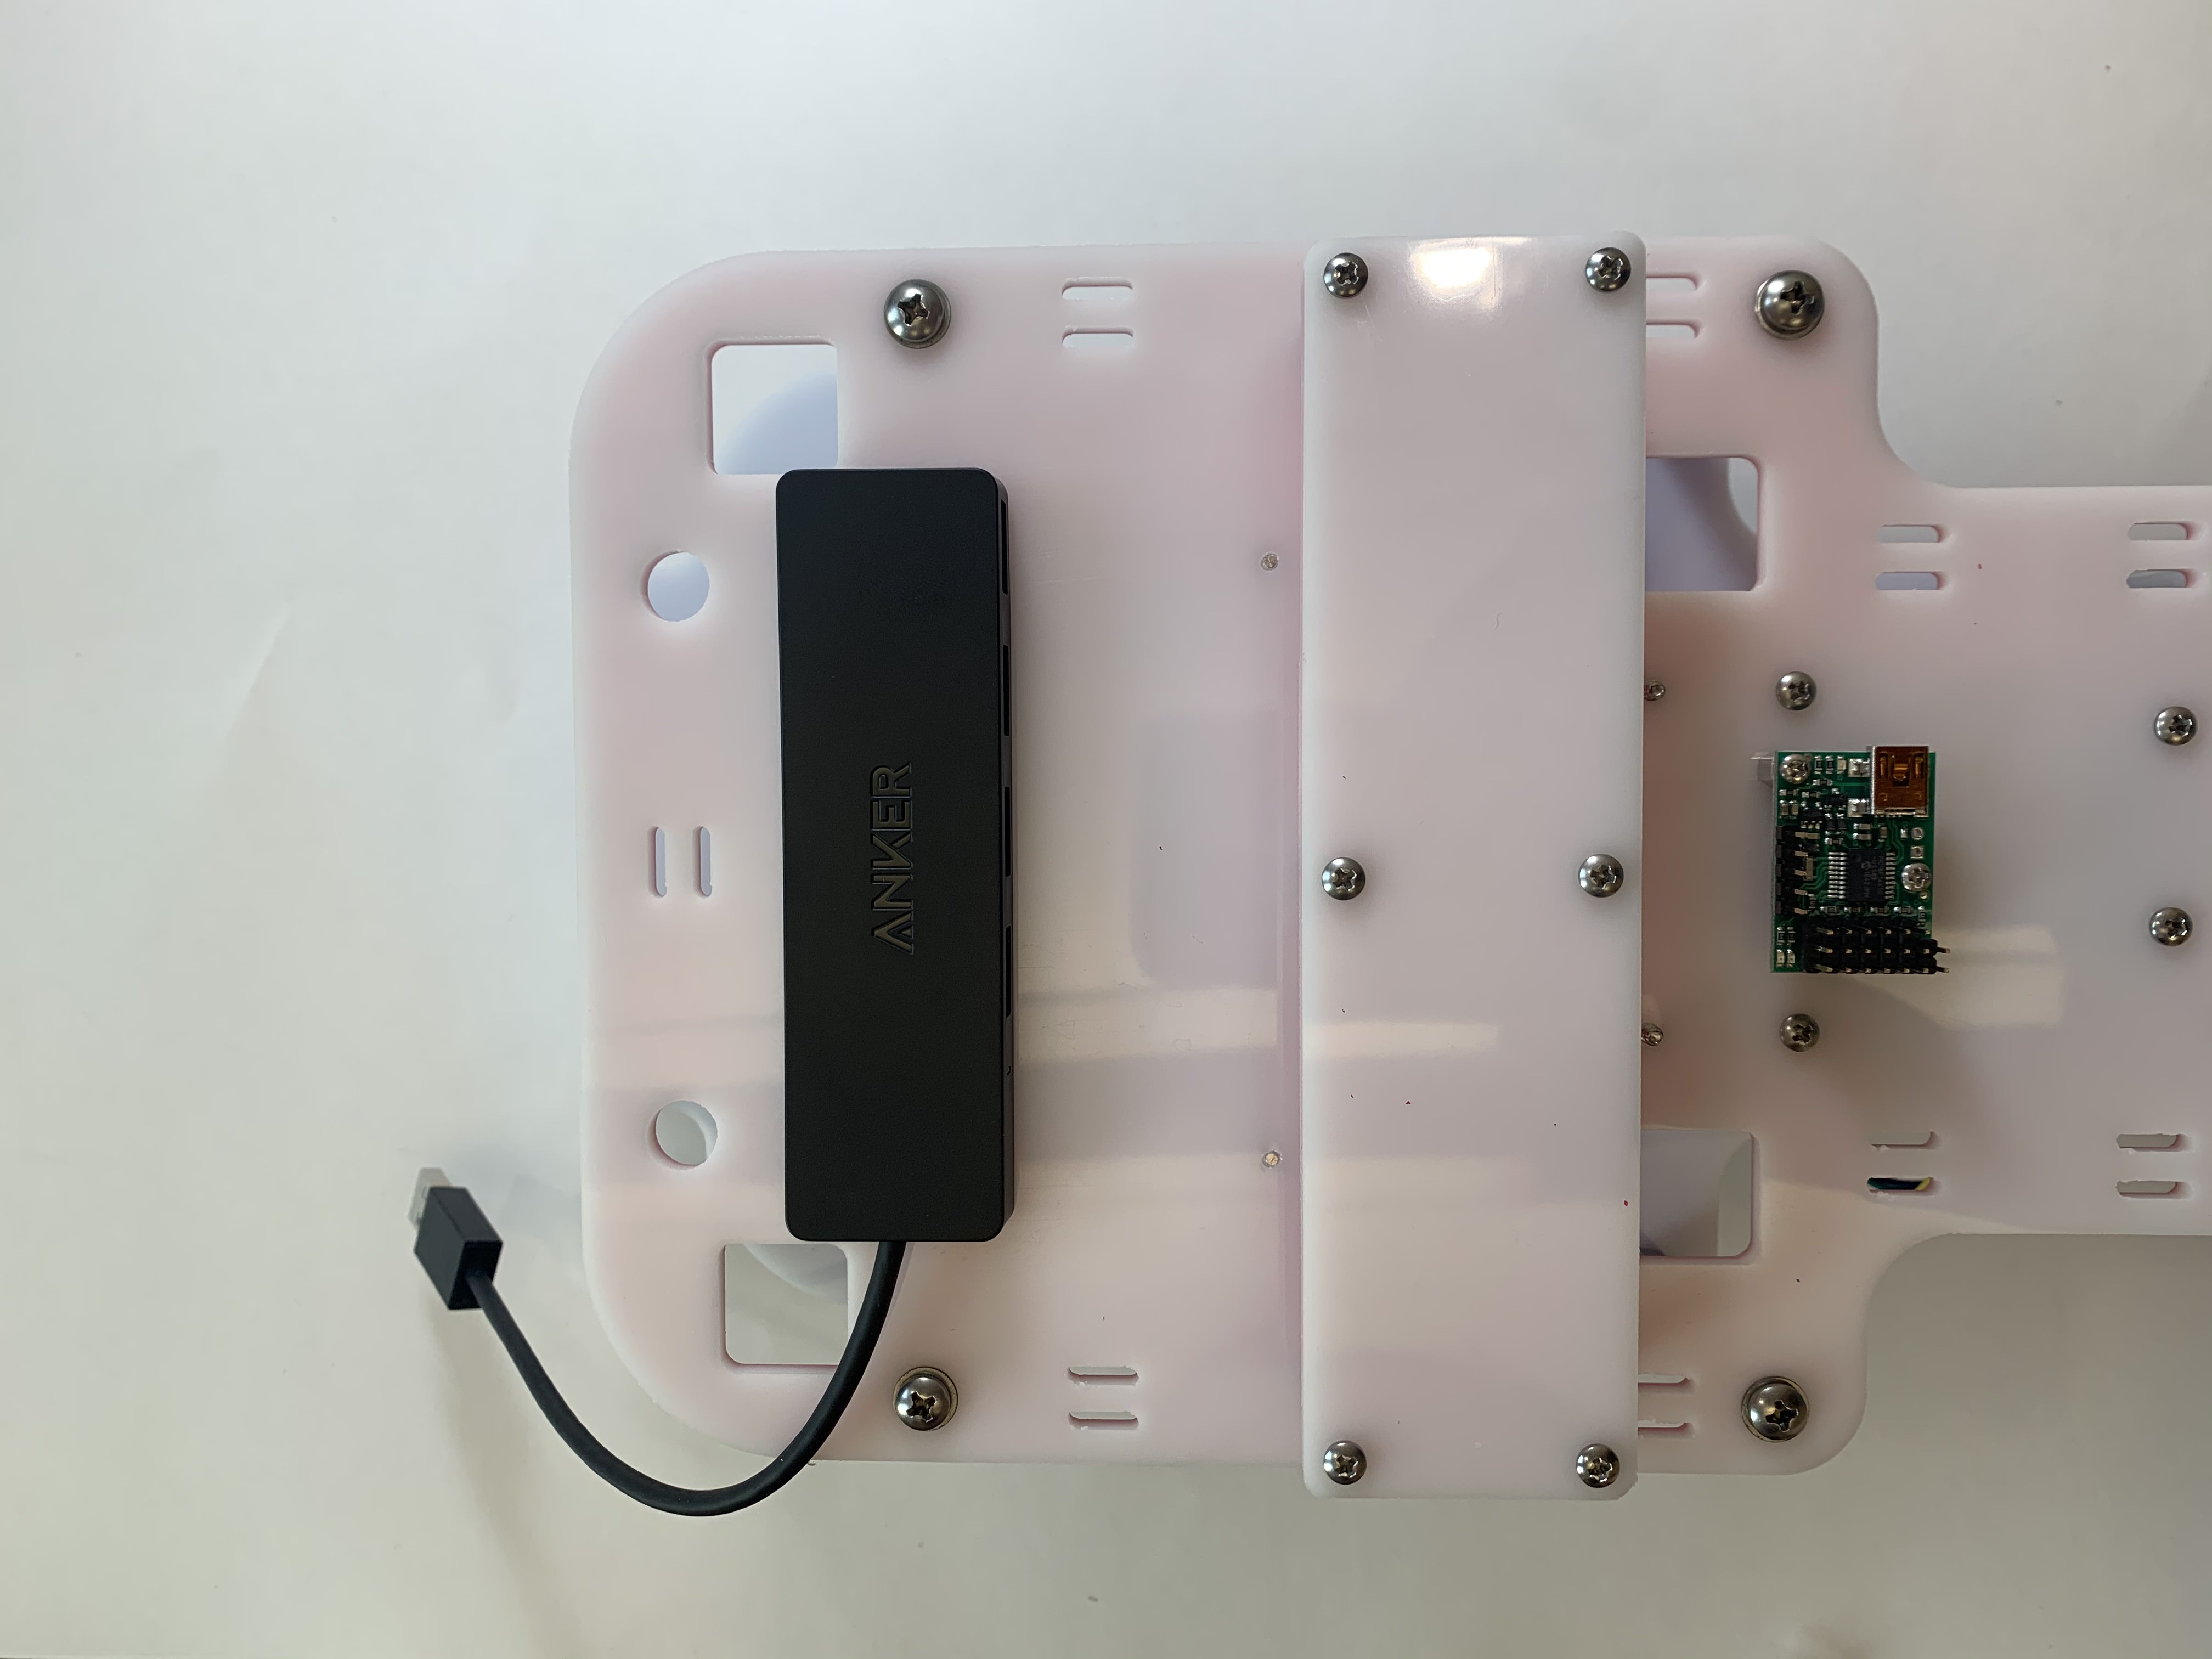
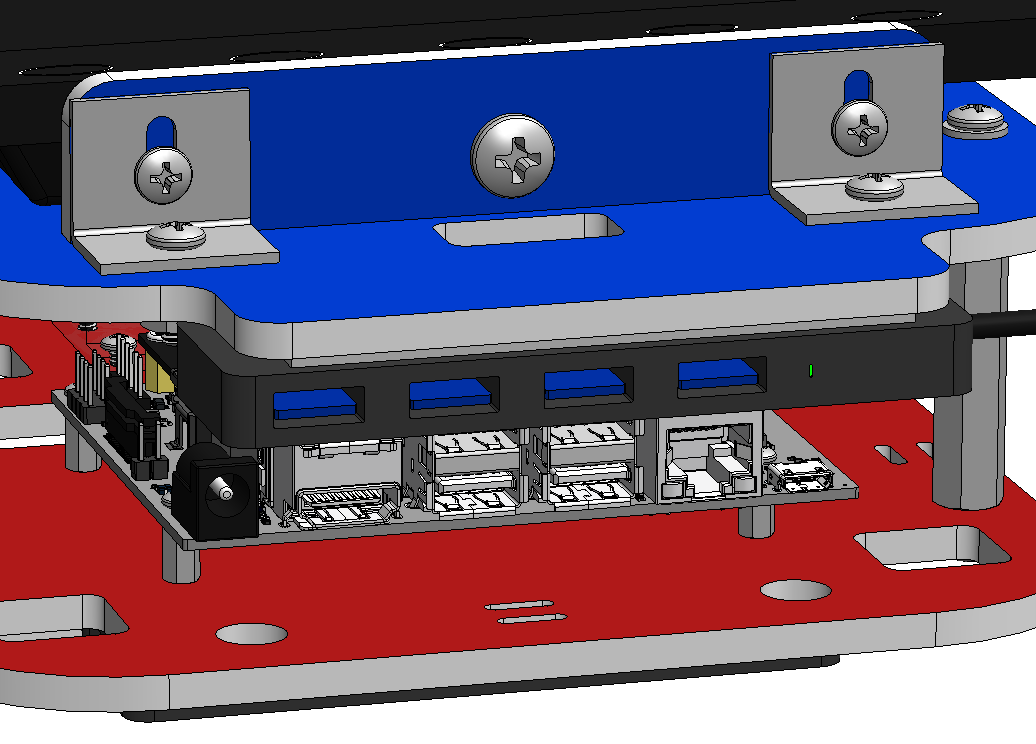
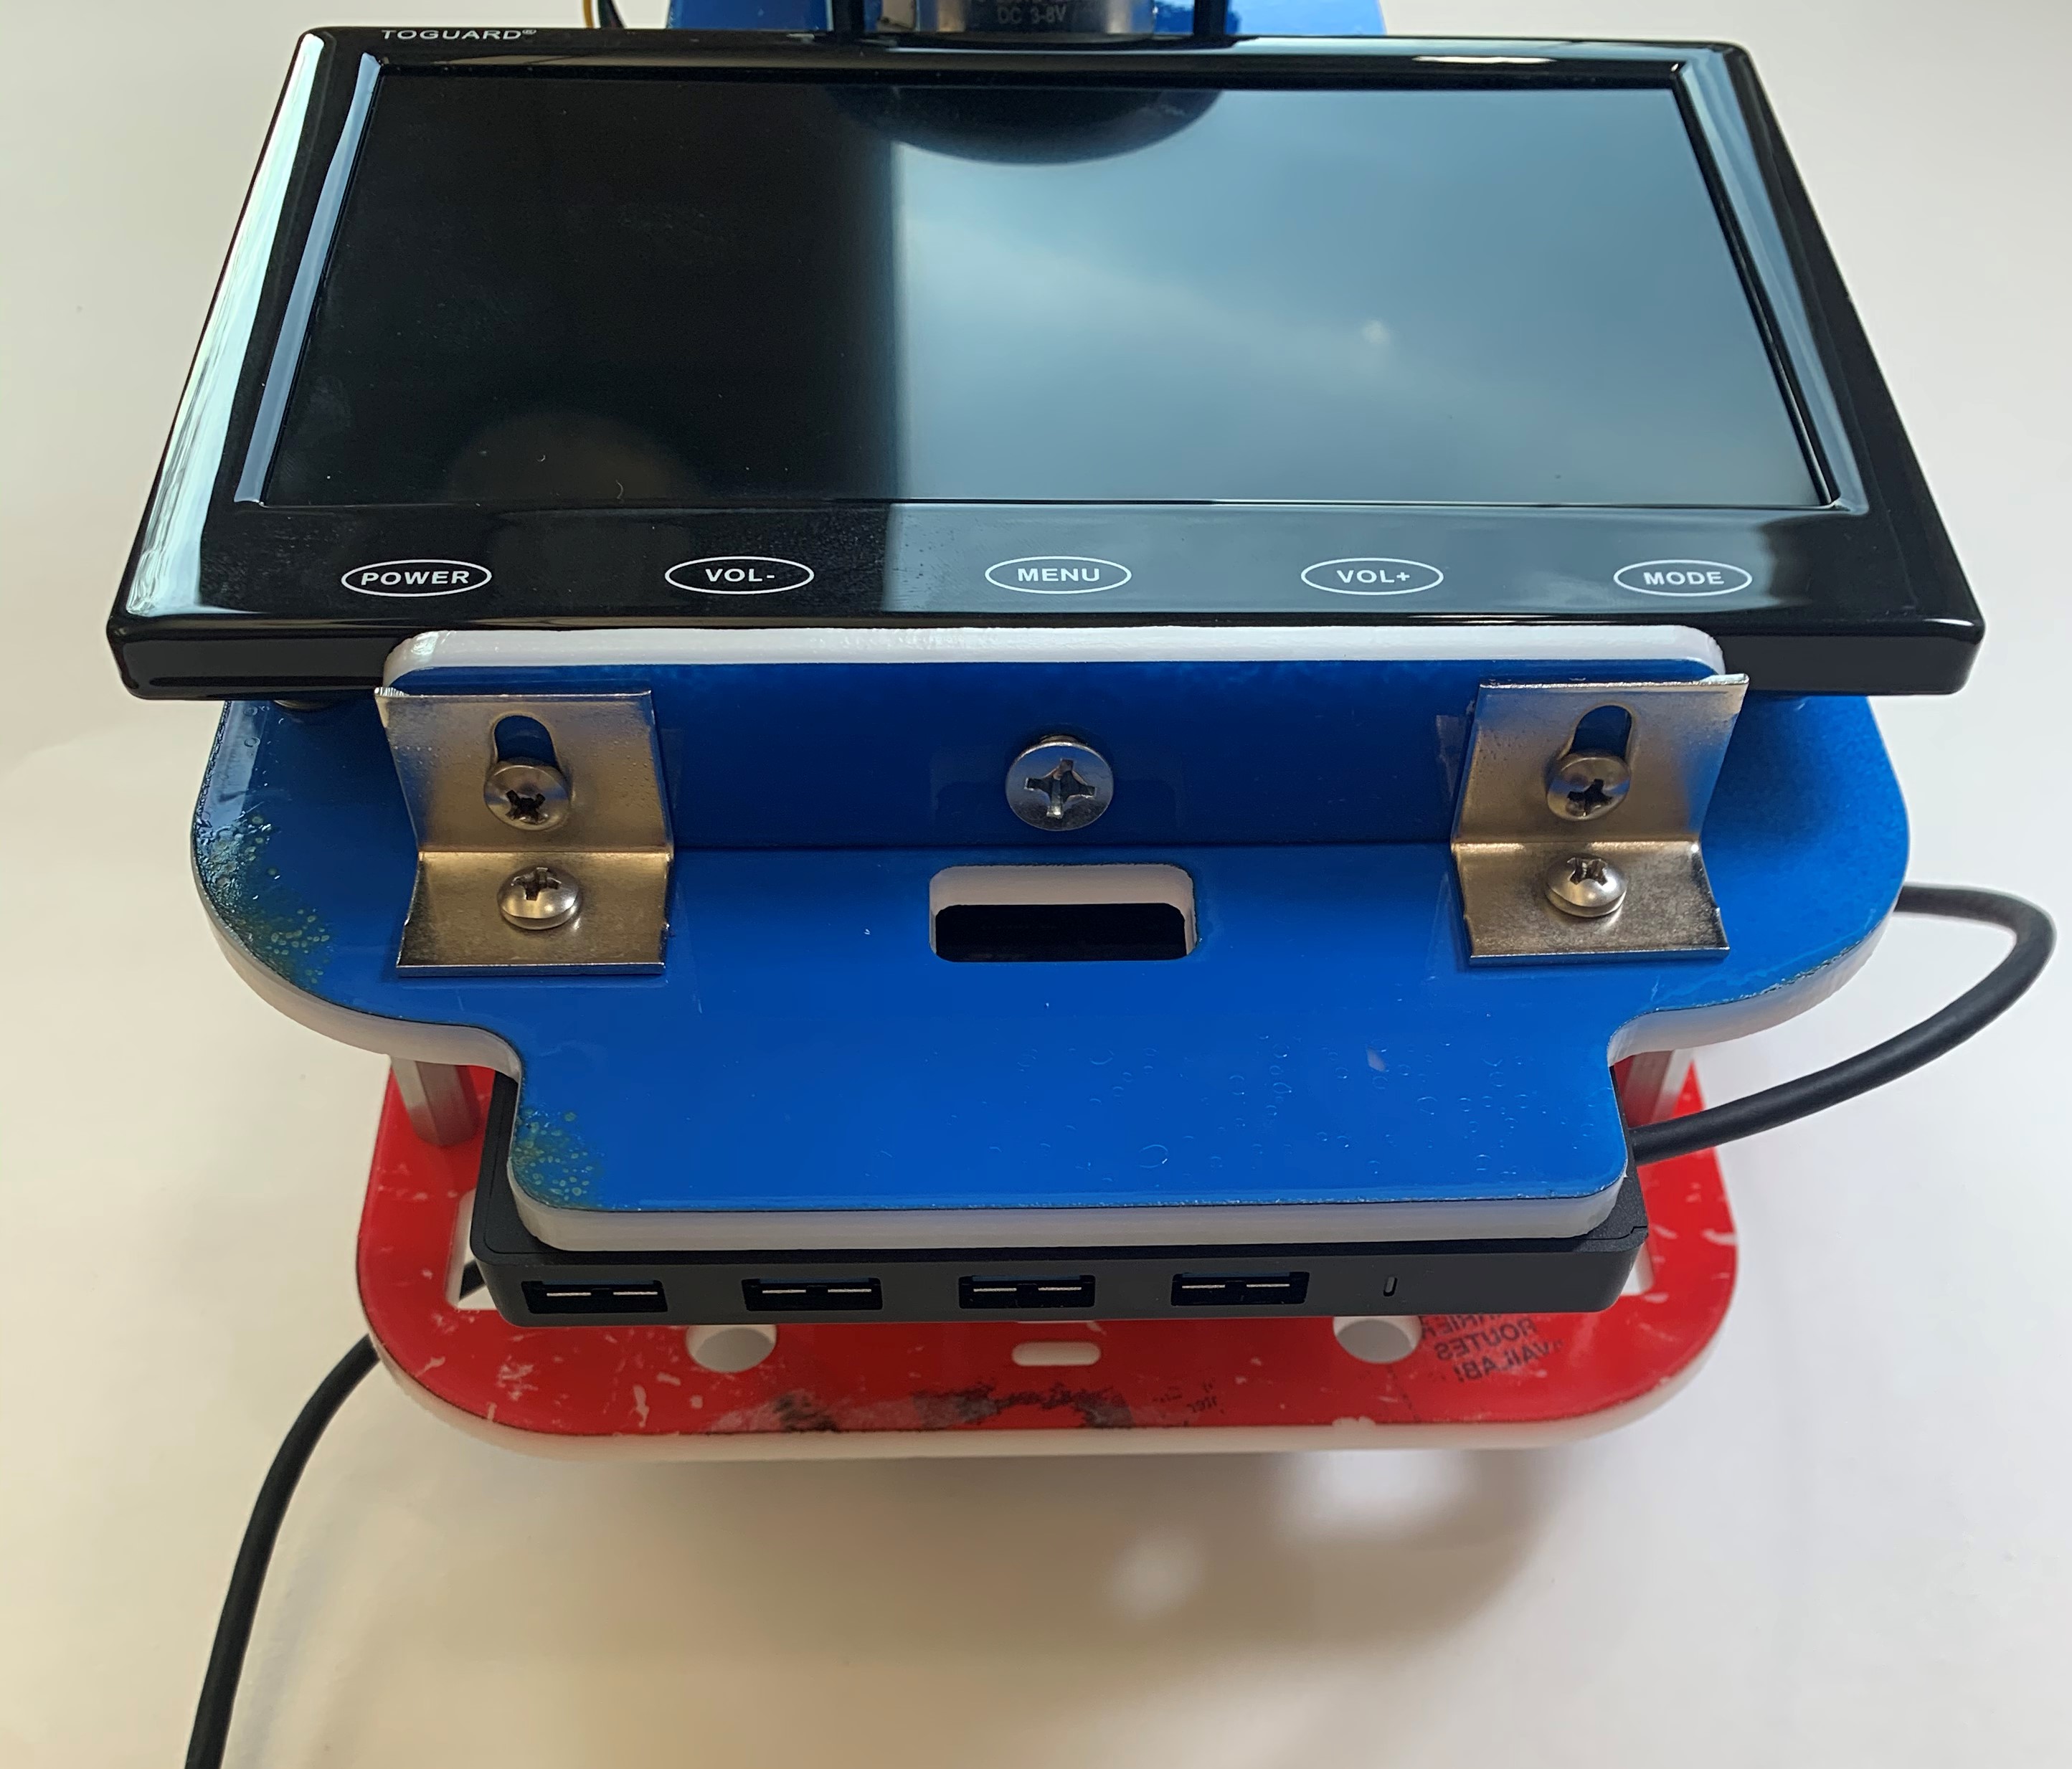
12.3 Attach Top USB Hub
On the uncolored side of the top plate, attach the second USB hub to the very back of the car with the USB ports pointing out of the back of the car, as shown in the pictures below. Notice that the USB ports are pointing the opposite direction as in step 12.2 and the same direction as the ports of the Jetson Nano. Firmly press the USB hub while supporting the other side of the top plate to secure the foam tape.