Step 5: Arduino
Warning: discharge any static before touching the Arduino
New parts used in this step (see the Parts List for details):
- Arduino
- Four 4-40 5/8 screws (C)
- Two 4-40 7/16 screws (D)
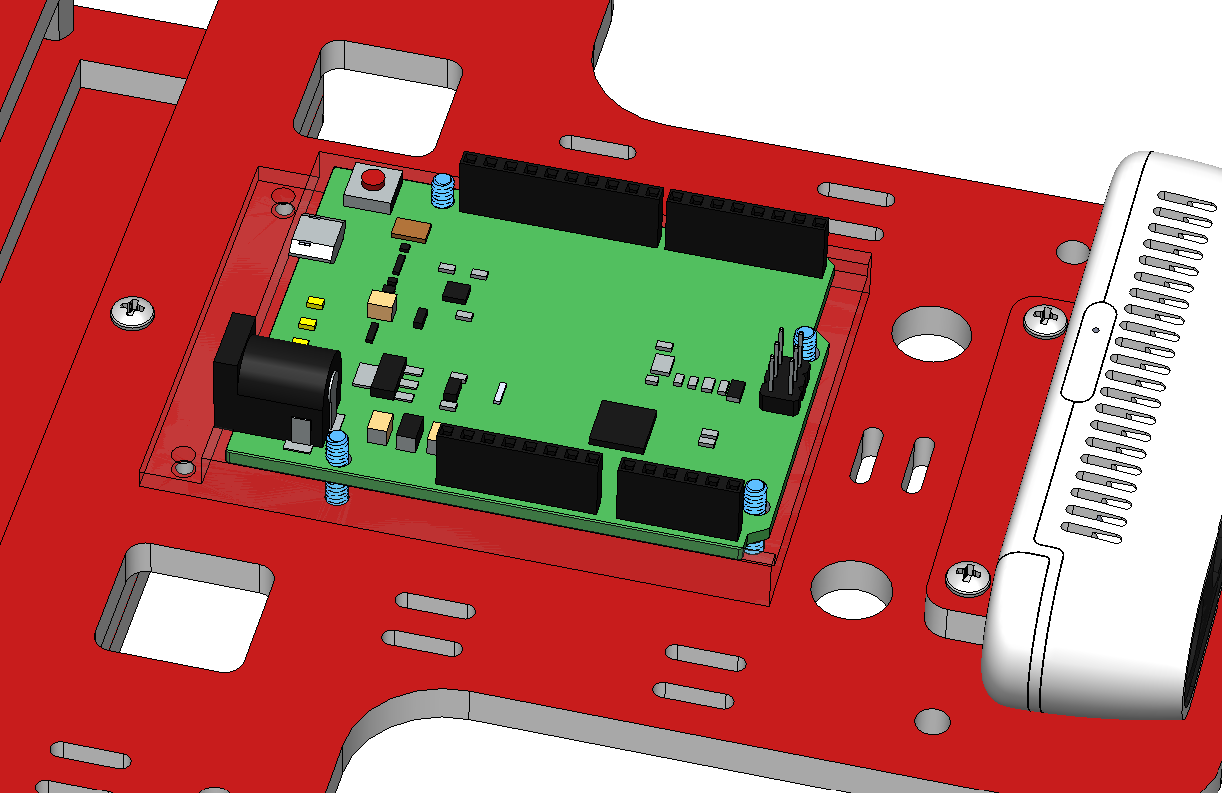
The Arduino plastic base has 6 holes. Four of the holes go directly through the Arduino and are the correct size to tap 4-40 screws (we will call these the “main holes”). The two holes behind the Arduino are large enough to pass through 4-40 screws (we will call these the “side holes”).

5.1 Arduino Main Holes
Screw tightness: moderate
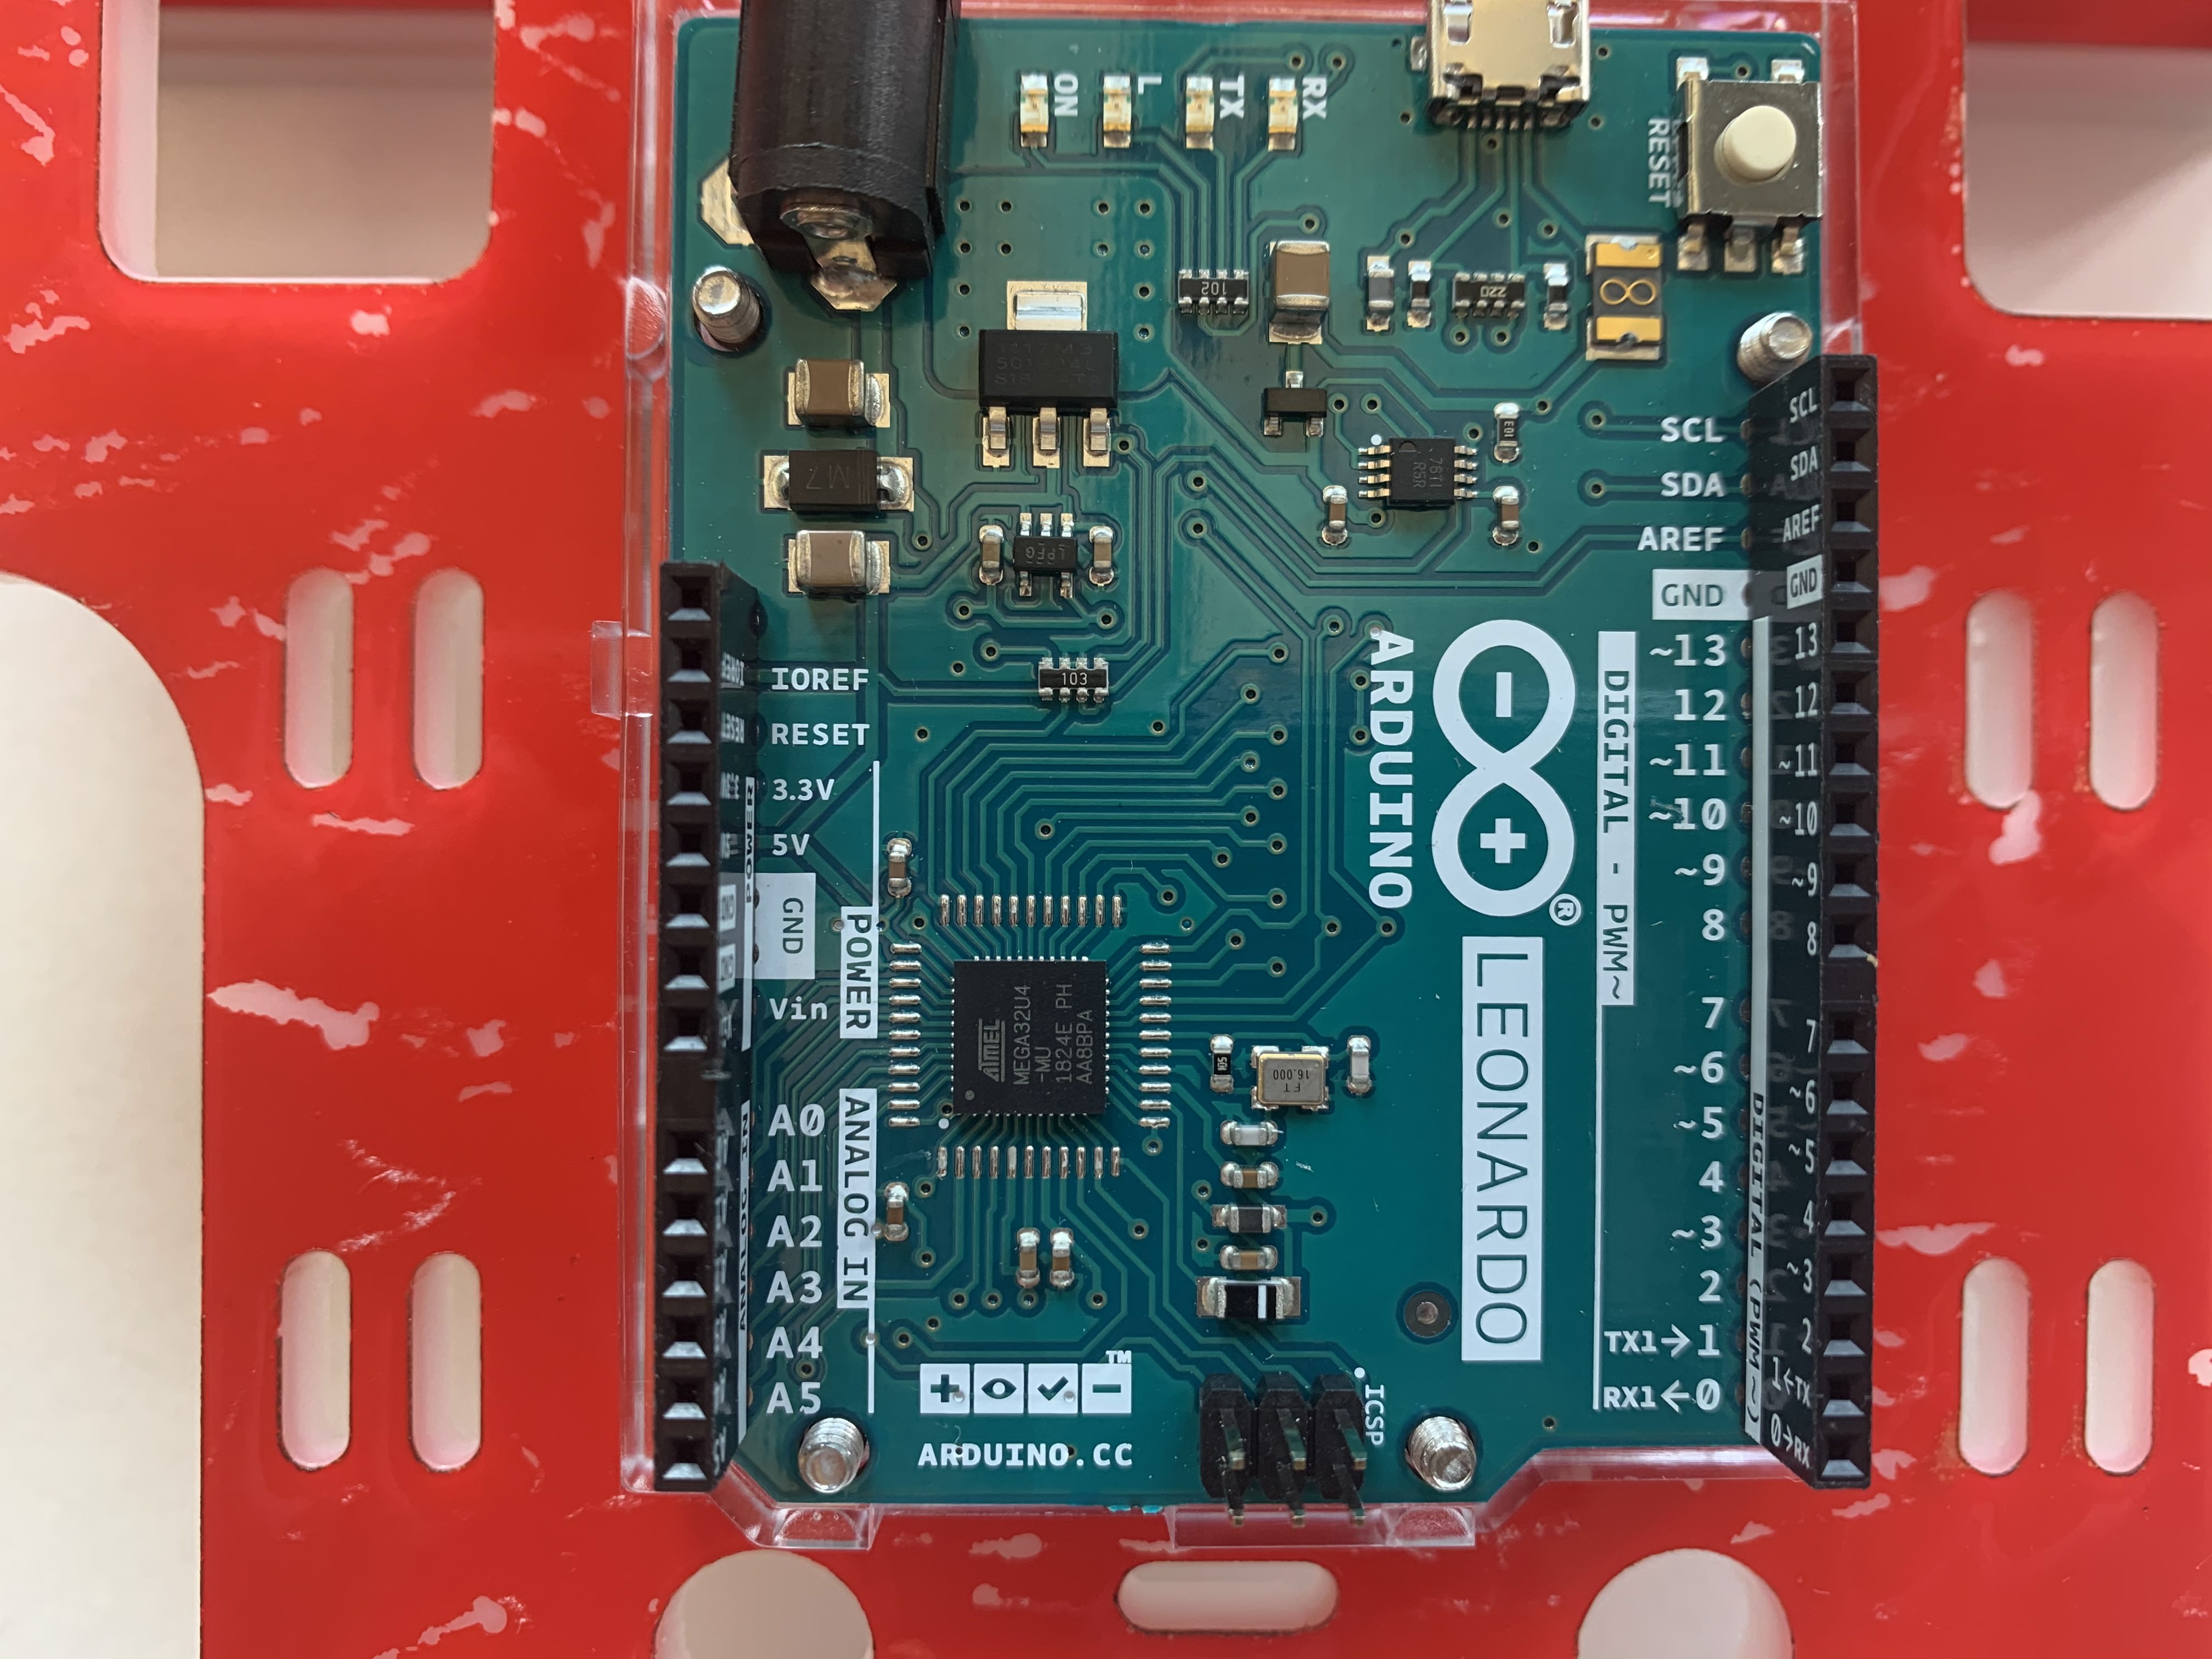
Align the Arduino with the six holes on the red side of the bottom plate such that the micro USB port faces toward the back of the car (away from the camera). The text “ARDUINO LEONARDO” should face the correct side up as shown in the picture below.
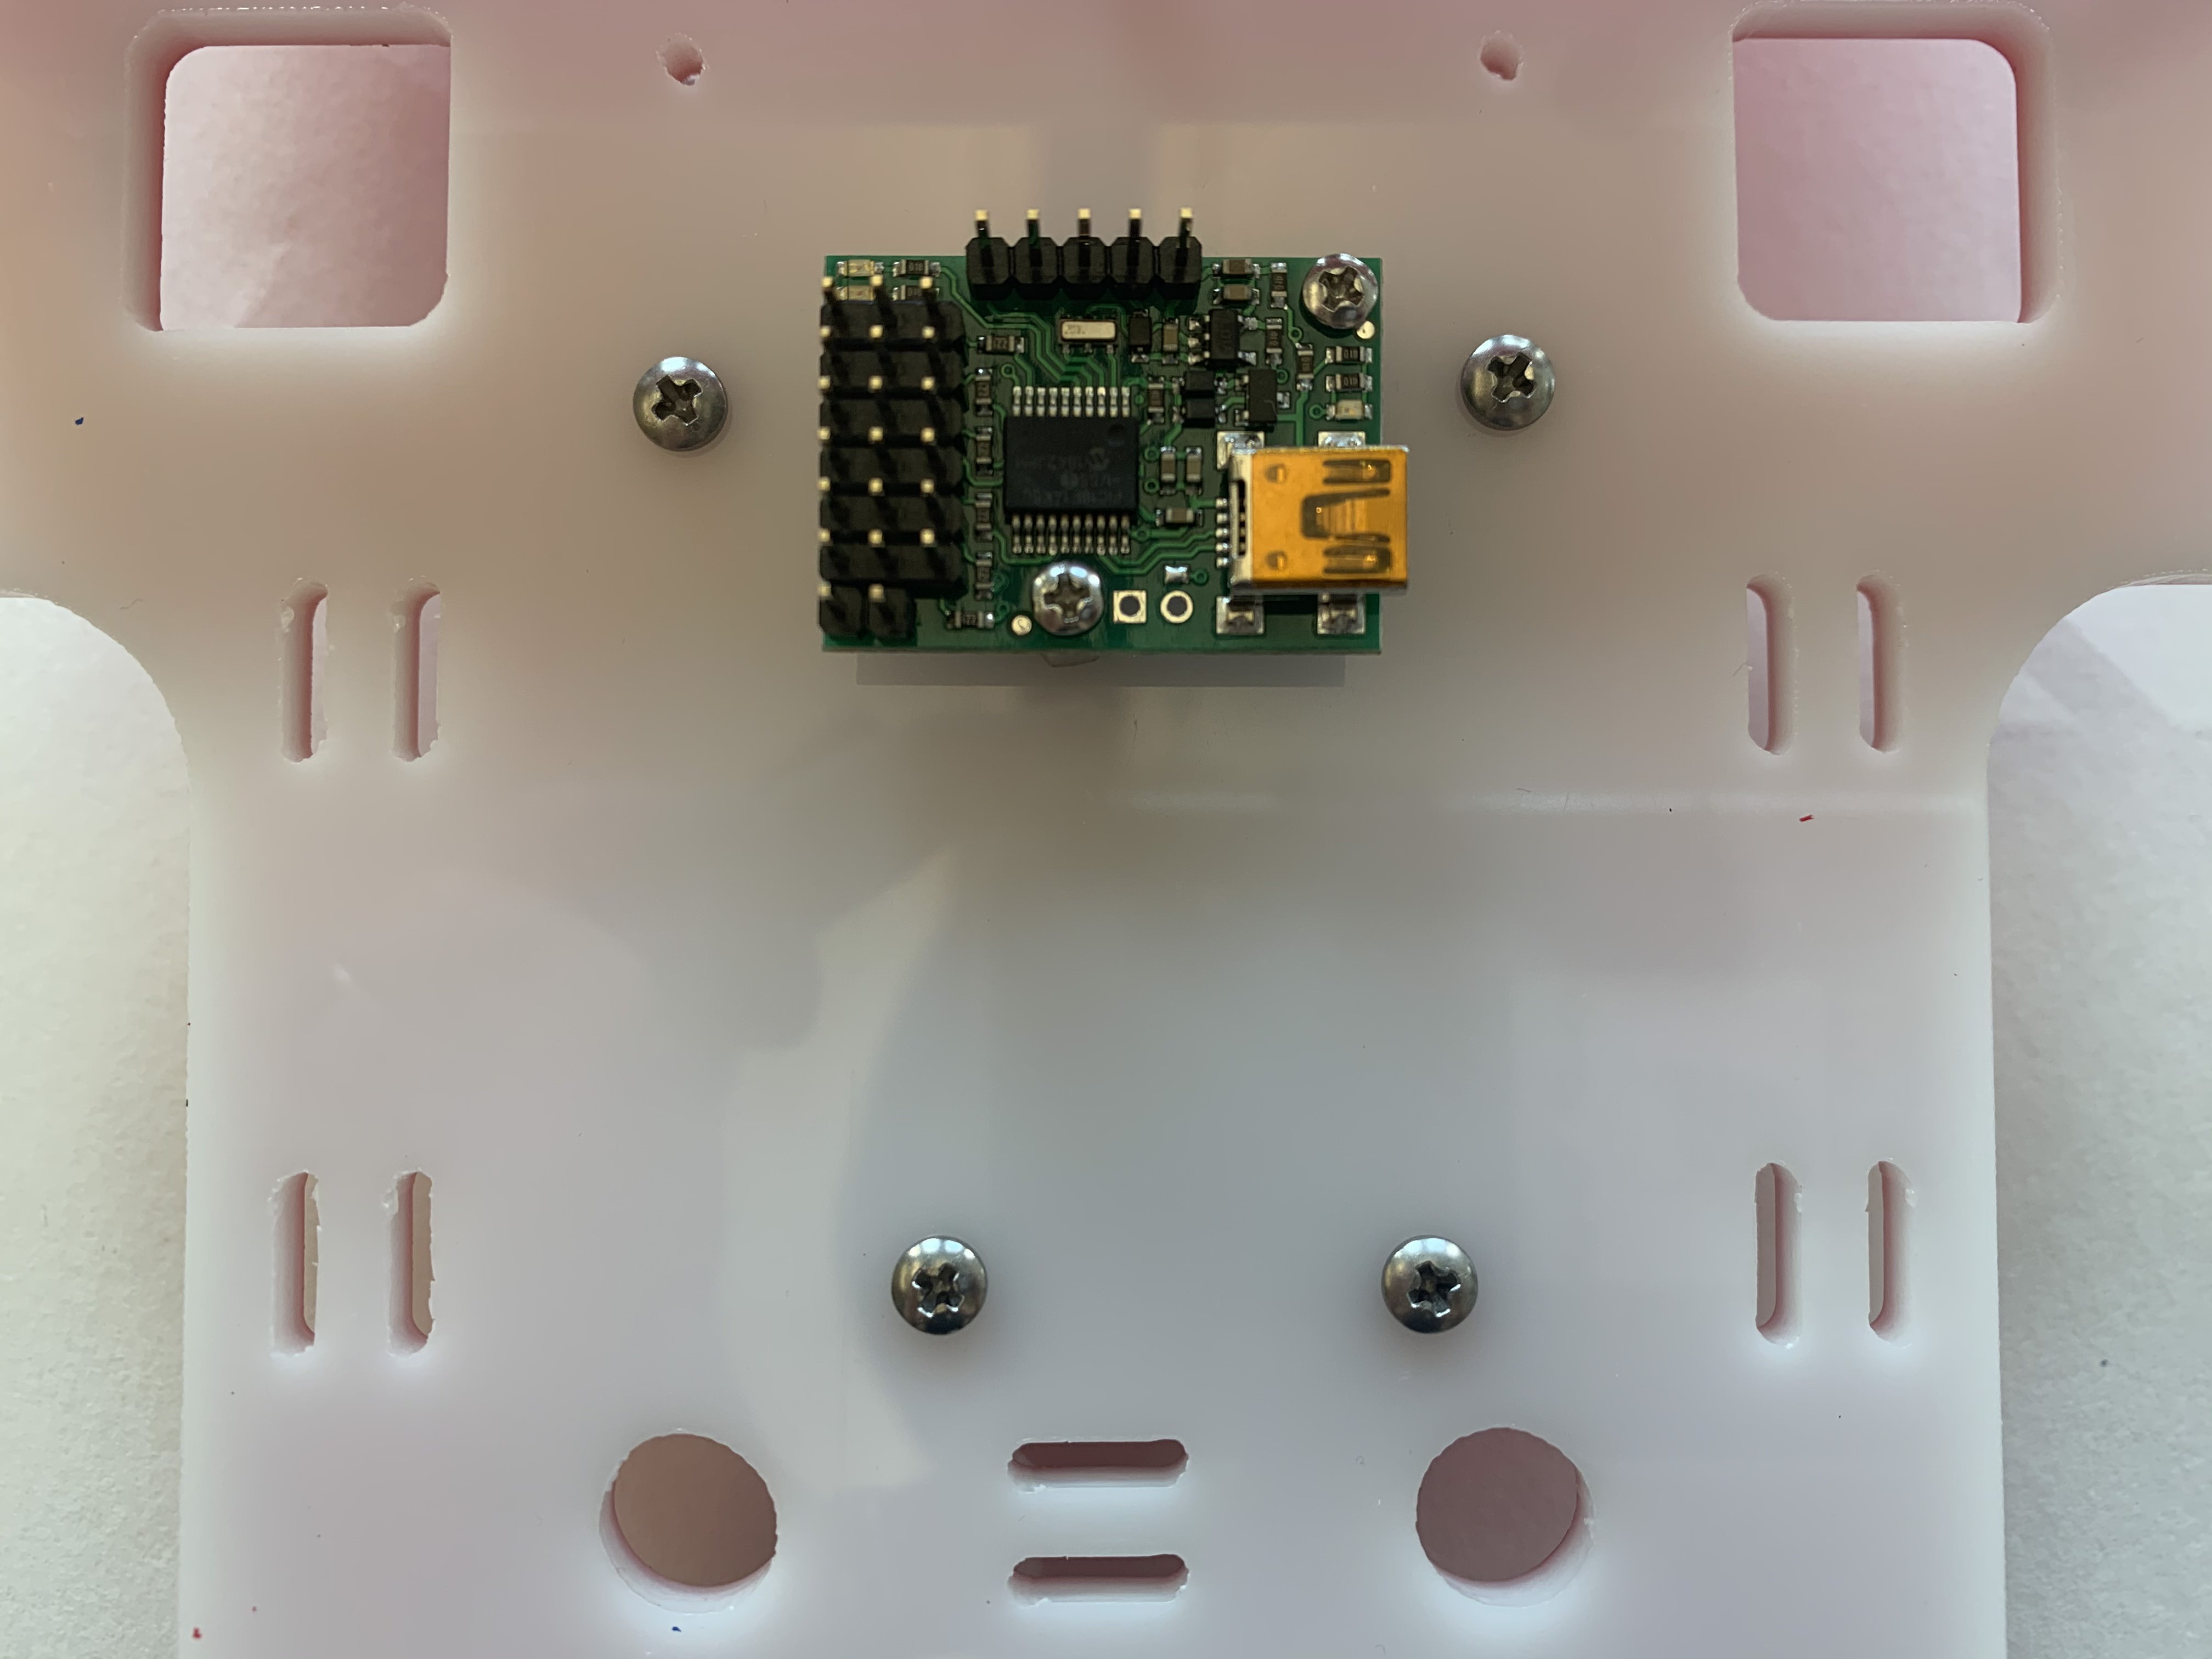
Screw four 4-40 5/8 screws (C) through the uncolored side of the bottom plate such that they tap into the main holes of the Arduino and the head touches the uncolored side of the bottom plate. These screws should pass through the bottom plate without tapping. Use a small Philips screwdriver to tighten the screws in a crisscross pattern with multiple stages.

5.2 Arduino Side Holes
Screw tightness: moderate
Screw 4-40 7/16 screws (D) into the two side holes in the Arduino. These screws should tap into the bottom plate and their head should touch the top of the Arduino plastic base. Notice that these screws are pointing the opposite direction as the screws in step 5.1.