Step 7: Monitor
New parts used in this step (see the Parts List for details):
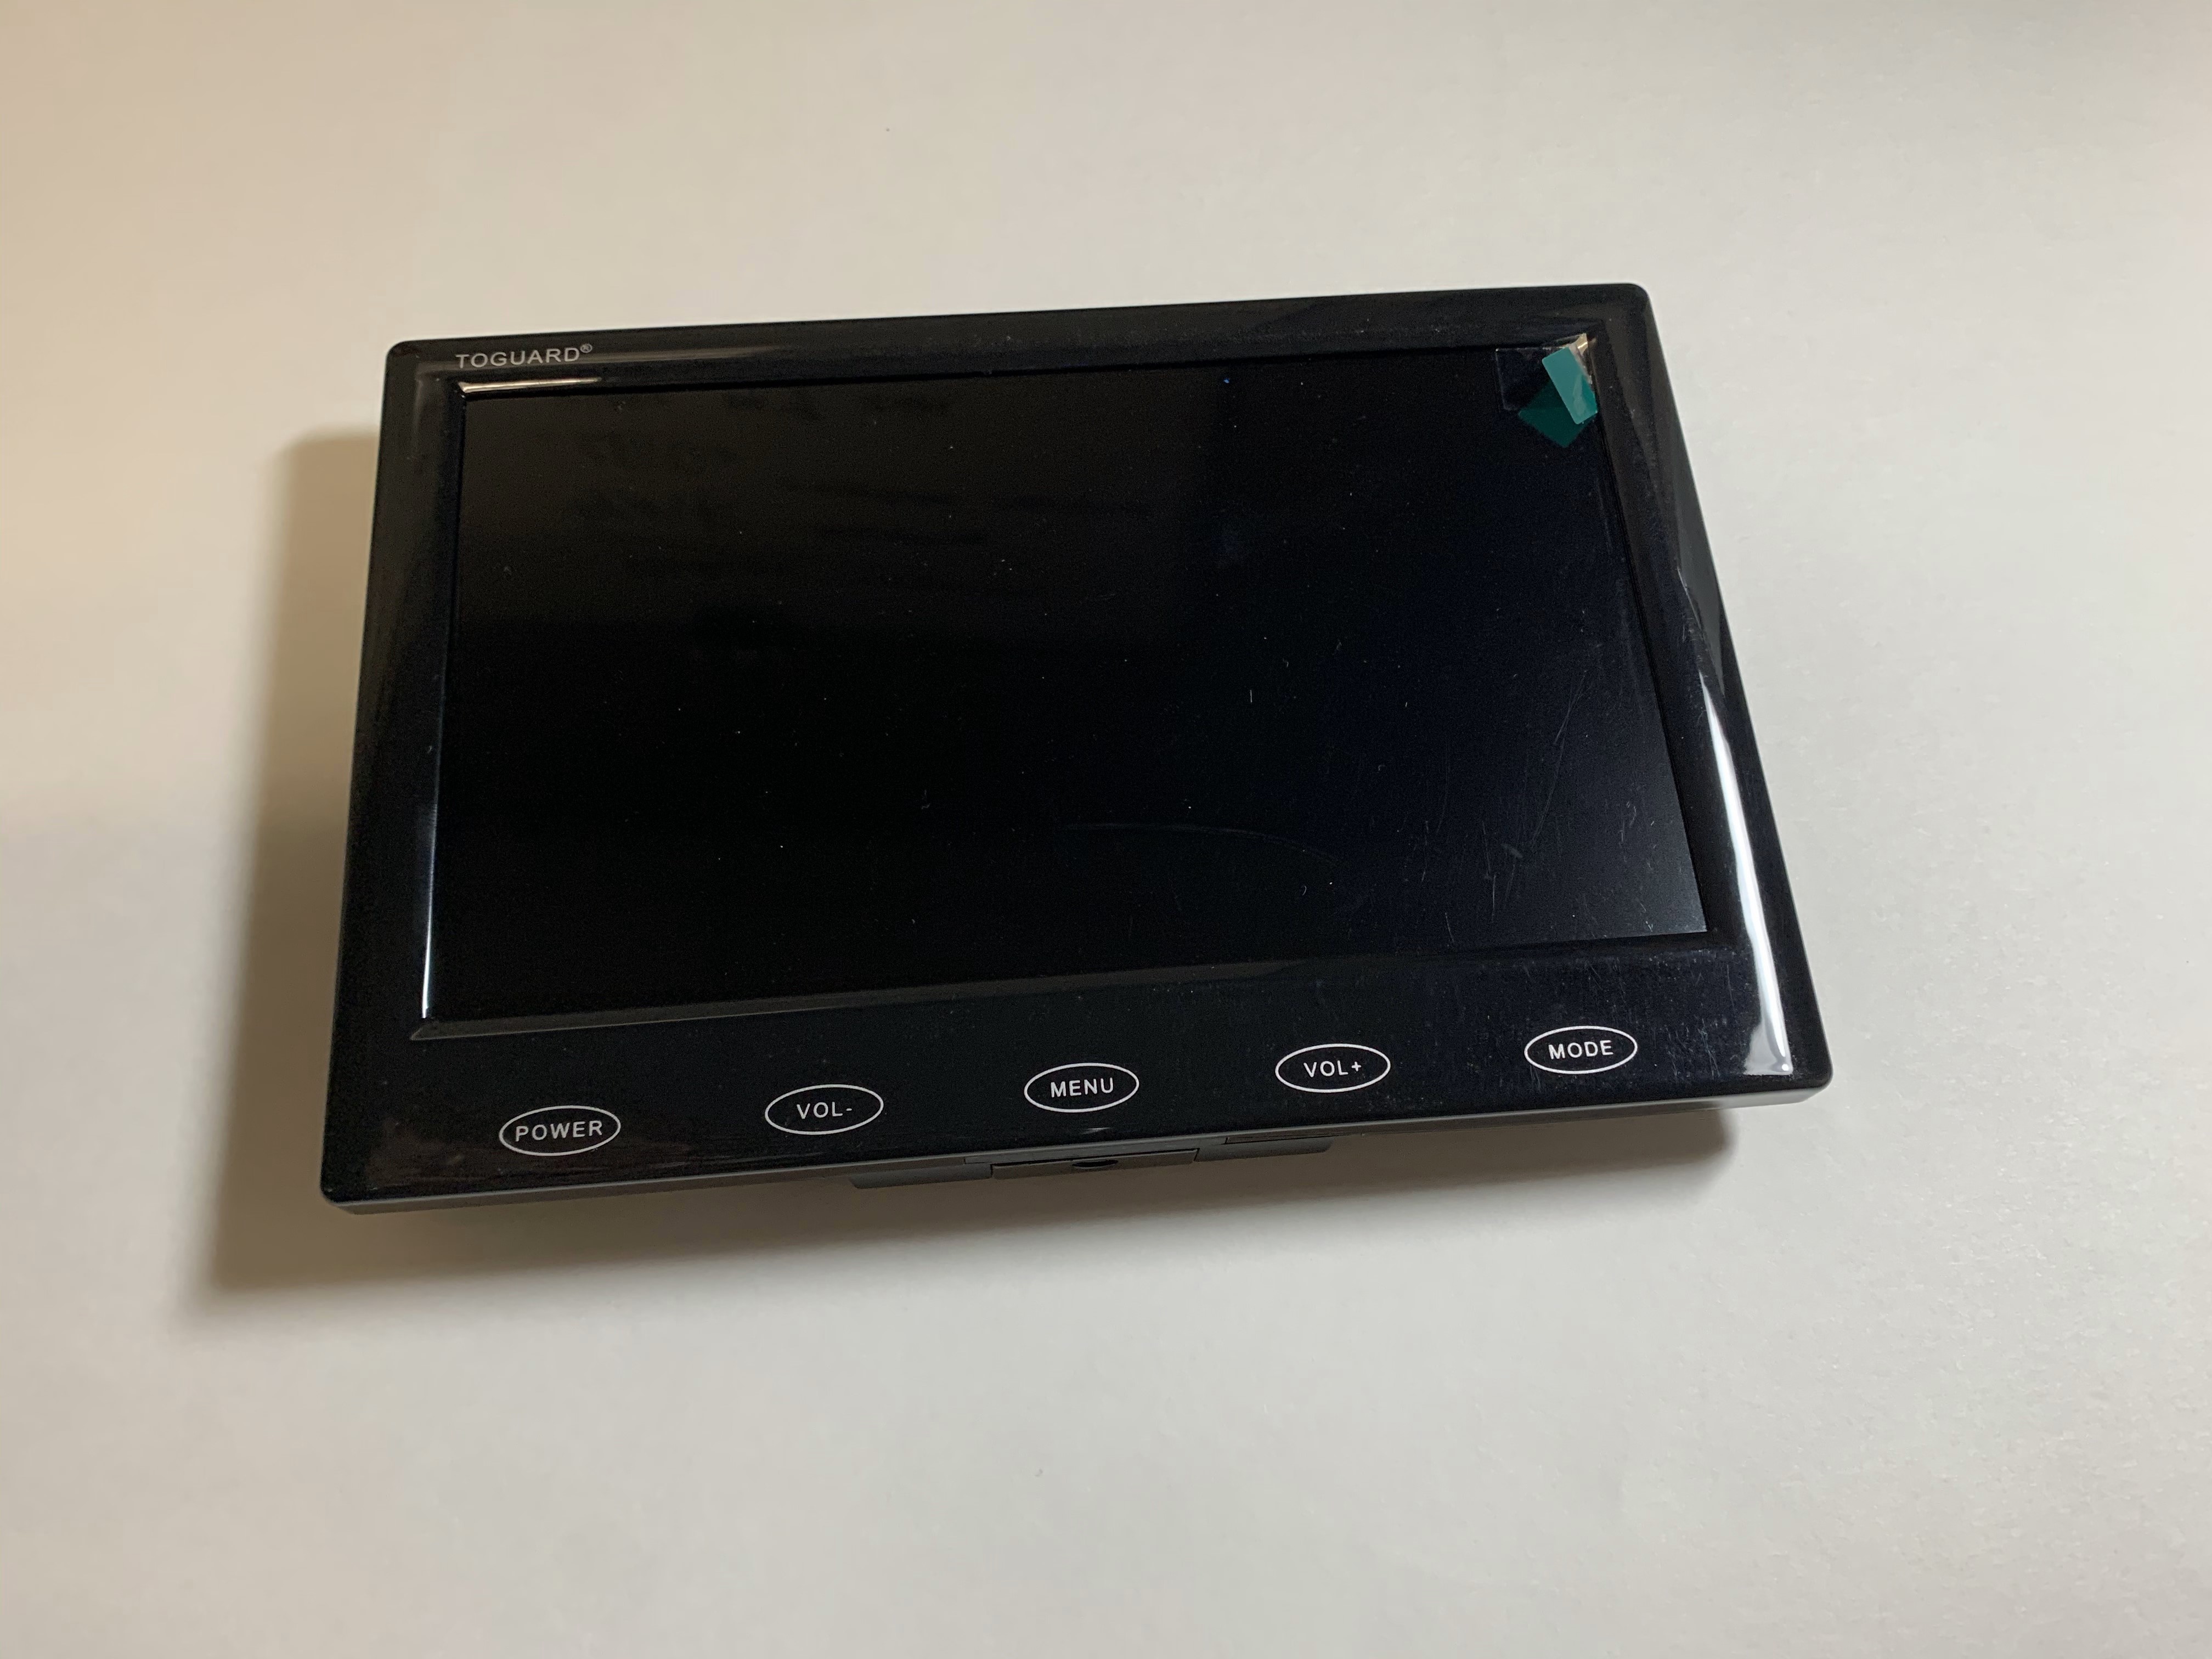
- monitor
- monitor support
- Four corner brackets
- Six 8-32 9/16 screws (B)
- One M6x1 8mm screw (G)
- Four locknuts
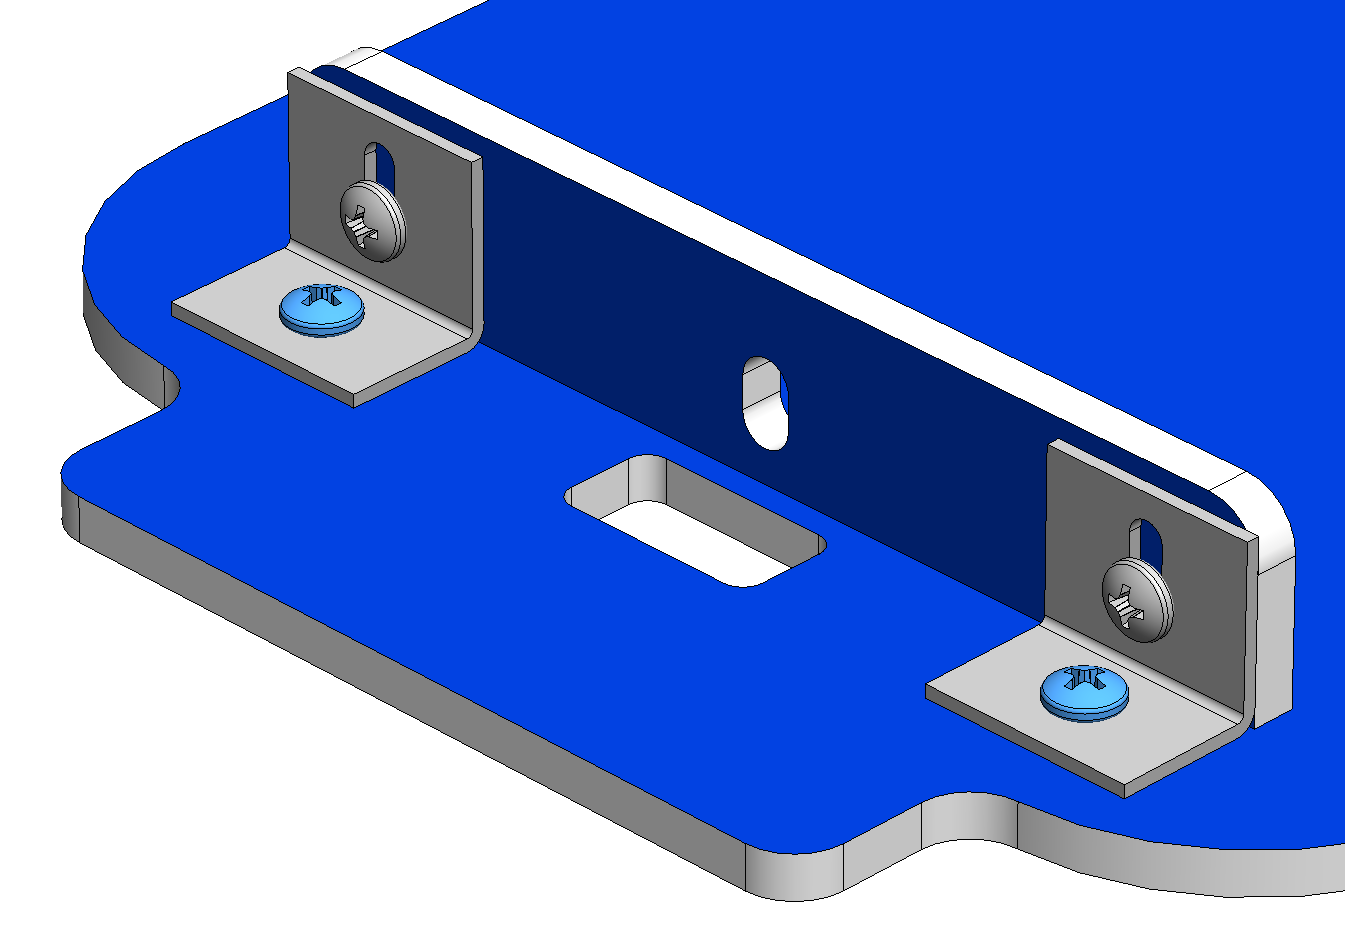
Notice that the shorter side of each corner bracket has a circular hole and the longer side has a straight slot.

If the monitor has a clear plastic film, leave this film on until the car is entirely assembled to help protect it from scratches.
7.1 Create Monitor Support
Screw tightness: moderate
Without fully tightening, attach two corner brackets to the monitor support piece. Place an 8-32 9/16 screw (B) through each corner bracket slot and tap the screw into one of the side holes in the monitor support, such that the head of the screw touches the corner bracket. Partially tighten each screw with a large Philips screwdriver, but leave it loose enough for the corner brackets to move freely.
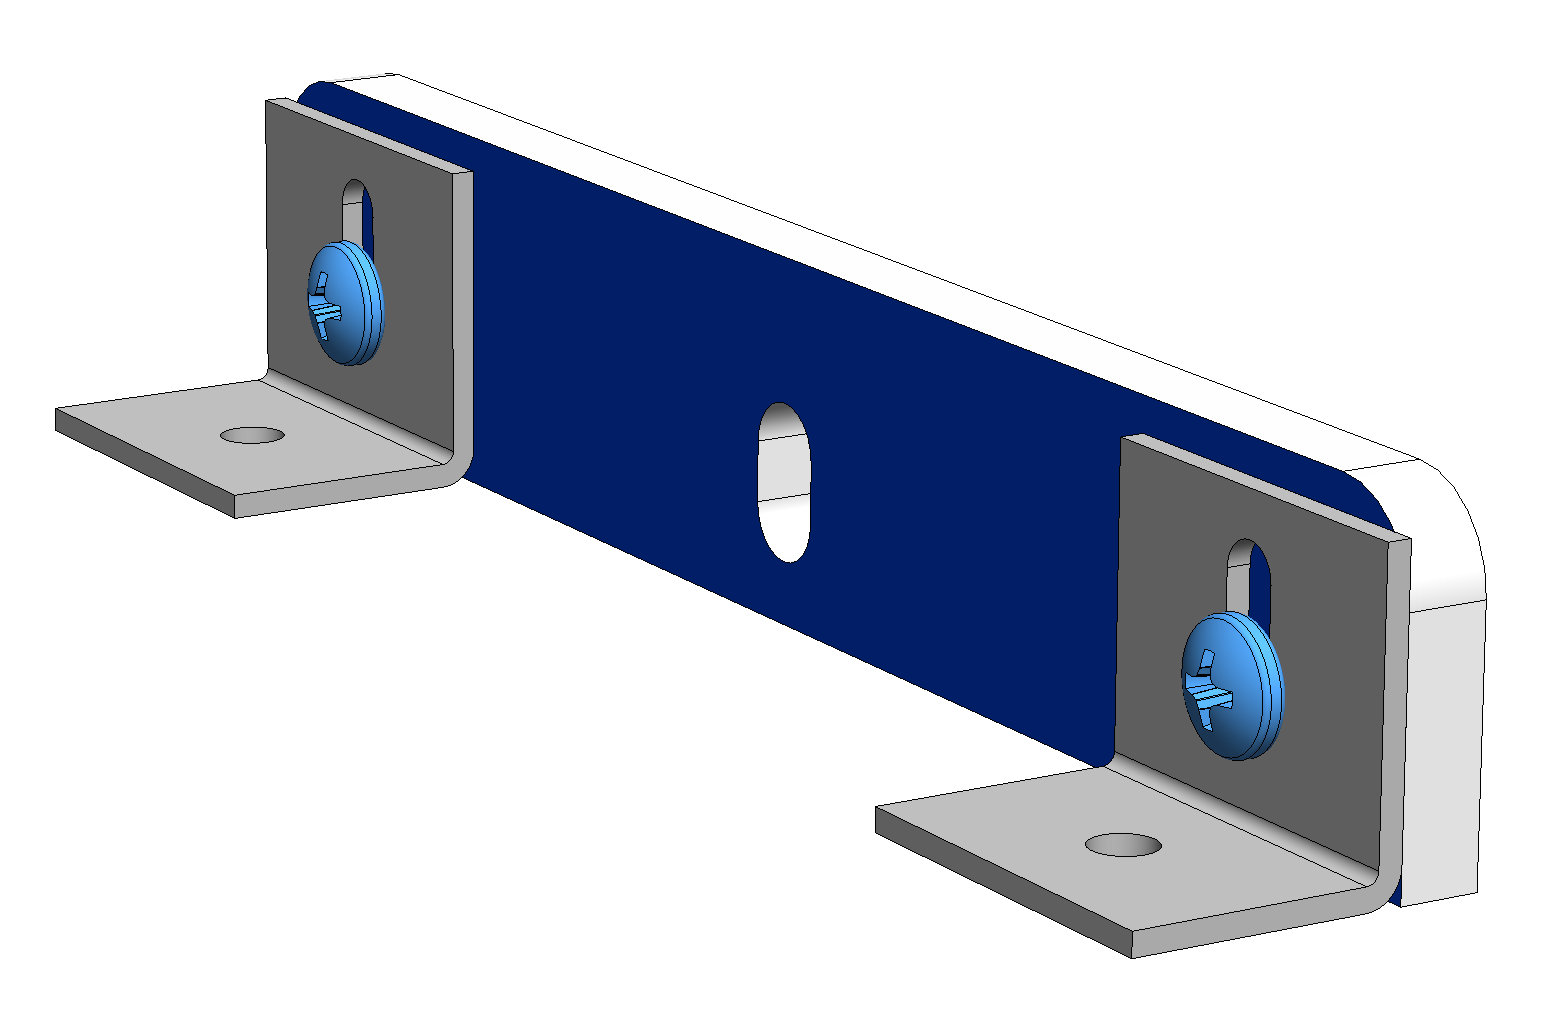

Place the monitor support against a flat surface and align the corner brackets such that the bottom of the monitor support touches the flat surface. Once you find a good alignment, tighten the screws the rest of the way to keep the corner brackets in place.
7.2 Attach Monitor Support to Frame
Screw tightness: very tight
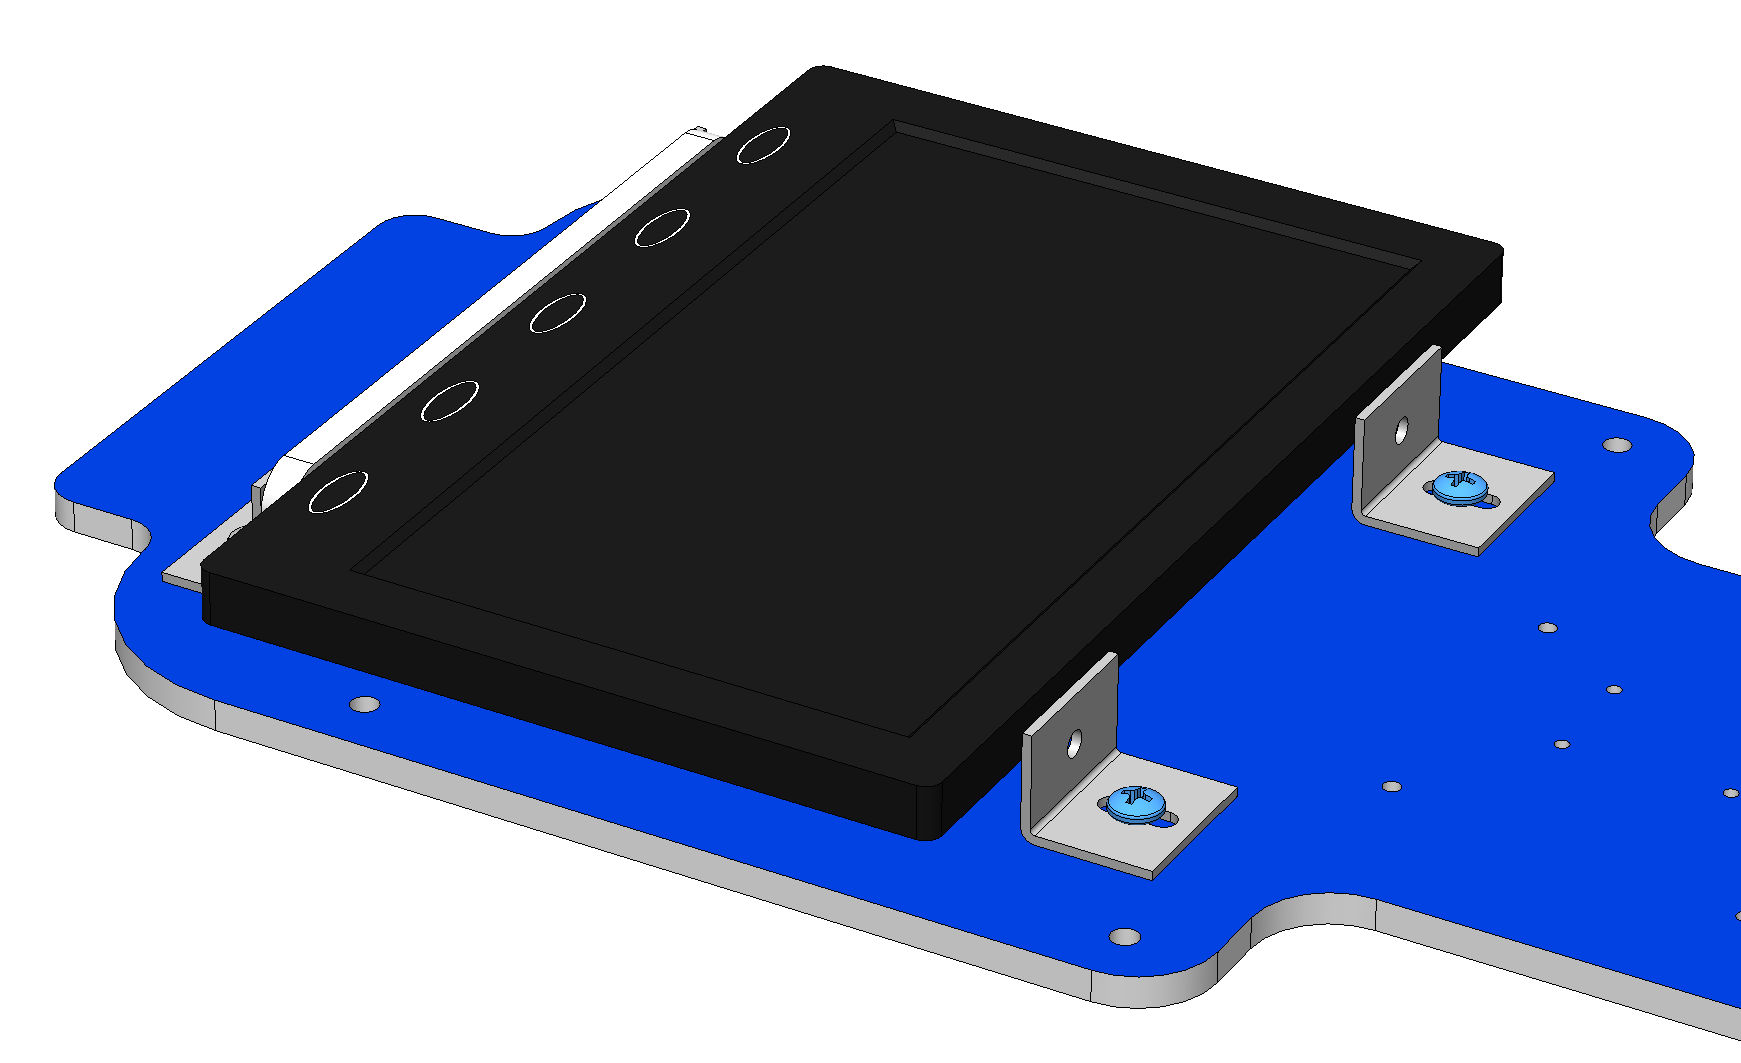
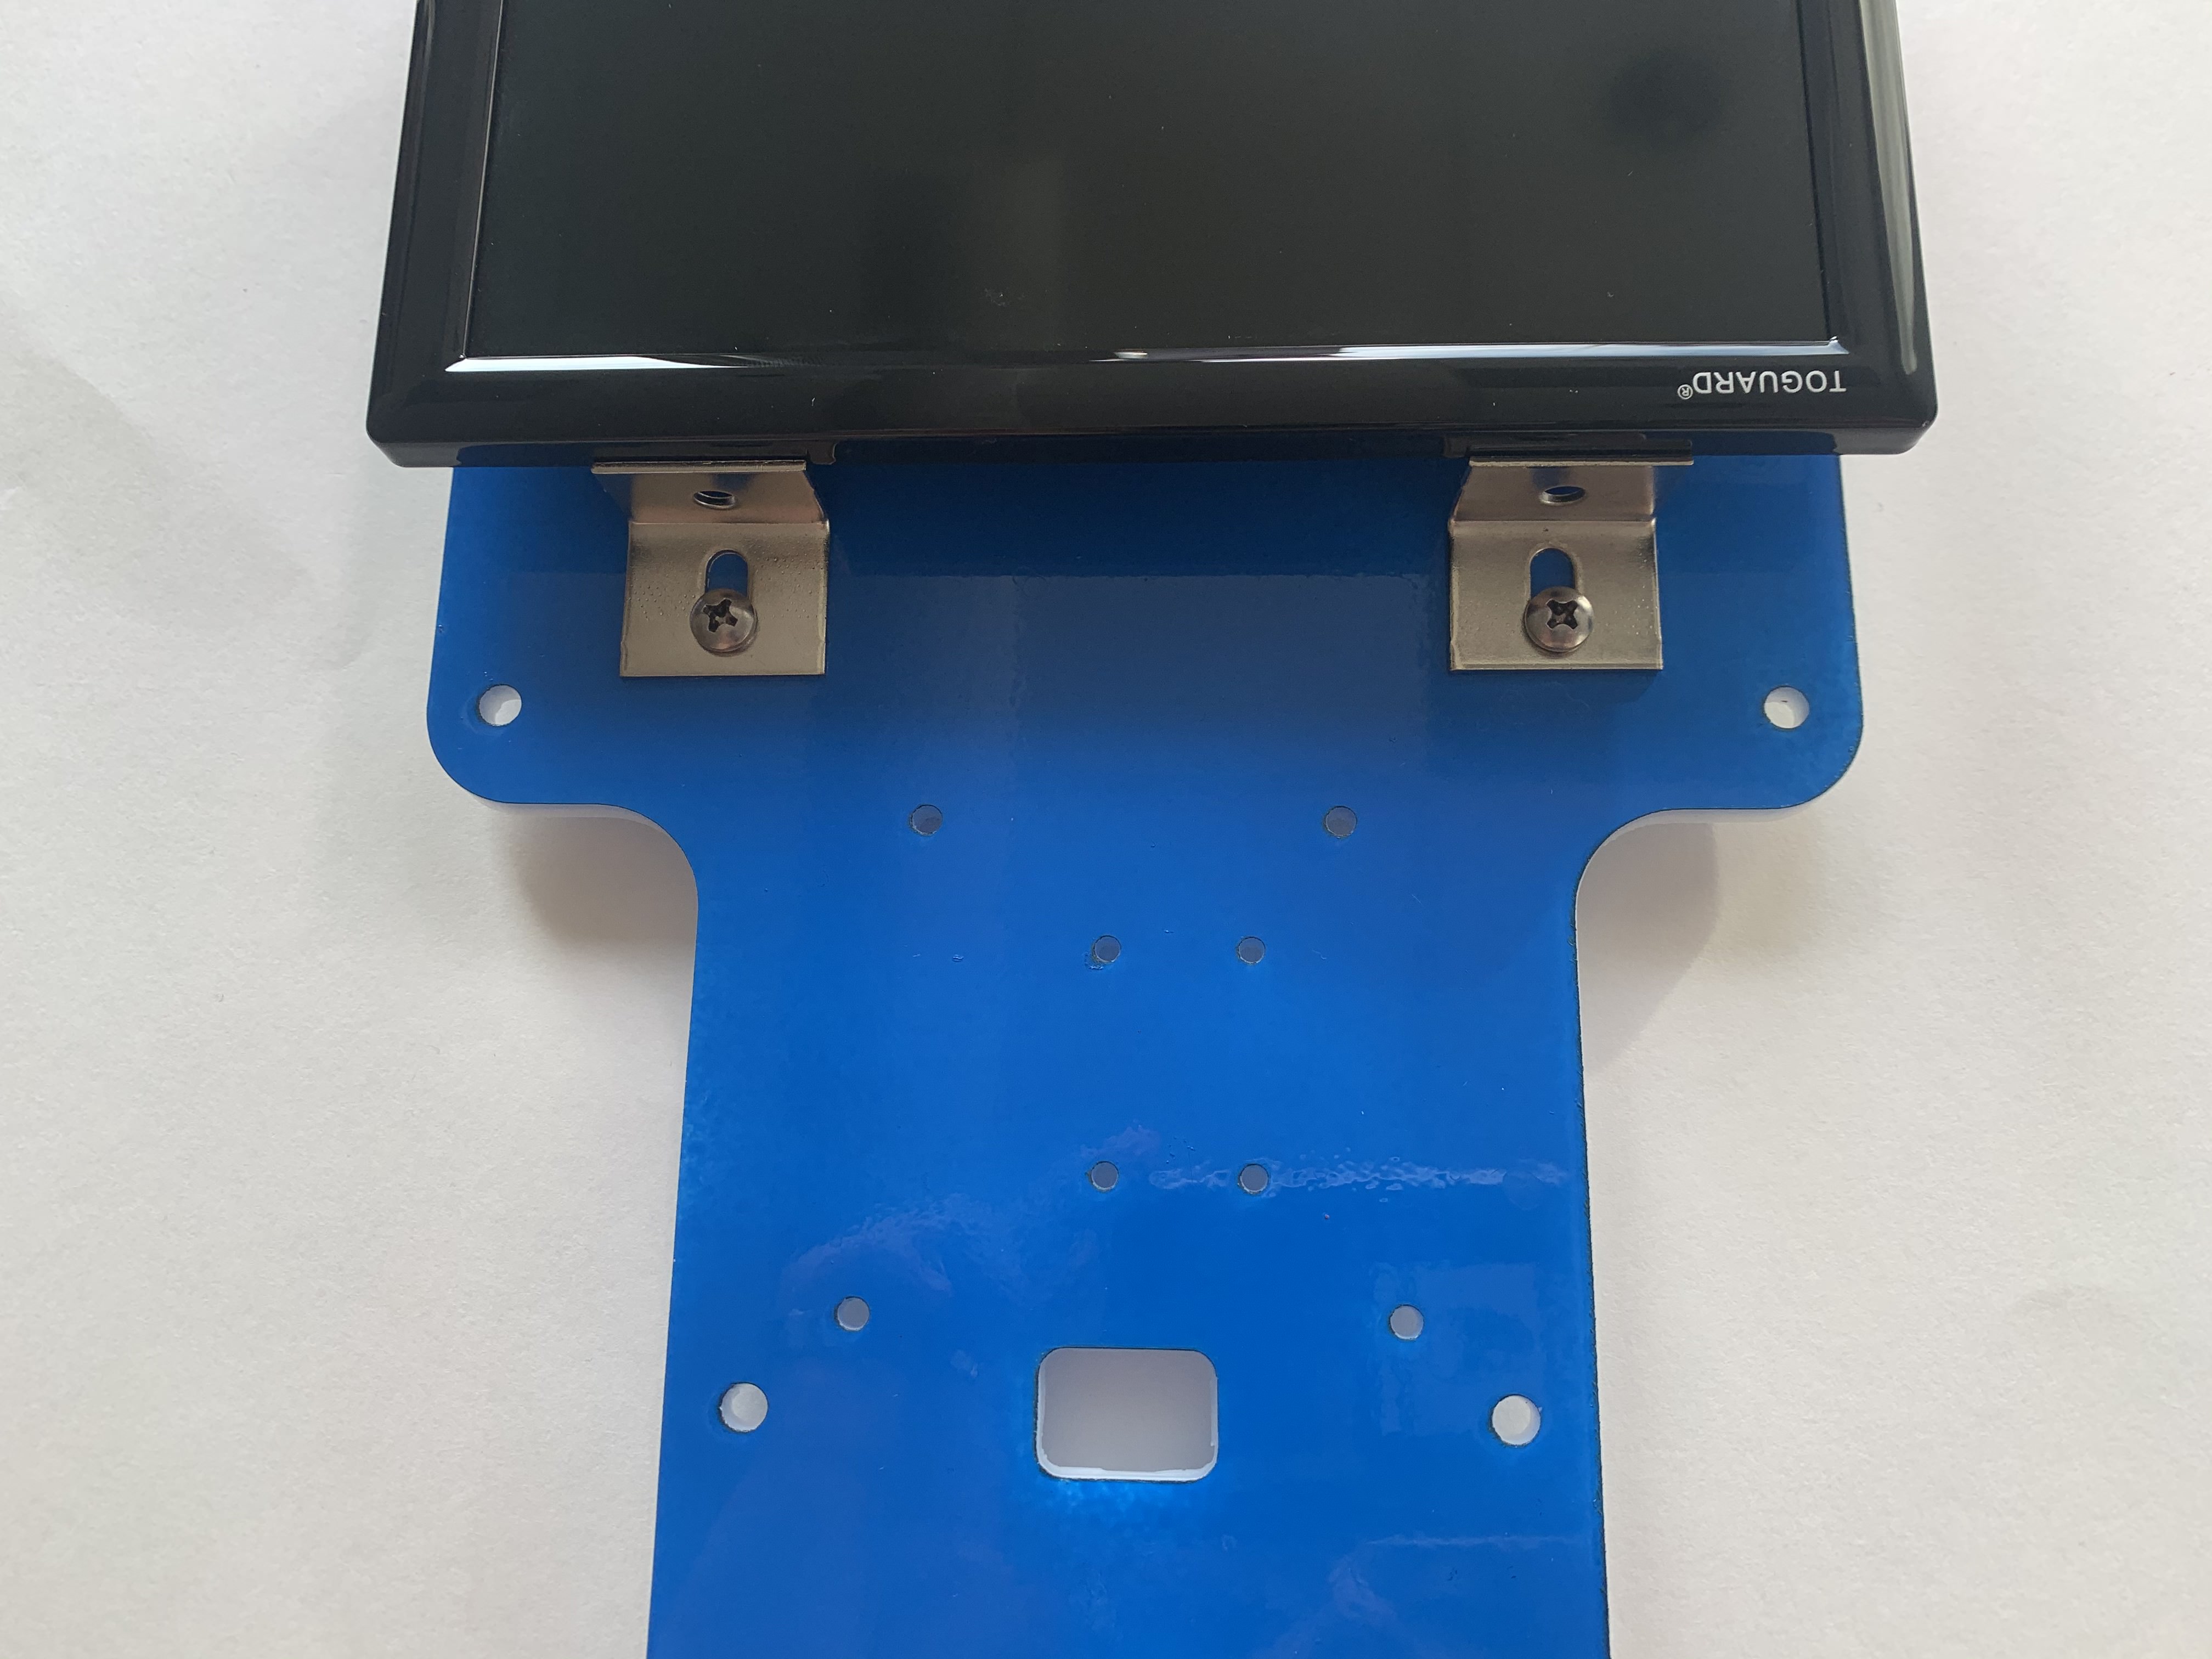
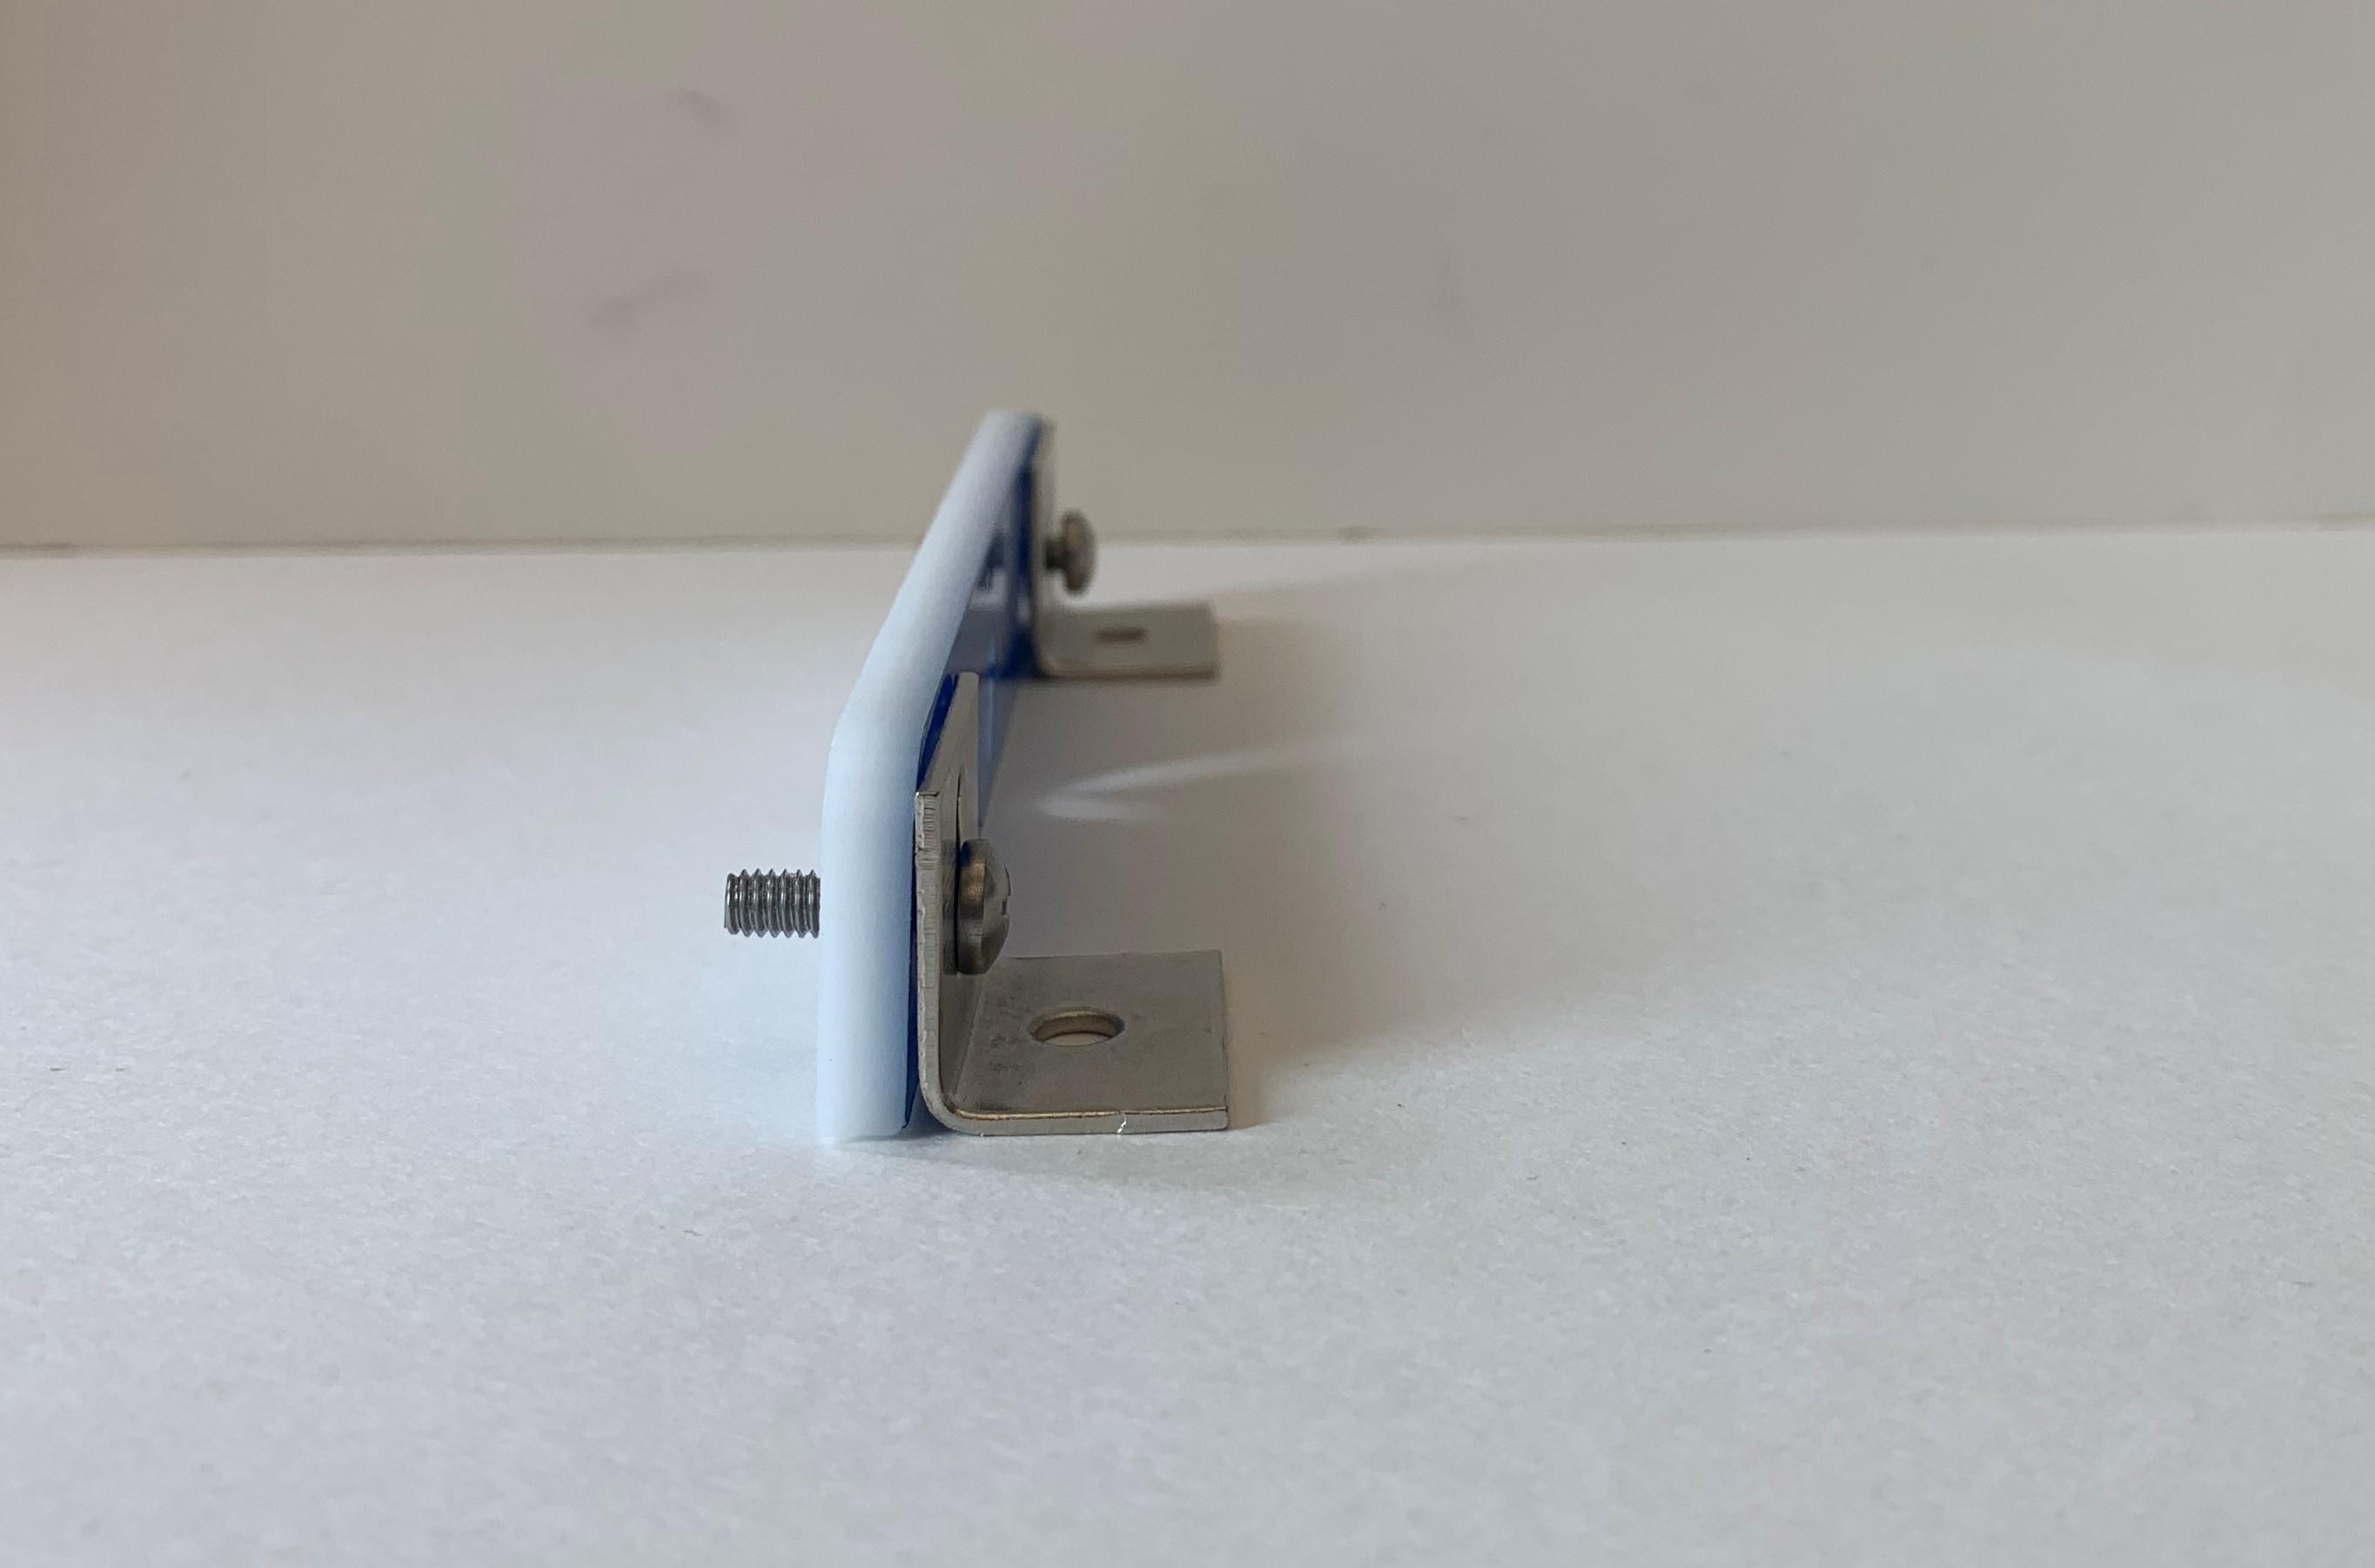
Attach the monitor support to the blue side of the top frame using the two holes toward the back top frame. Place a 8-32 9/16 screw (B) through the circular hole in each corner bracket, place these screw through the two holes in the top frame, and attach a locknut to the end of each screw on the uncolored side of the top plate.
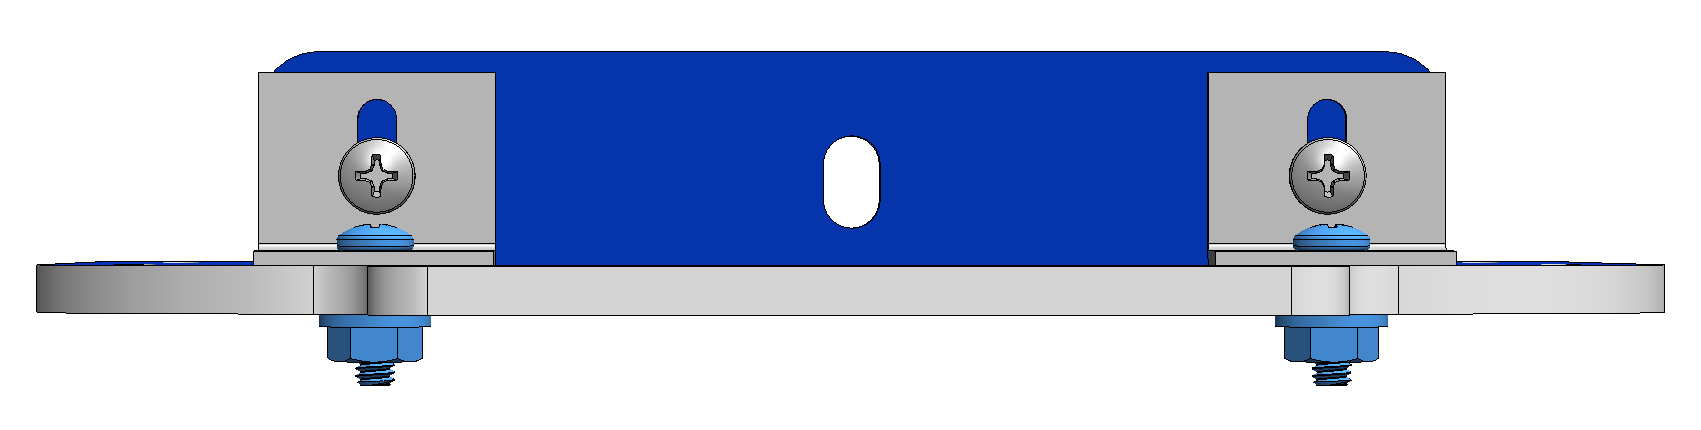
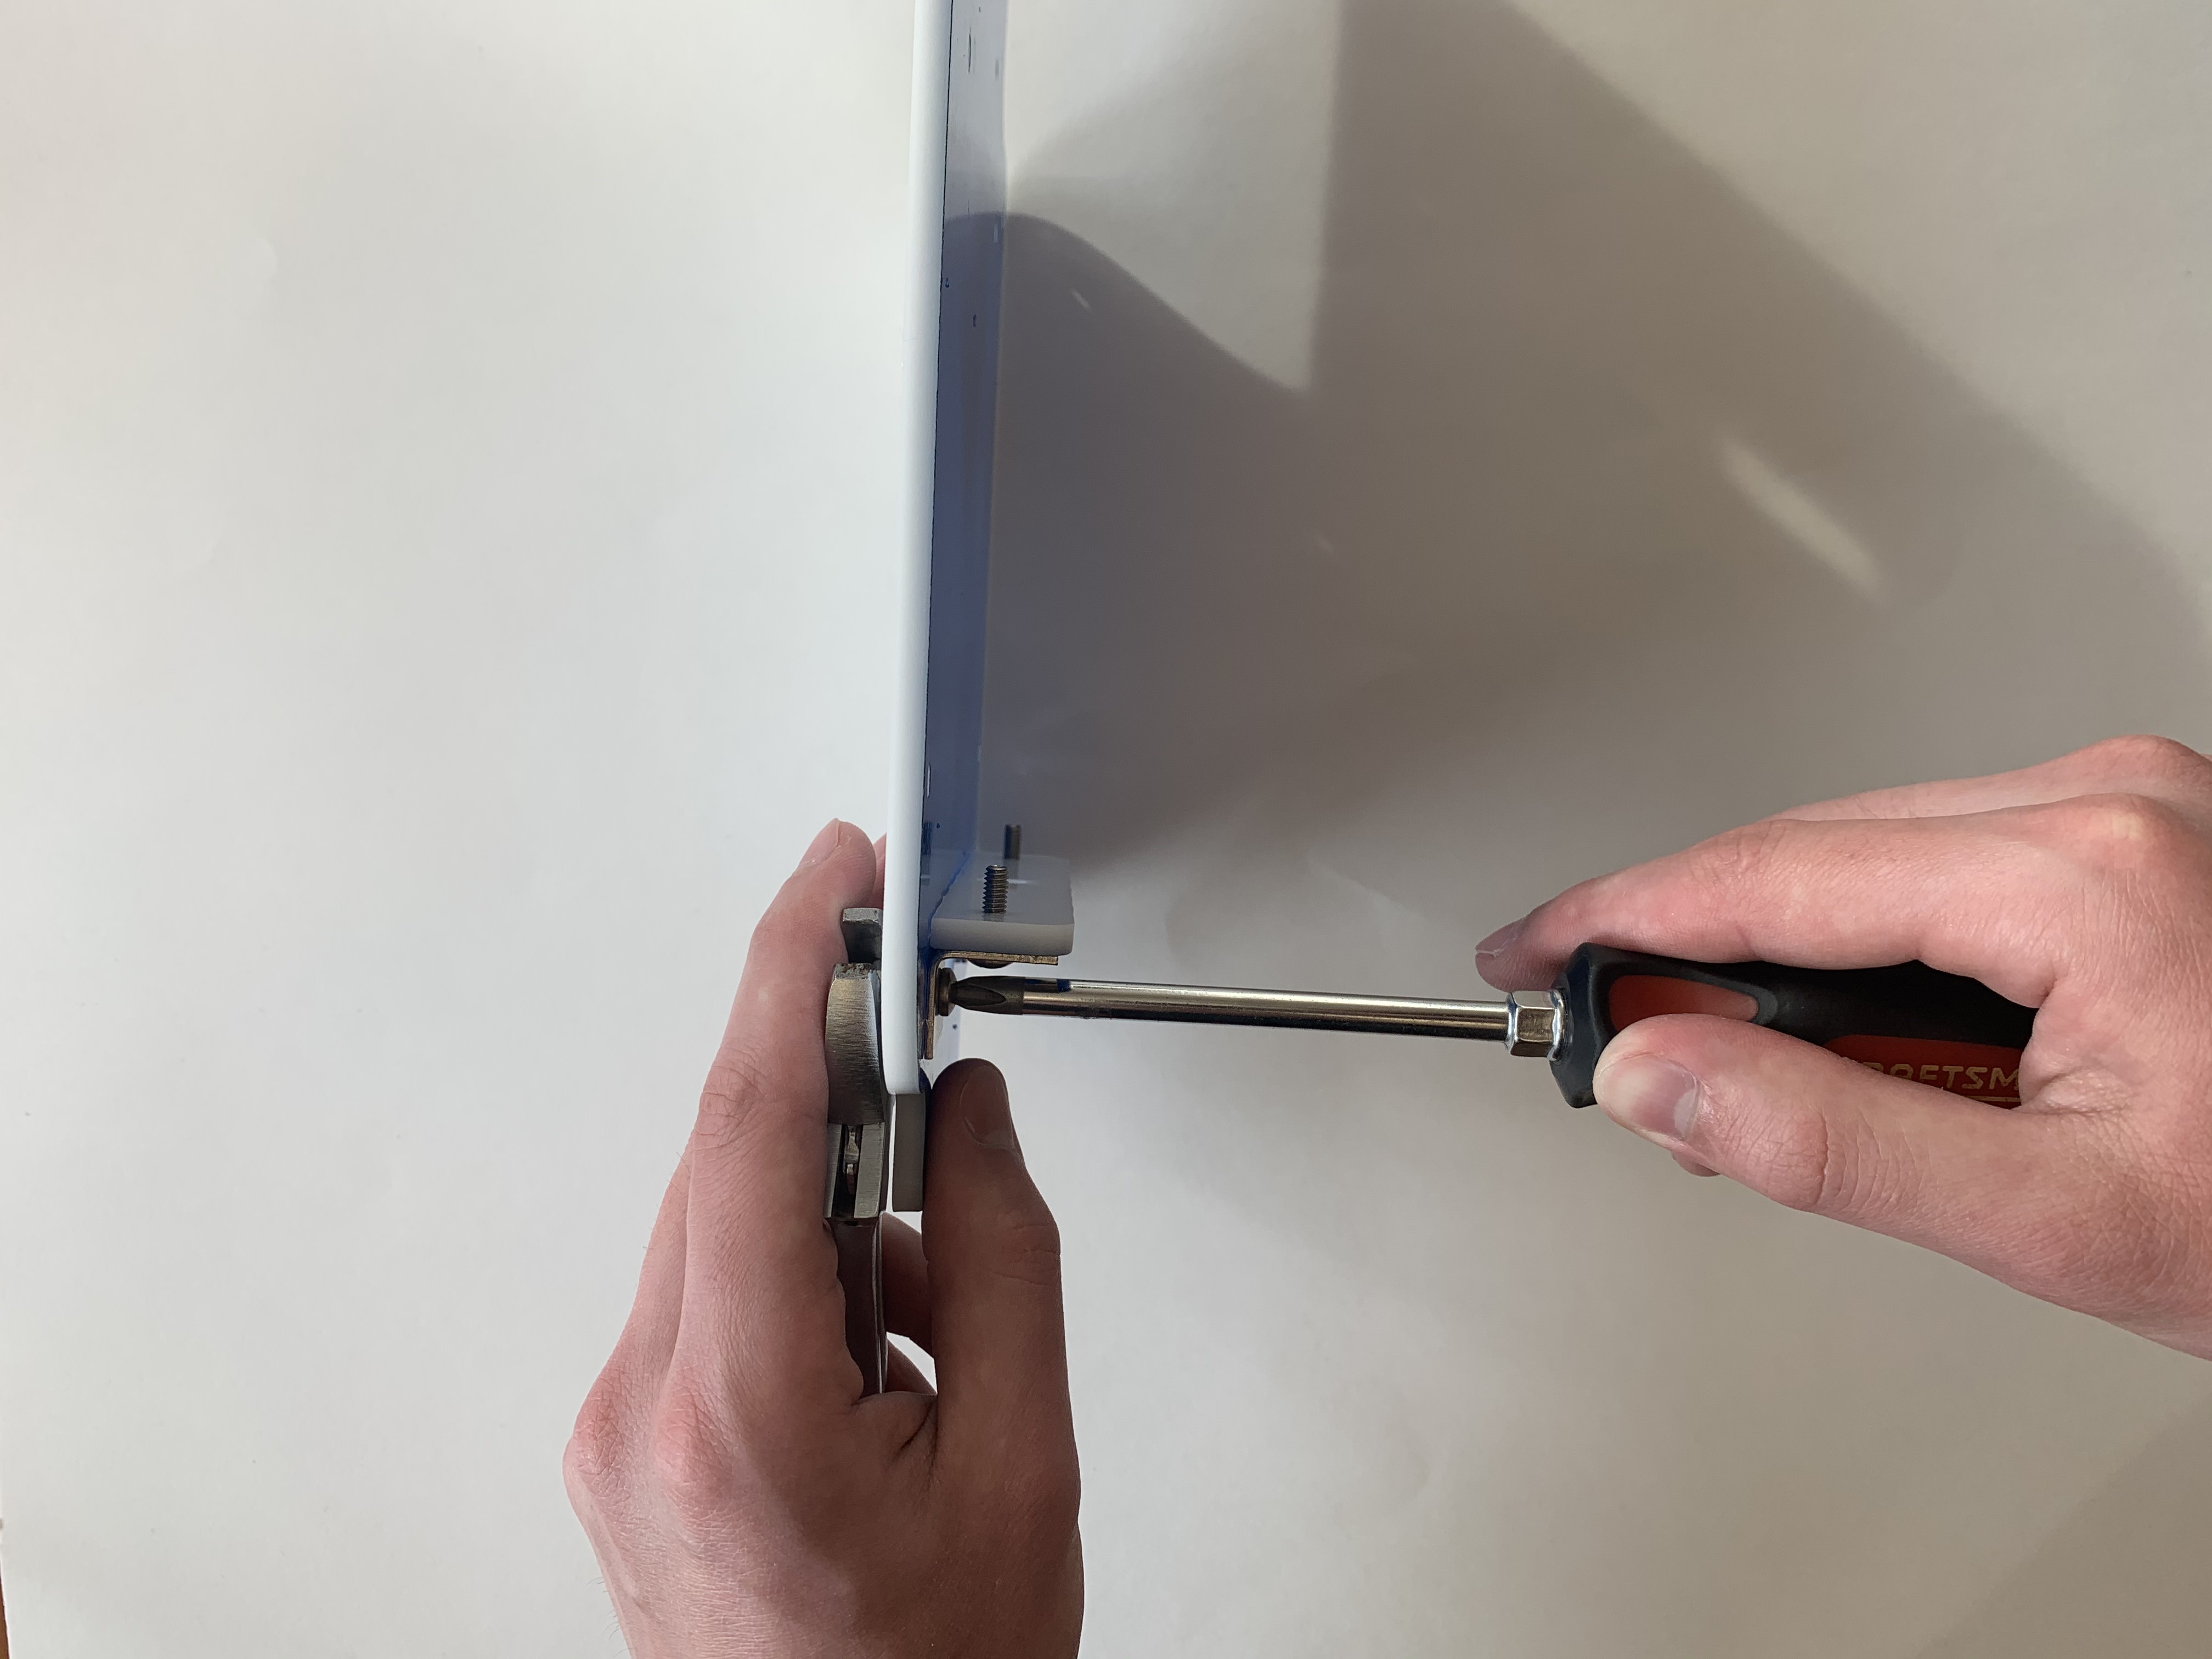
To tighten each screw, hold the locknut with a wrench and tighten the screw with a large Philips screwdriver as shown in the picture below. Be sure to tighten the screws in multiple stages, and in the final stage, tighten the screws as much as possible without hurting yourself.
7.3 Attach Monitor to Support
Screw tightness: tight
Identify the threaded hole on the bottom of the monitor. Place the monitor on the blue side of the top plate such that its threaded hole lines up with the slot in the center of the monitor support. Screw a M6x1 8mm screw (G) through the monitor support into the threaded hole in the monitor using a large Philips screwdriver.
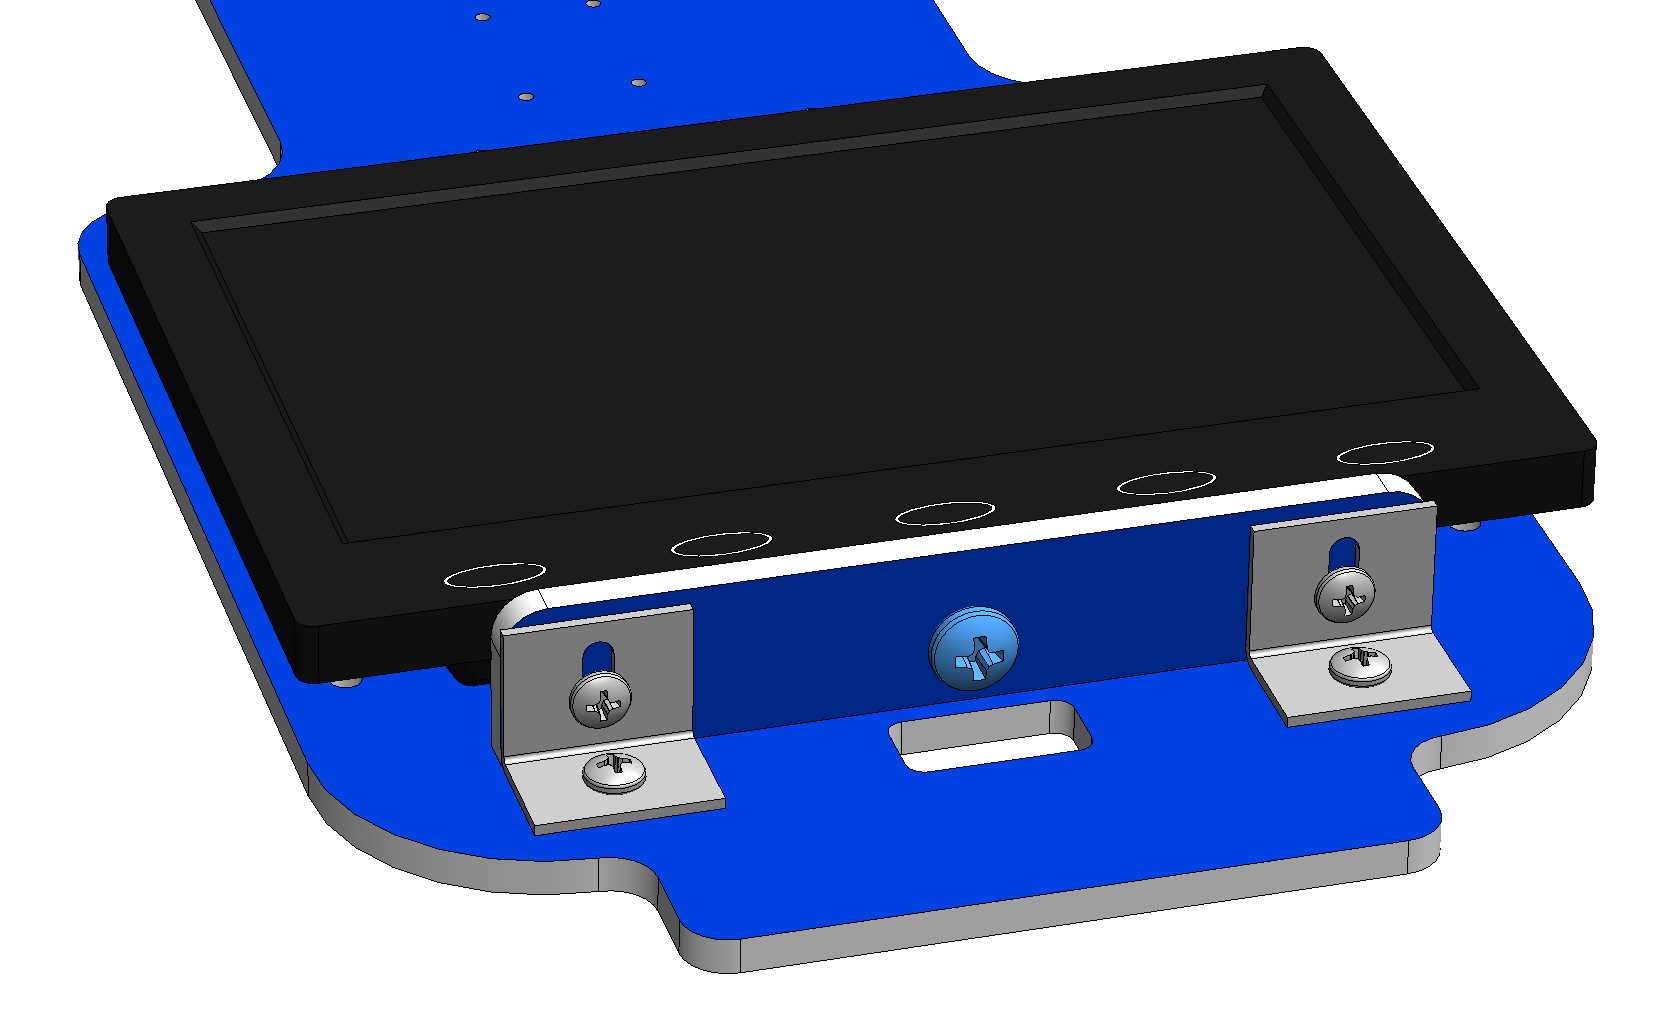

7.4 Attach Front Corner Brackets
Screw tightness: very tight
Identify the two screw holes in front of the monitor on the top plate. Secure the slotted side of a corner bracket to the blue side of each hole using an 8-32 9/16 screw (B) (with the head touching the corner bracket) and a locknut on the uncolored side of the hole. Align the corner bracket against the front of the monitor monitor. Tighten each screw using the same method shown in step 7.1 by holding the locknut with a wrench and tightening the screw with a large Philips screwdriver.