Step 3: Battery Cradle
New parts used in this step (see the Parts List for details):
- battery plate
- battery ring
- Six 4-40 FF standoffs
- Six 4-40 5/8 screws (C)
- Six 4-40 7/16 screws (D)
As a reminder, an FF standoff looks like this.

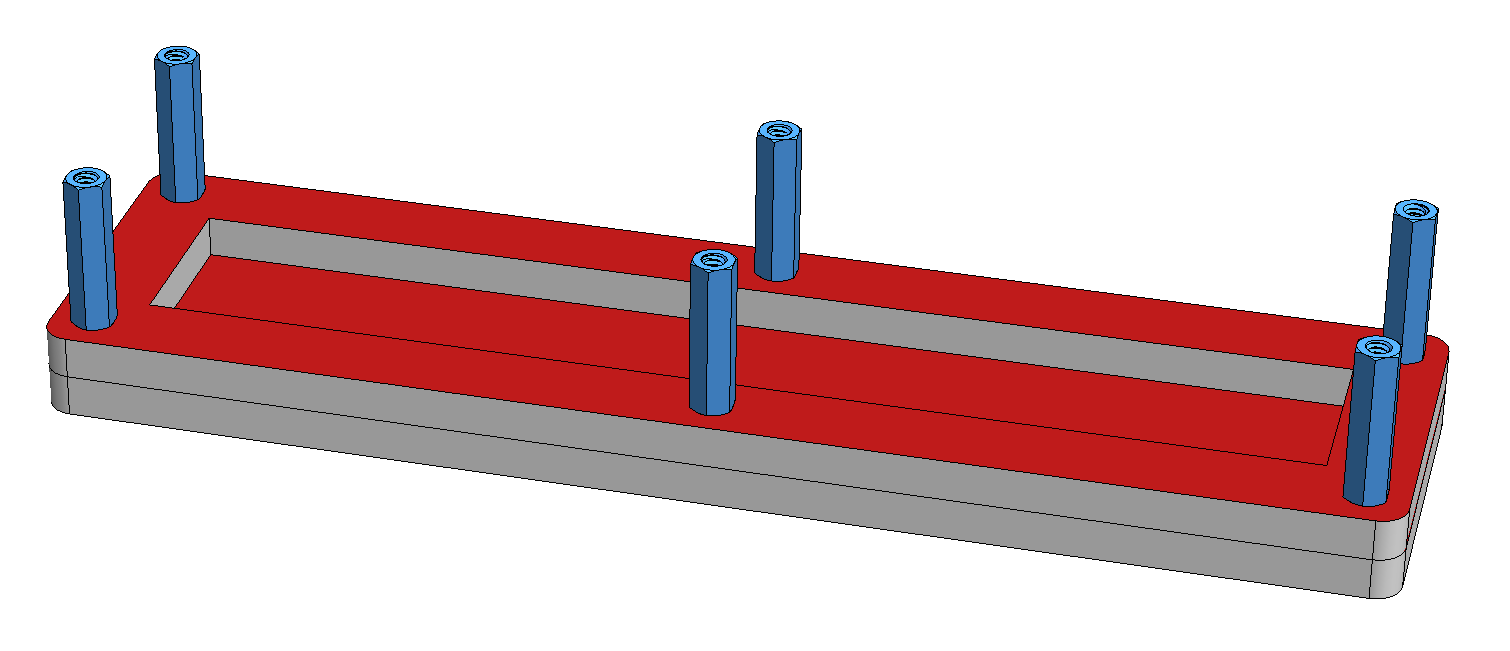
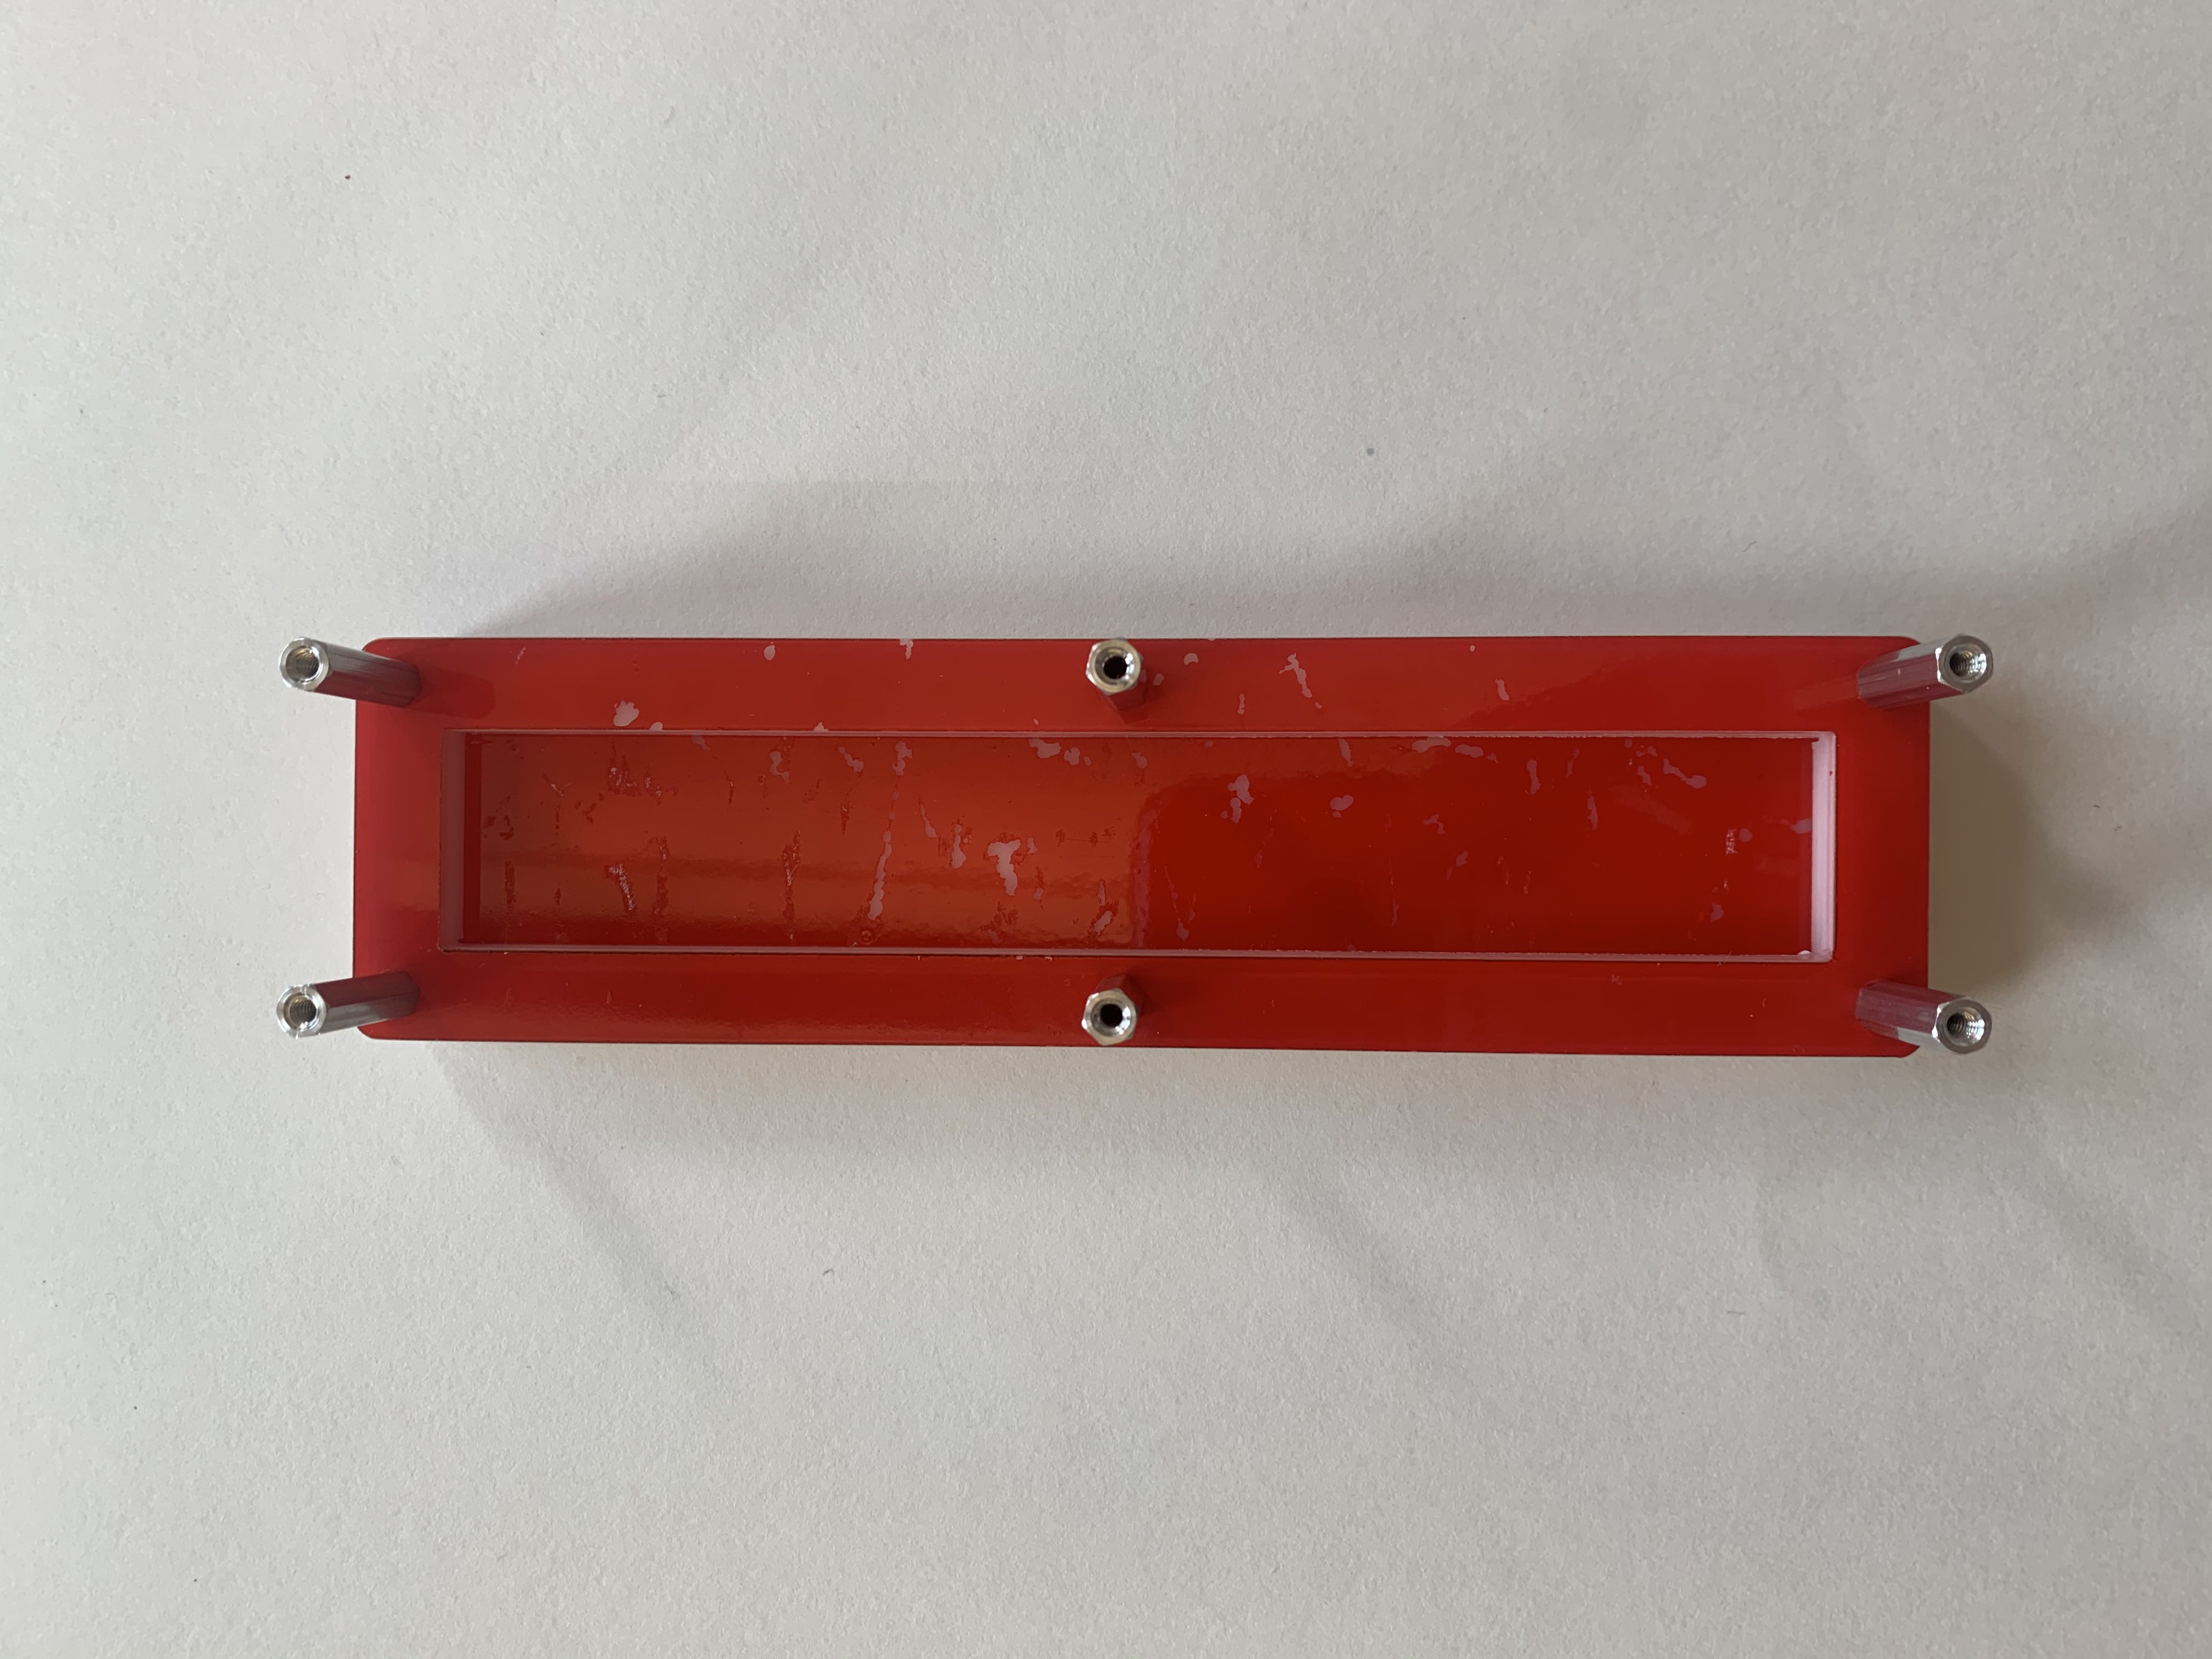
3.1 Create Battery Cradle
Screw tightness: tight
Place the battery ring on top of the red side of the battery plate such that the six holes align and the red side of both pieces face upwards. One at a time, place a 4-40 5/8 screw (C) through one hole and secure the other side with a 4-40 FF standoff. The head of the screw should touch the uncolored sid of the battery plate, and the 4-40 FF standoff should touch the red side of the battery ring. For now, you can simply tighten the standoff by hand. Repeat this process for all six holes.
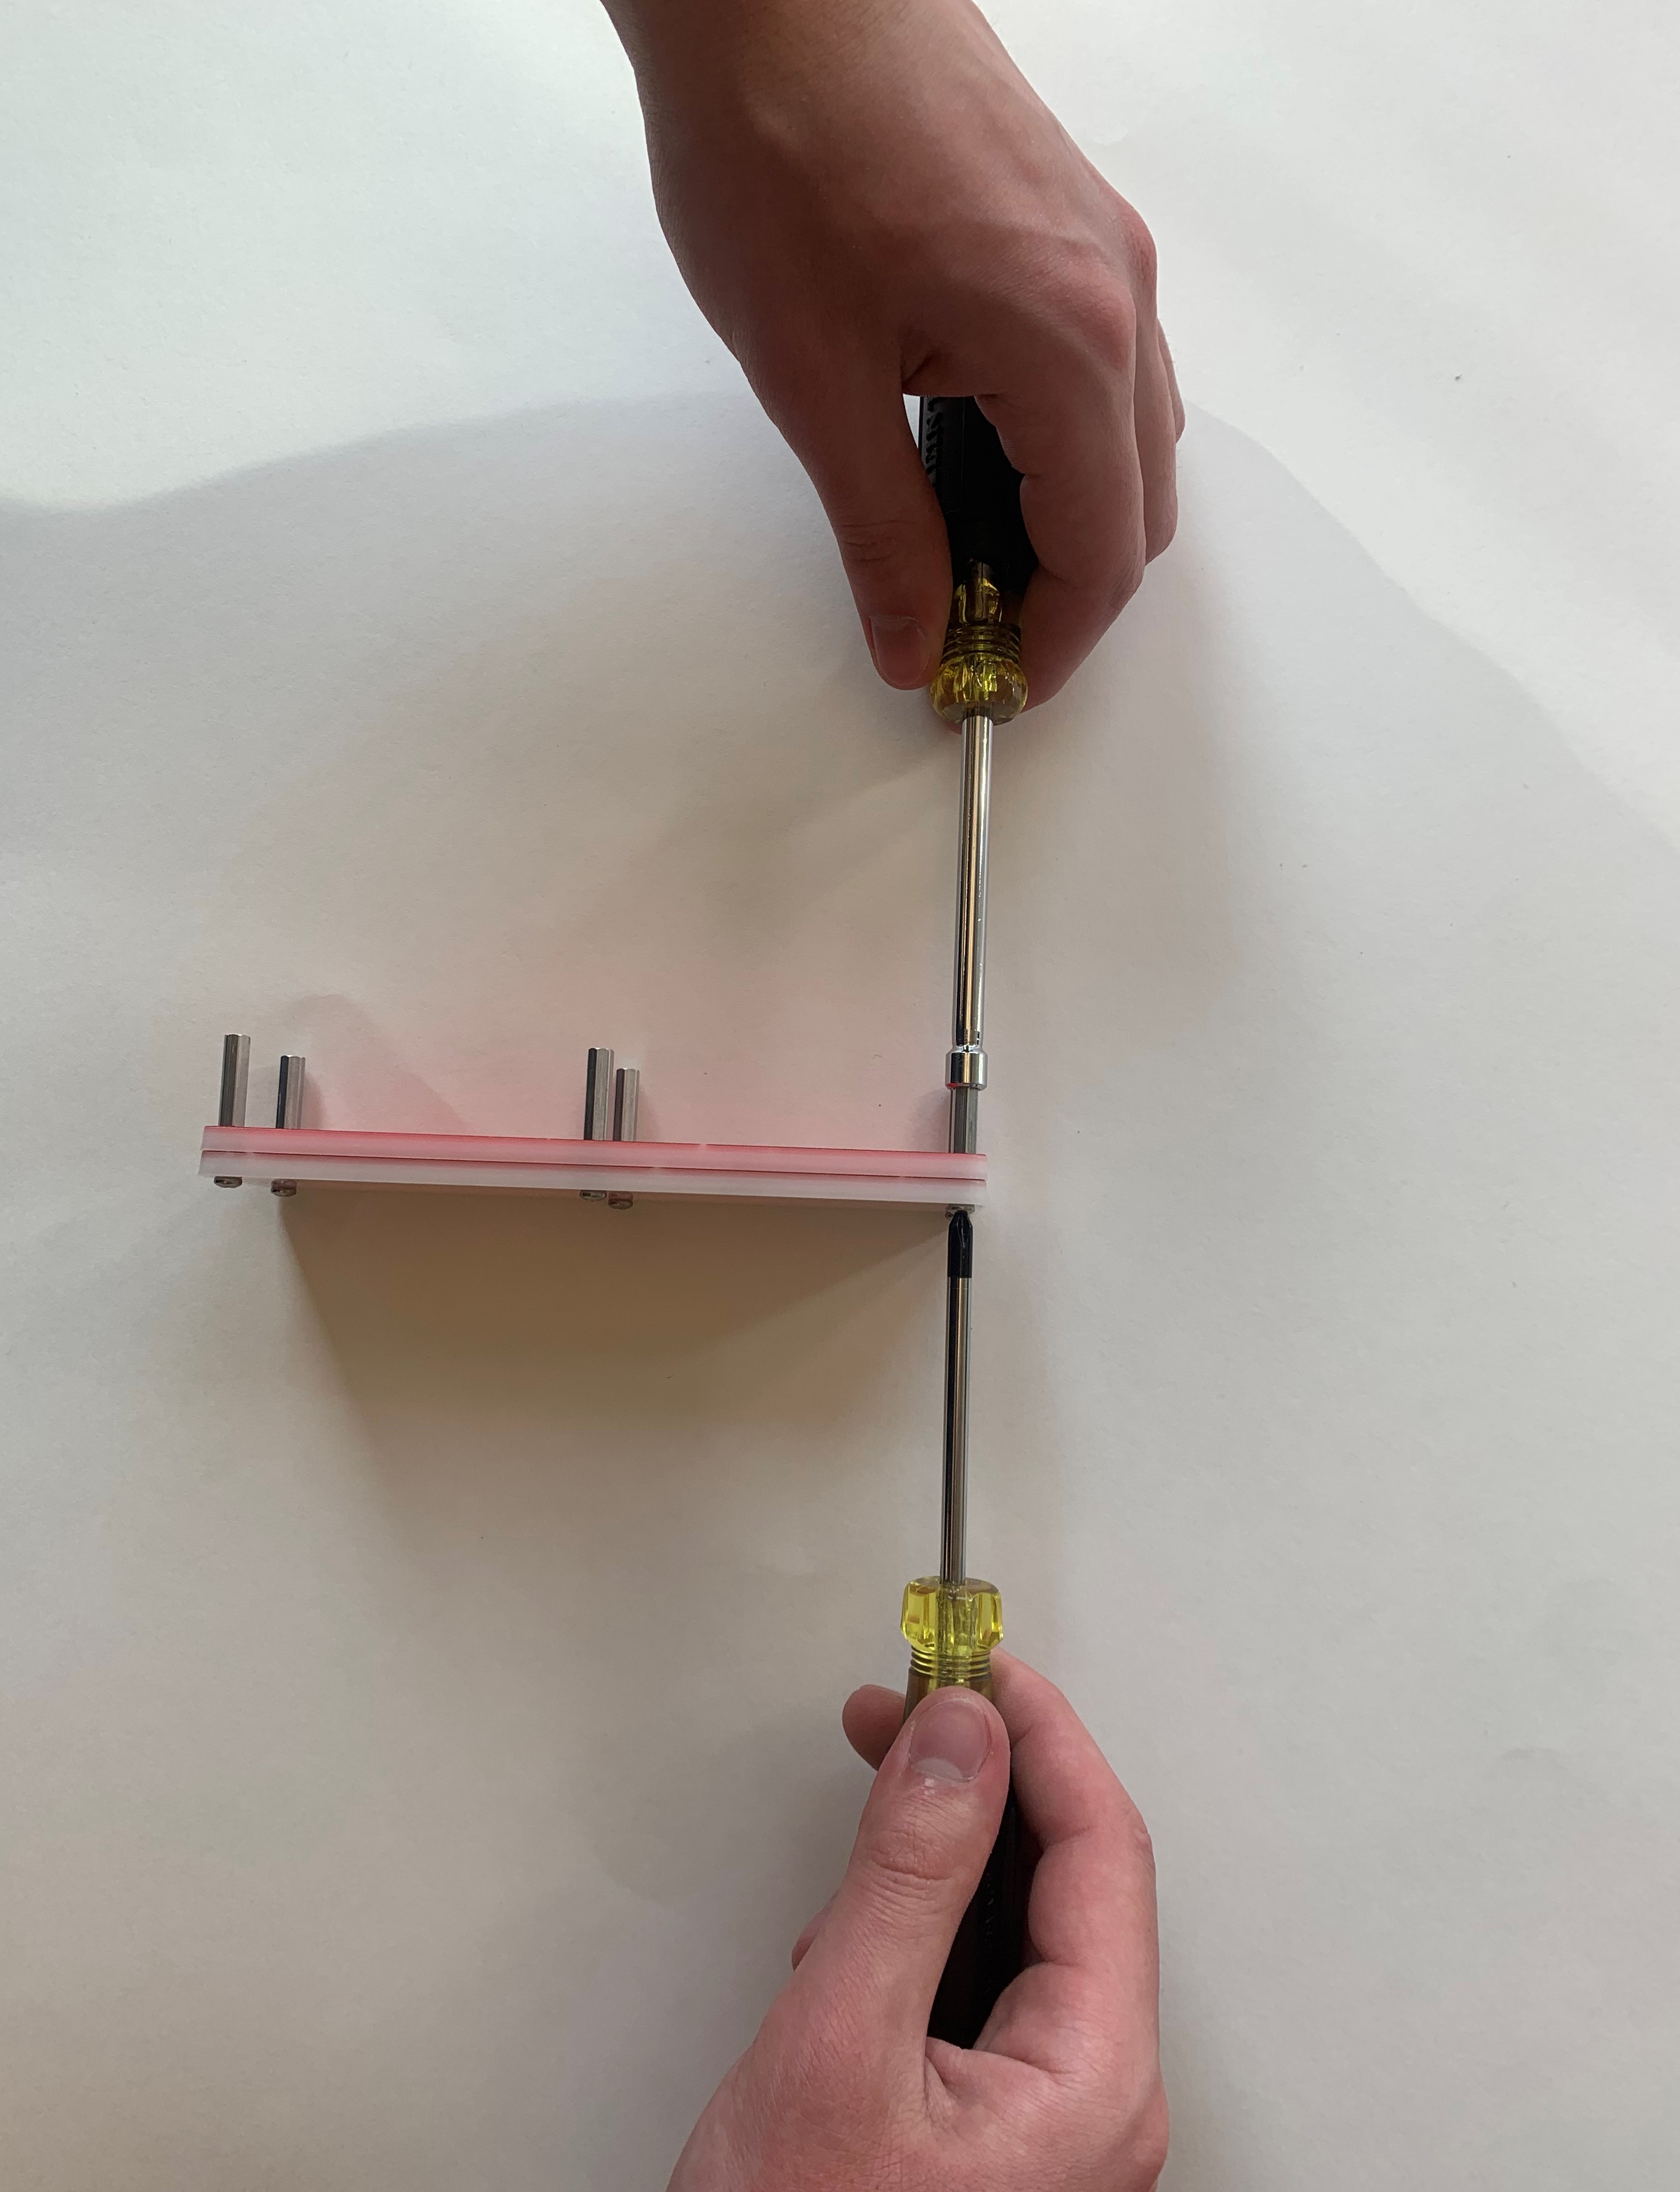
Next, tighten the screws using a crisscross pattern with multiple stages. Hold each standoff in place with a 3/16 hex screwdriver and tighten the screw with a small Philips screwdriver.
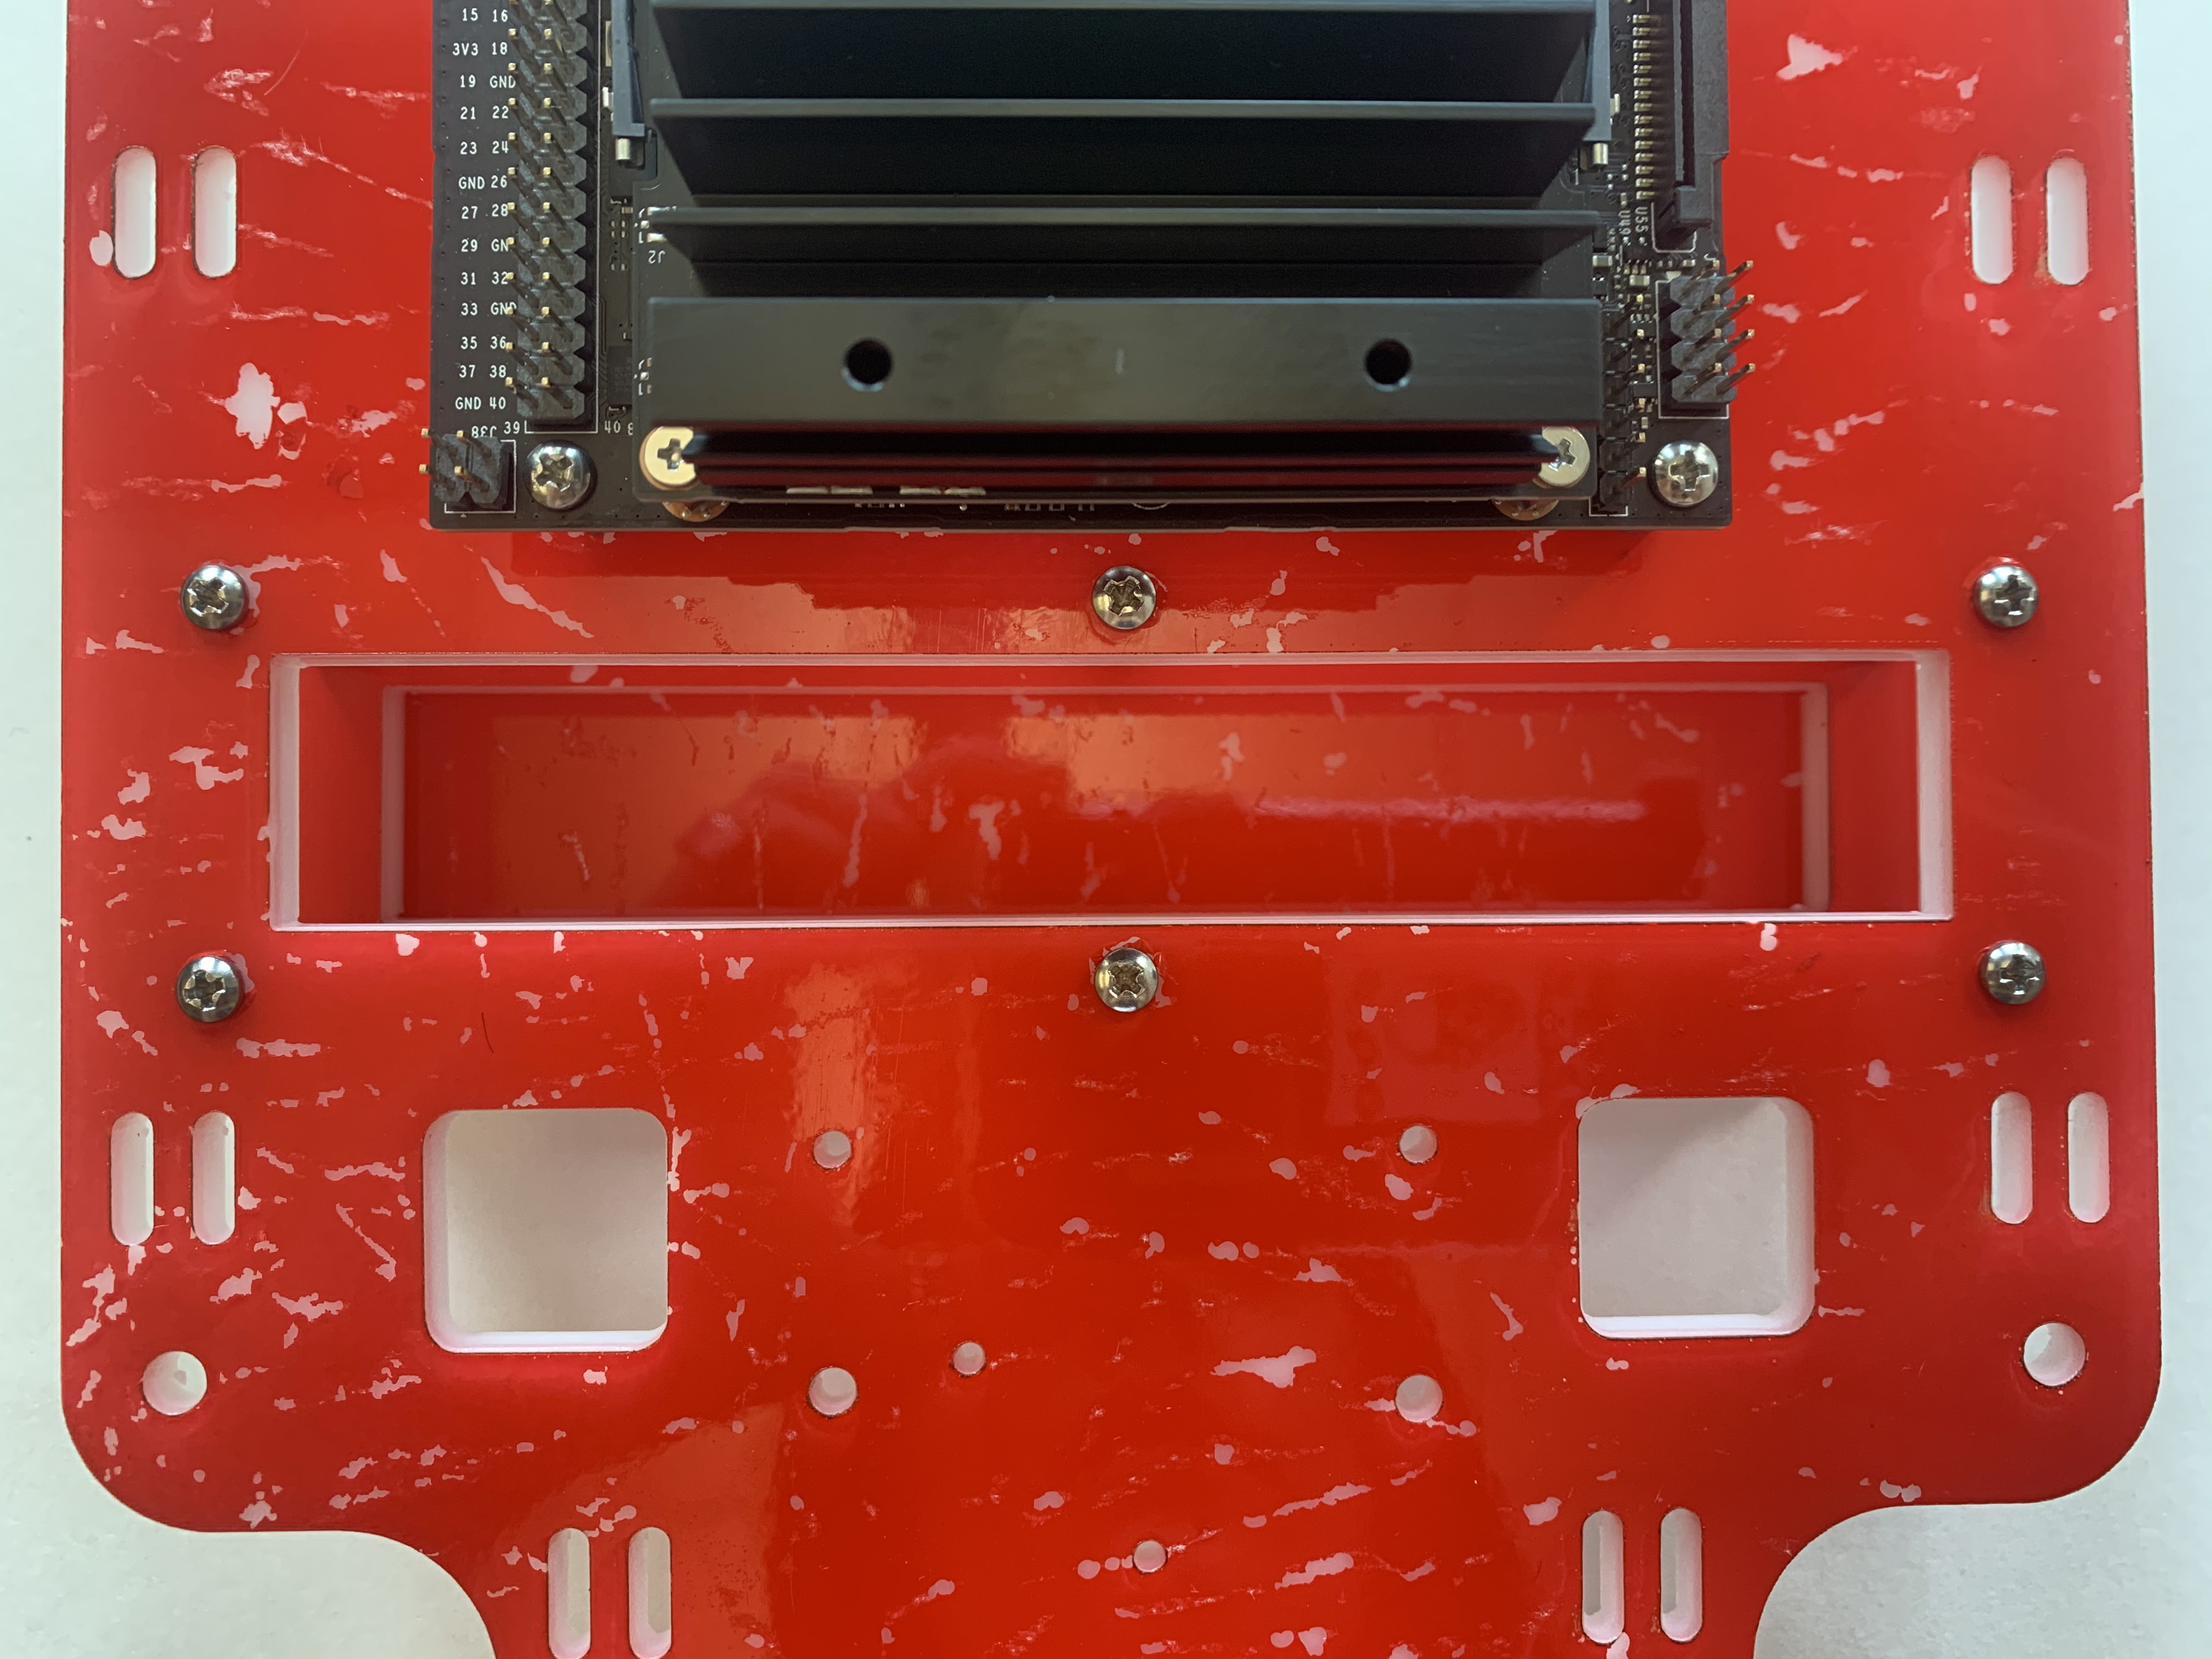
3.2 Attach Battery Cradle
Screw tightness: tight
Align the battery cradle created in step 3.1 with the six holes shown on the bottom plate. The standoffs should touch the uncolored side of the bottom plate. Hold each standoff in place with a 4-40 7/16 screw (D) (6 total). Use a small Philips screwdriver to tighten the screws in a crisscross pattern with multiple stages.