Step 9: LIDAR
Screw tightness: gentle
New parts used in this step (see the Parts List for details):
- LIDAR
- Four M2.5x0.45 12mm screws (H)
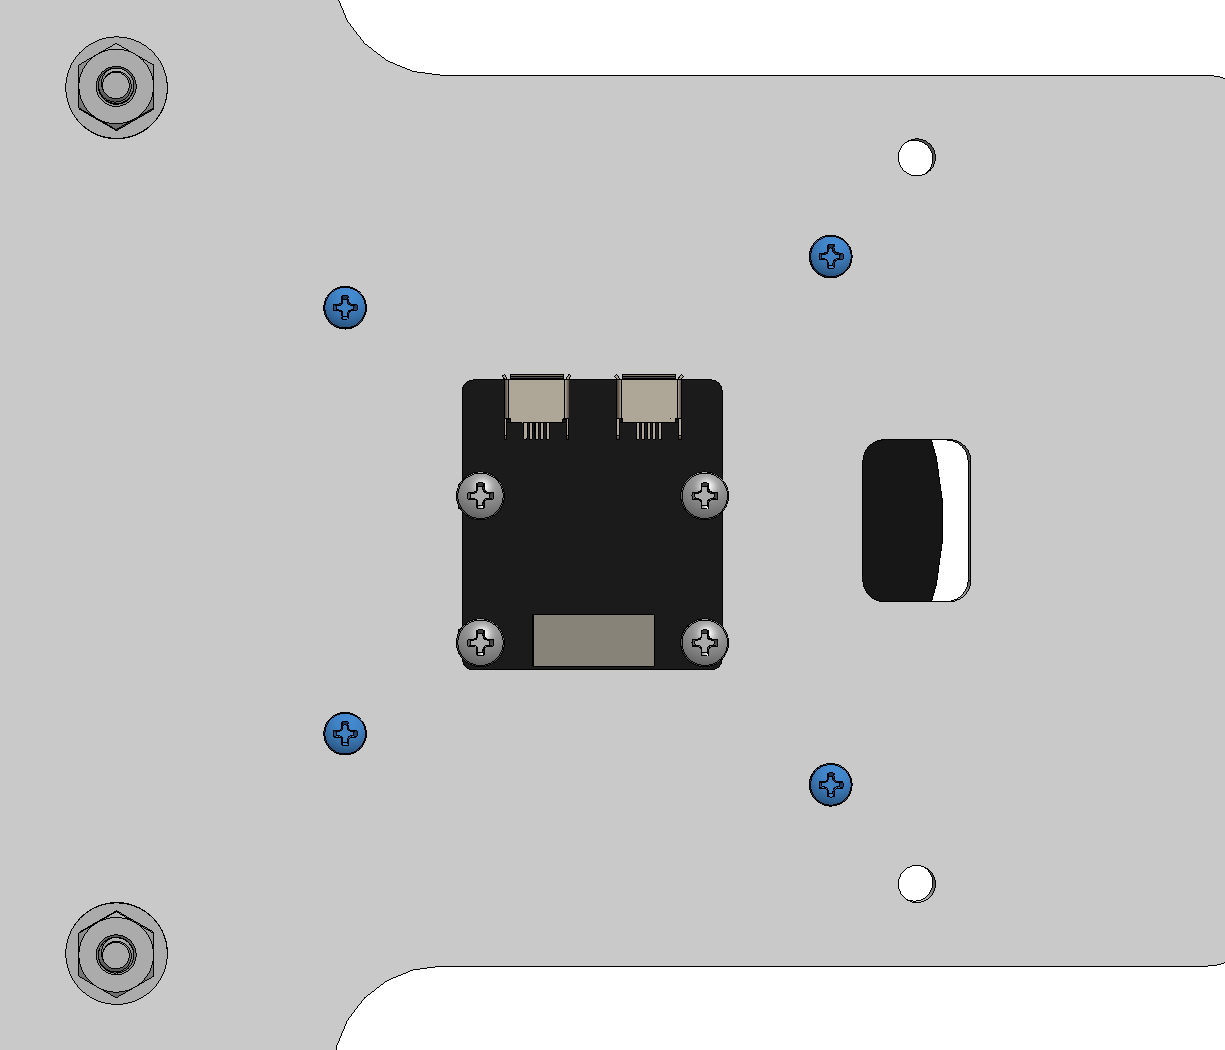
Align the four legs of the LIDAR with the with the holes shown on the blue side of the top plate, which are toward the front of the car. Screw a M2.5x0.45 12mm screw into each leg (4 total) such that the head of each screw touches the uncolored side of the top plate. Be sure to tighten the screws in multiple stages using a crisscross pattern.
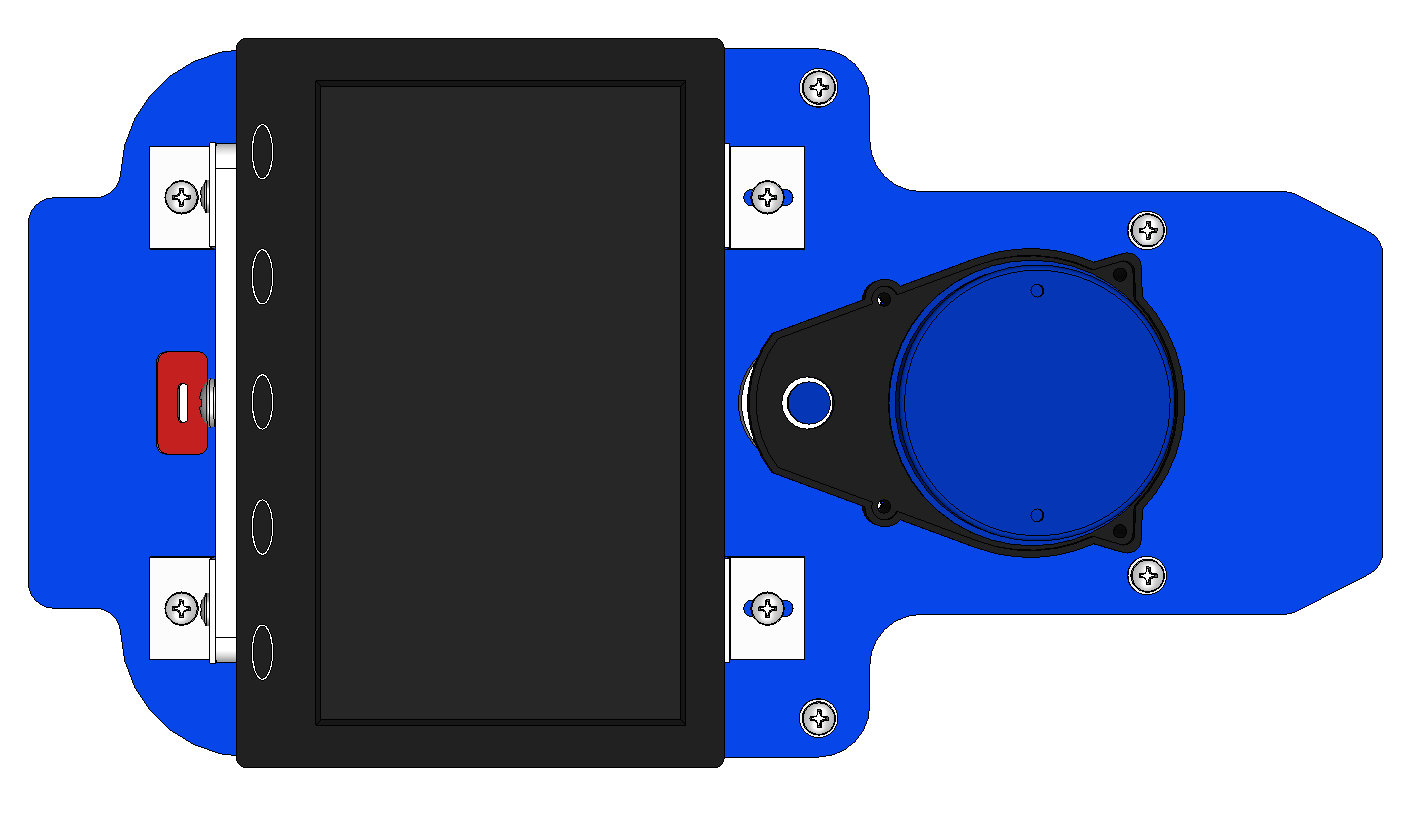

Finally, connect the colorful LIDAR cable from the LIDAR PCB to the LIDAR as shown in the picture below. The cable should wrap directly around the edge of the top plate.
