Step 2: Camera
New parts used in this step (see the Parts List for details):
- camera
- camera support
- One 1/4 20 1/2 screw (A)
- Two 4-40 7/16 screws (D)
If the camera has a blue plastic film, leave this film on until the car is entirely assembled to help protect it from scratches.

2.1 Expose Micro USB Port
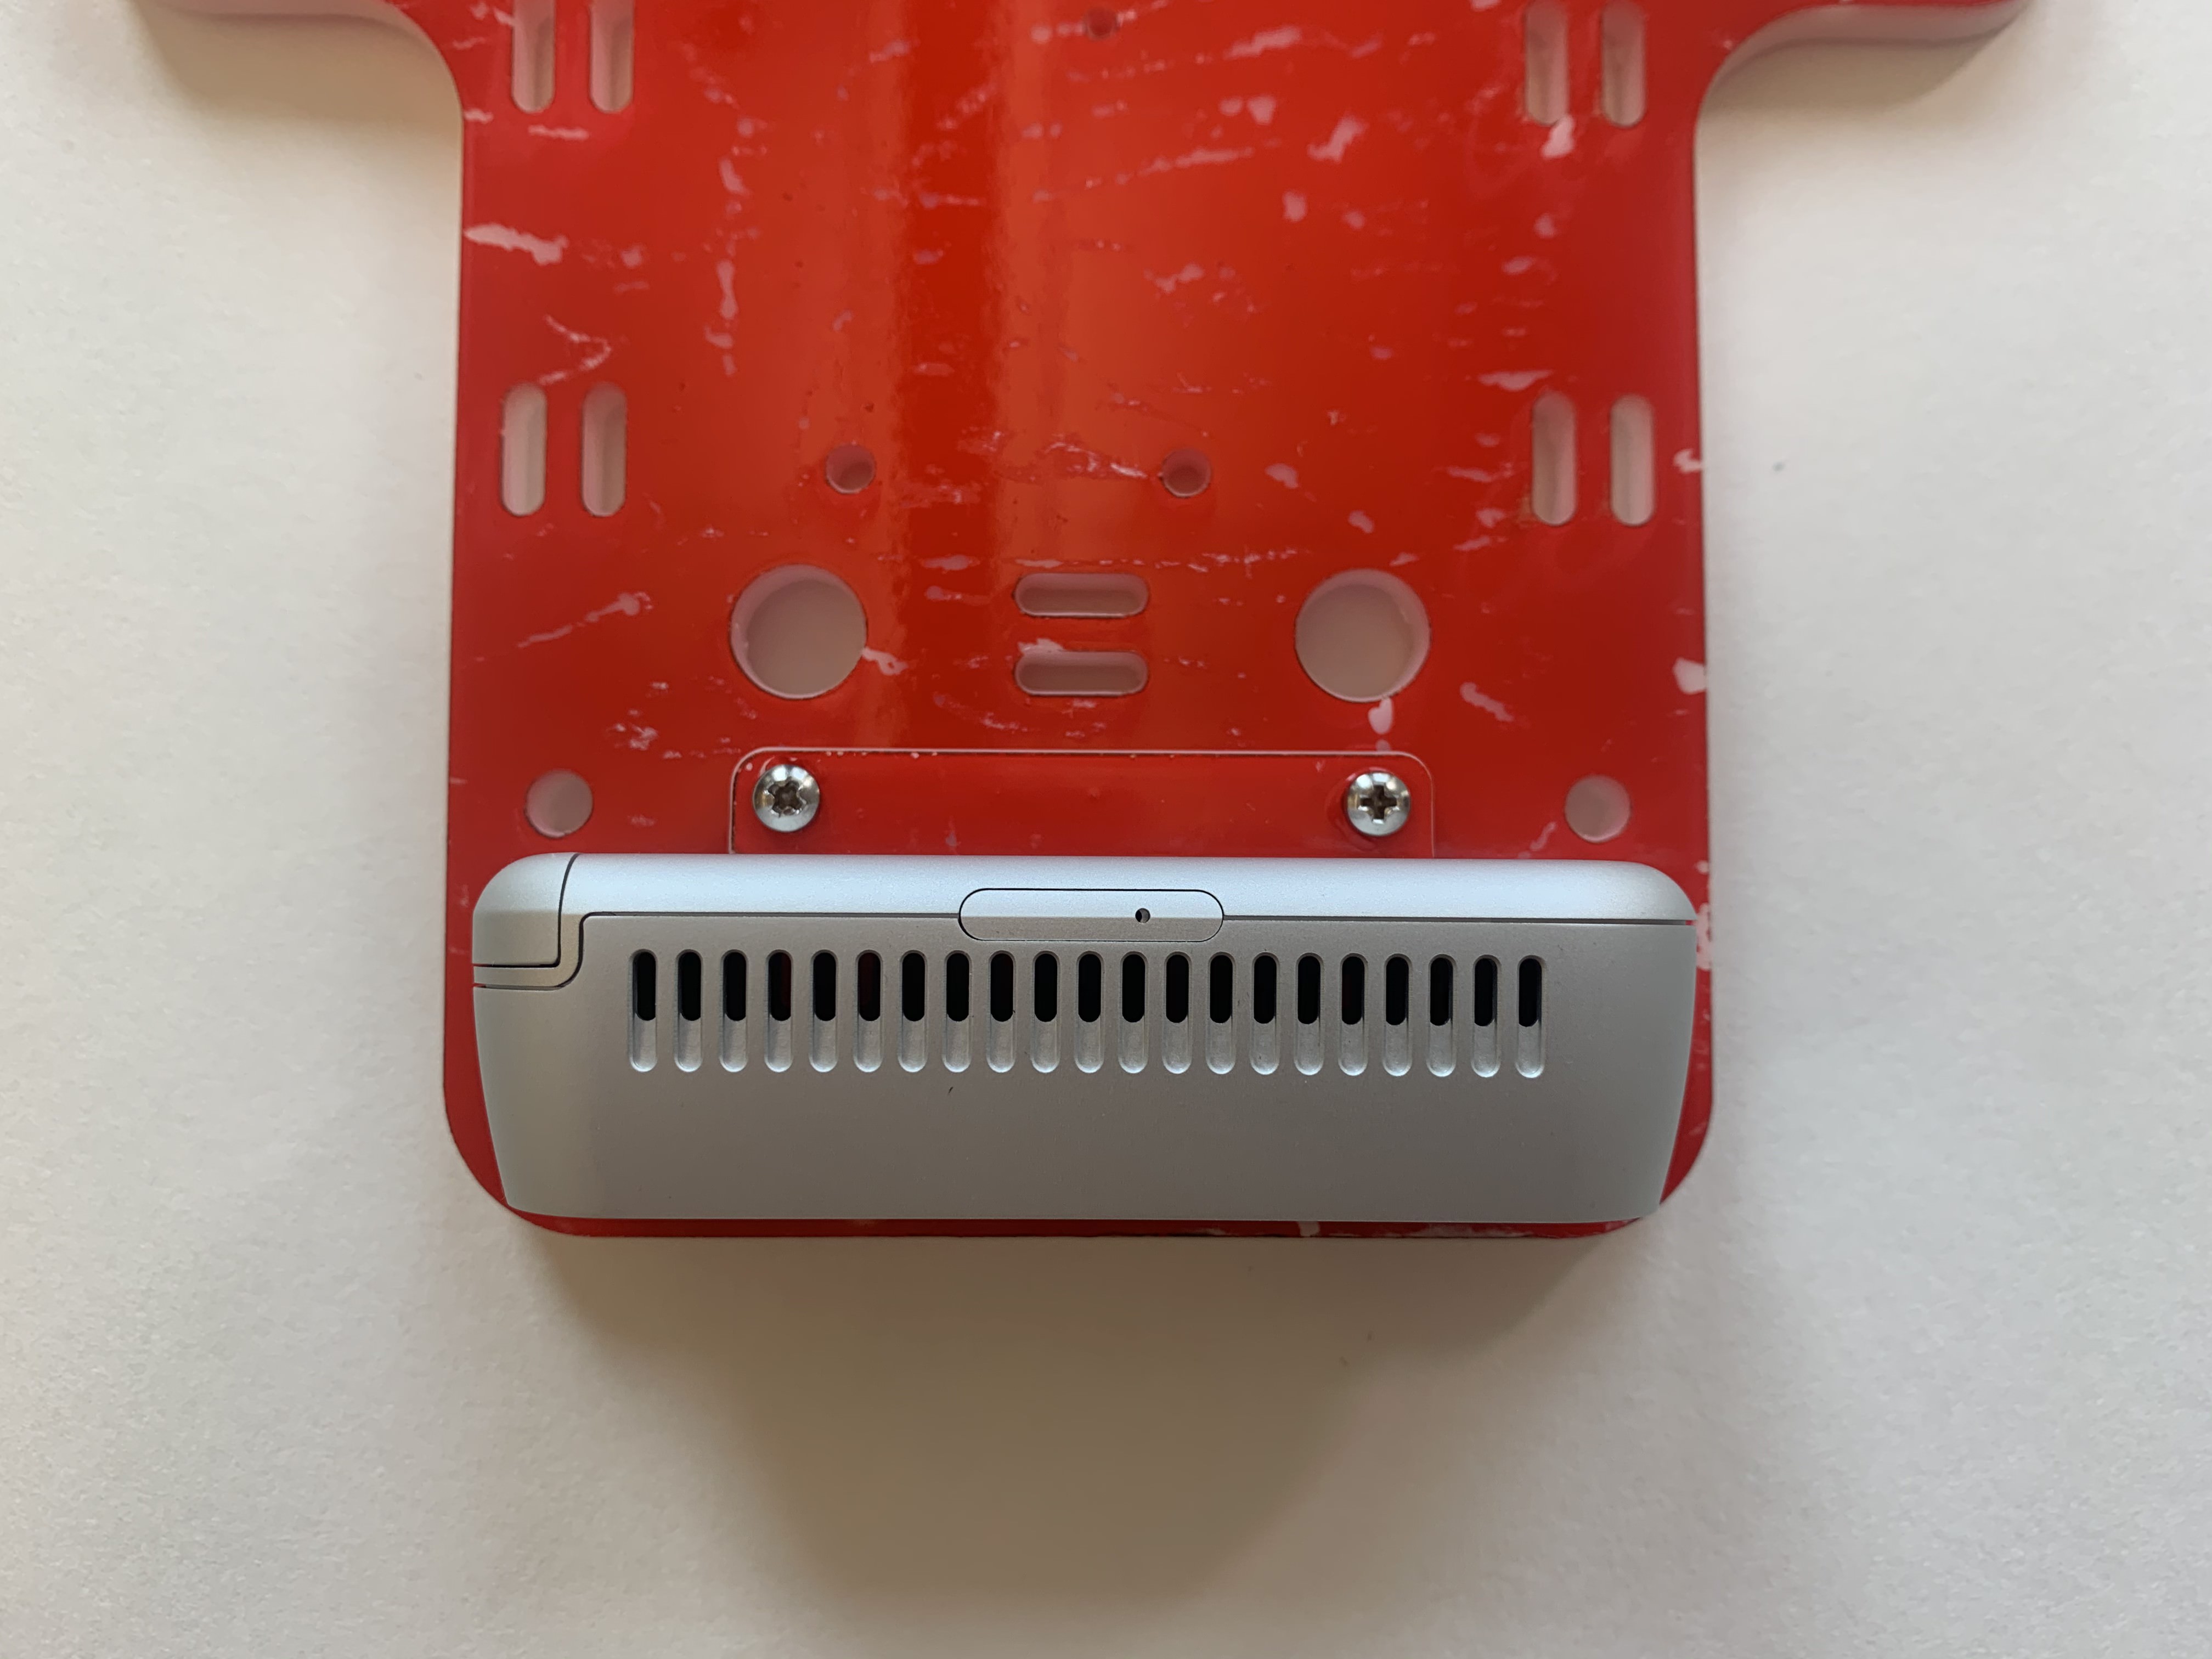
Remove the USB protector on the back right corner of the camera by pulling outward as shown in the picture below. This will expose the USB-C port of the camera.


2.2 Attach Camera Support Loosely
Screw tightness: partial
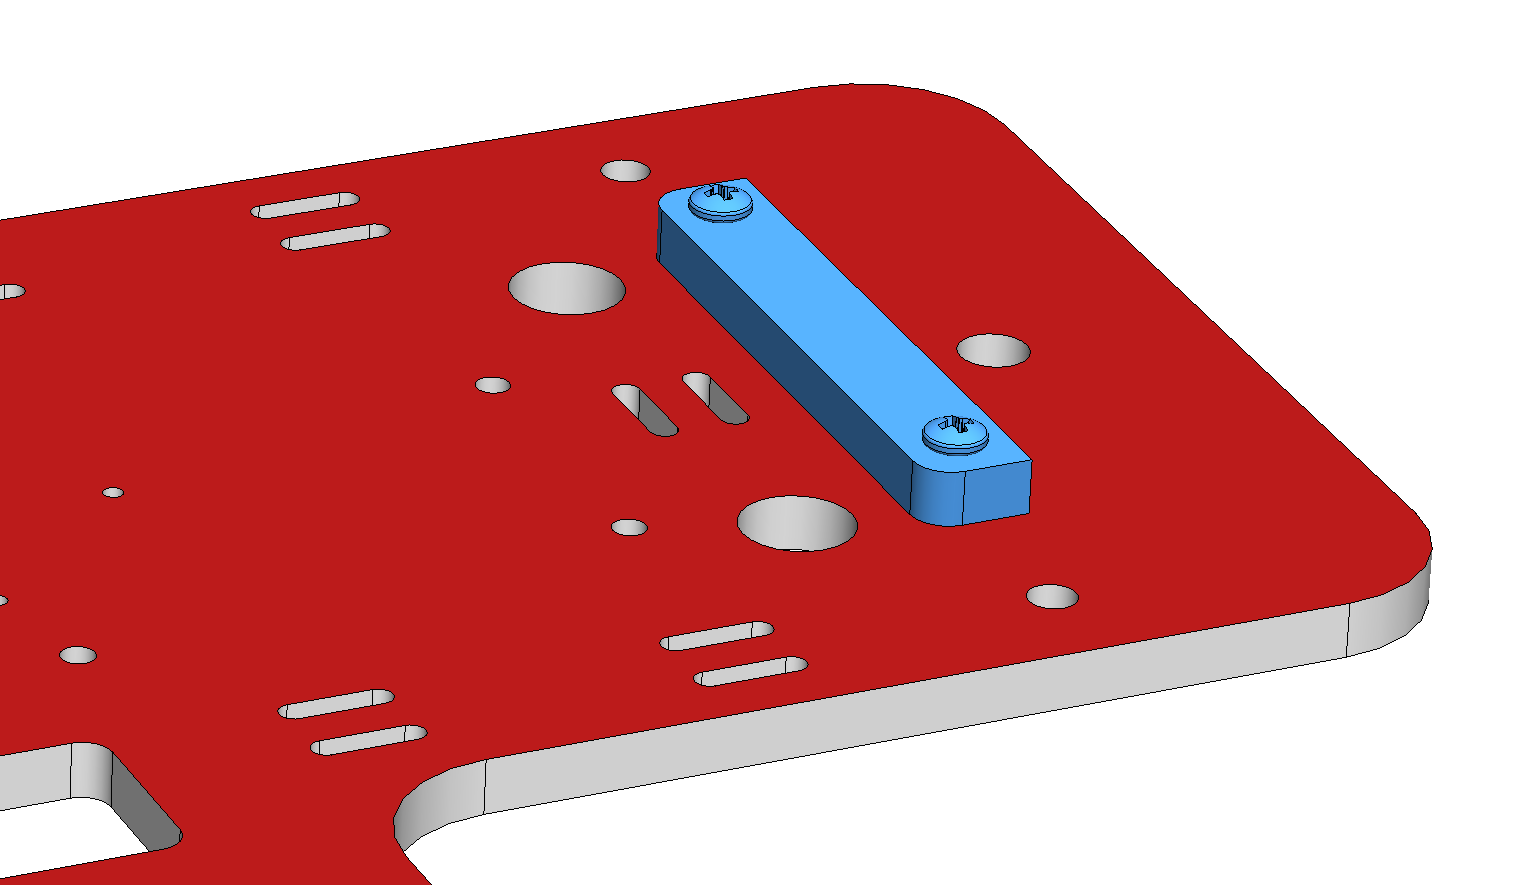
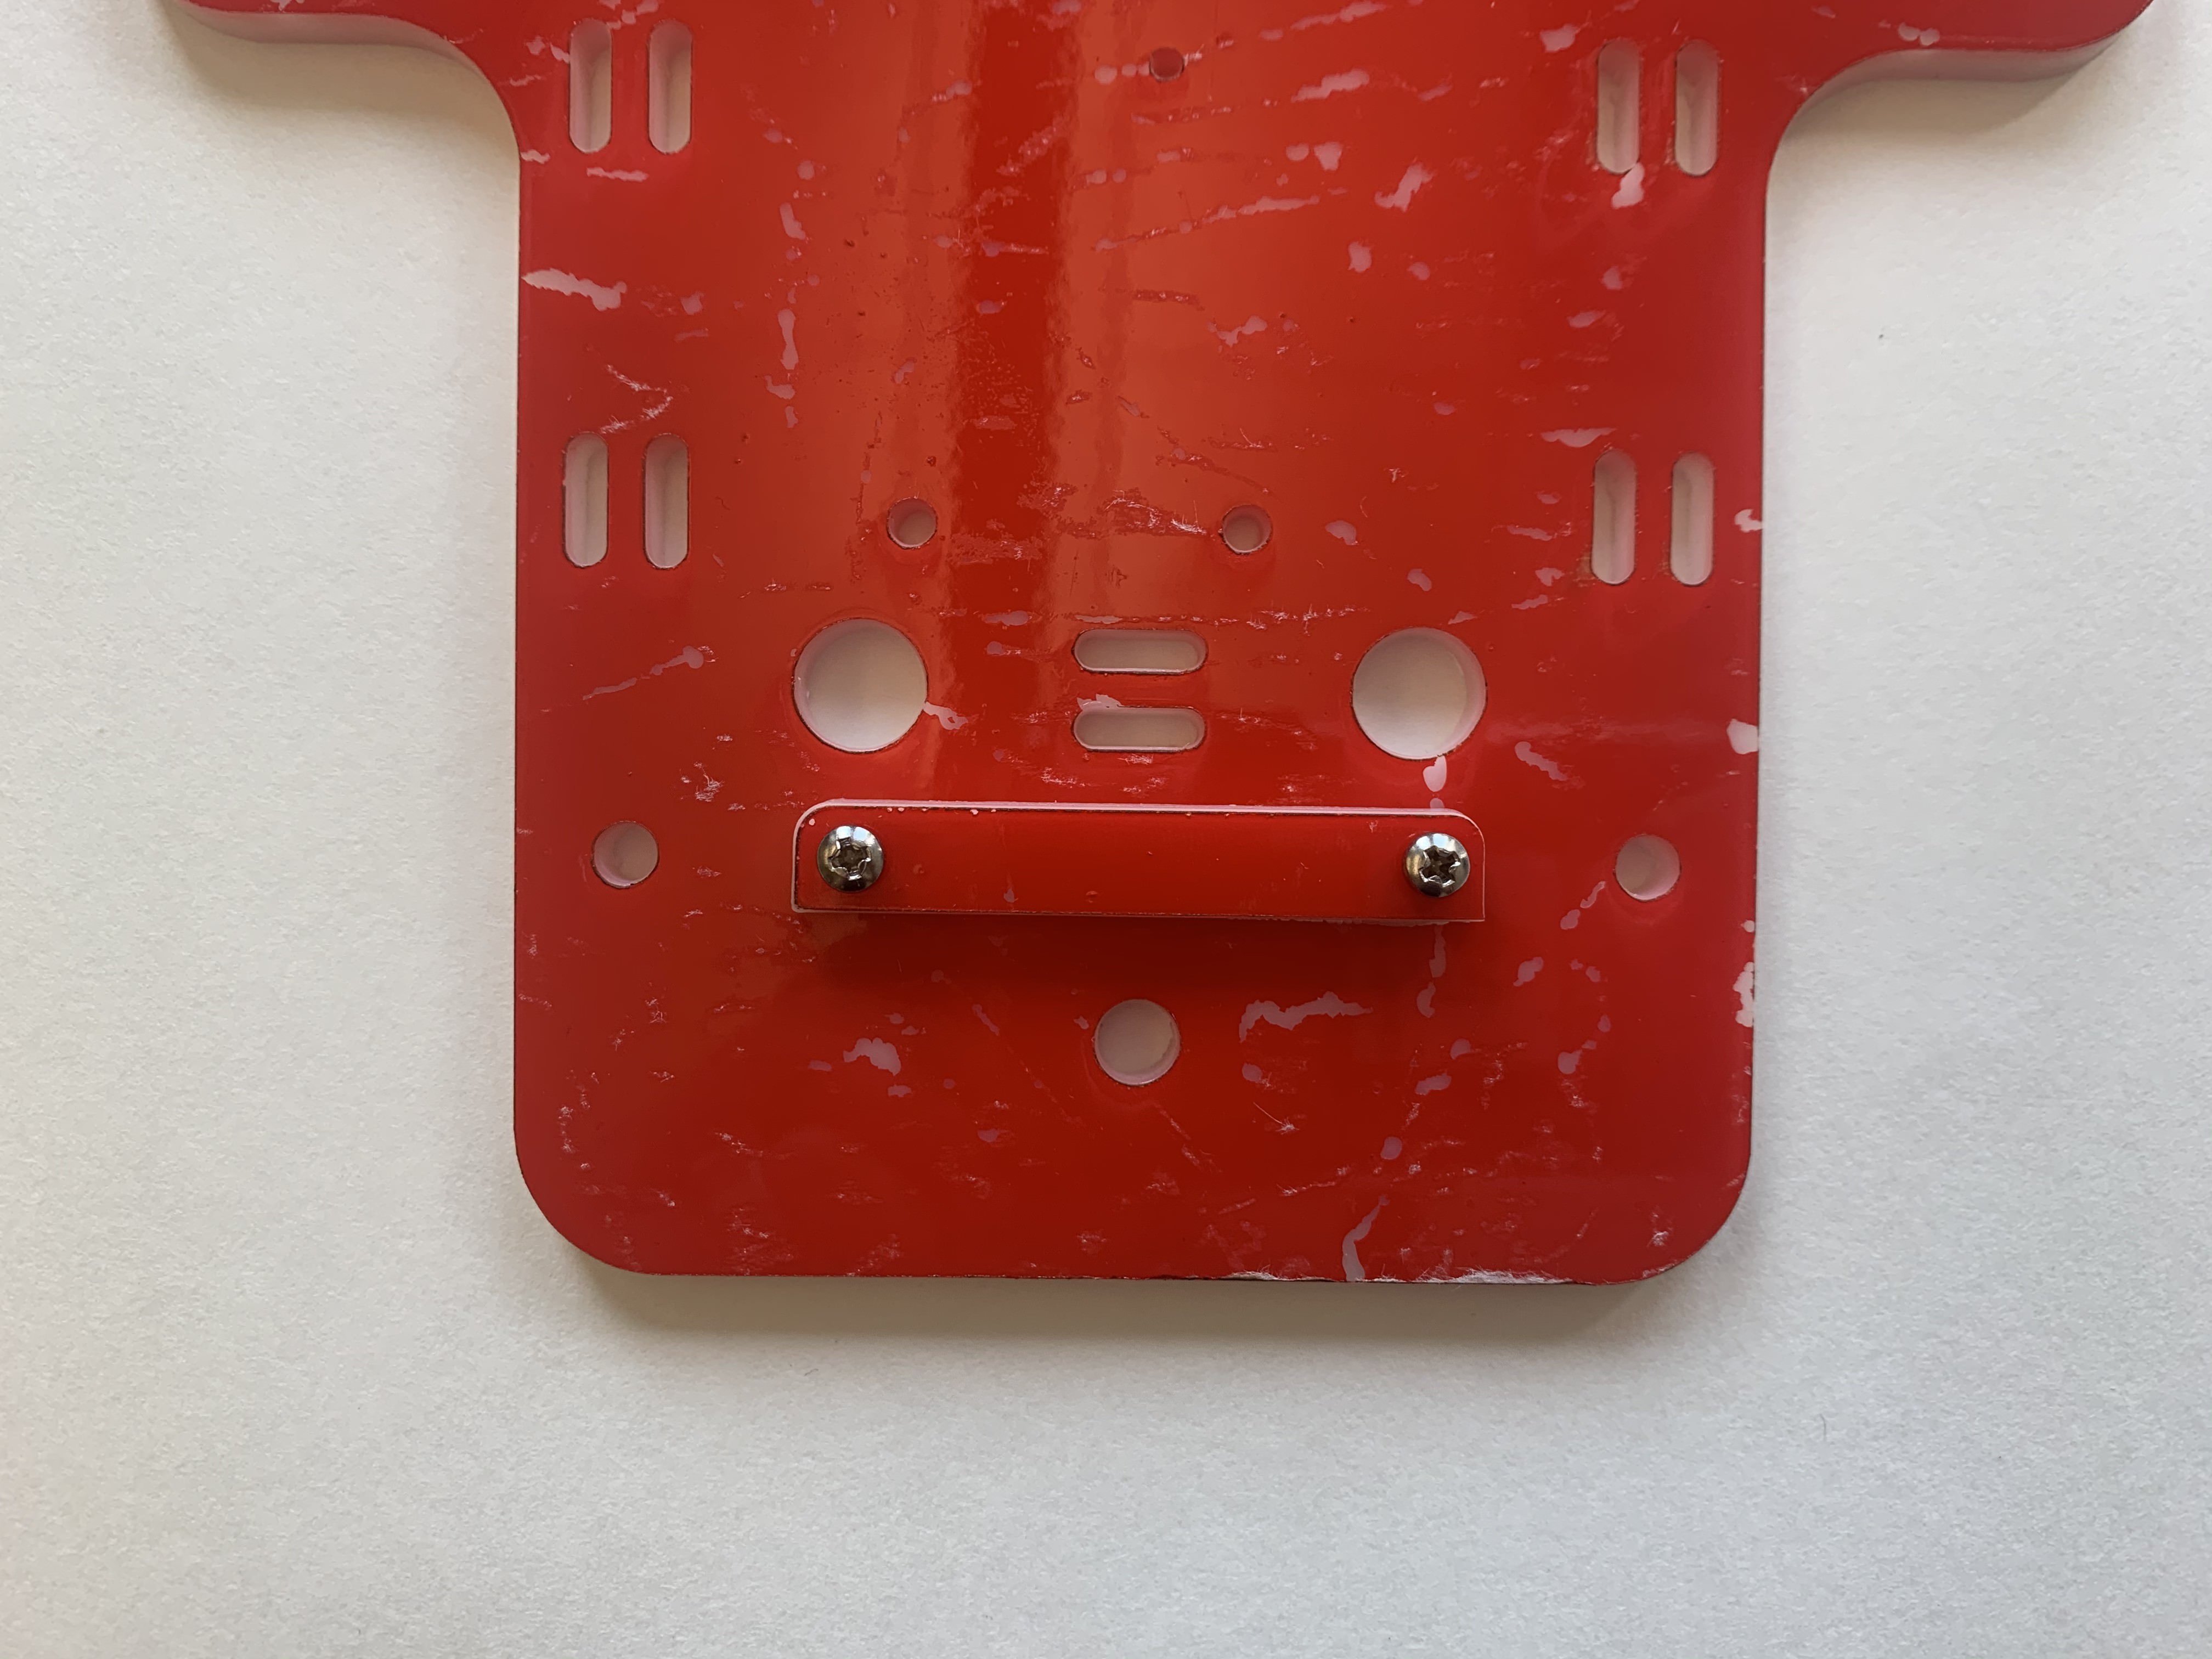
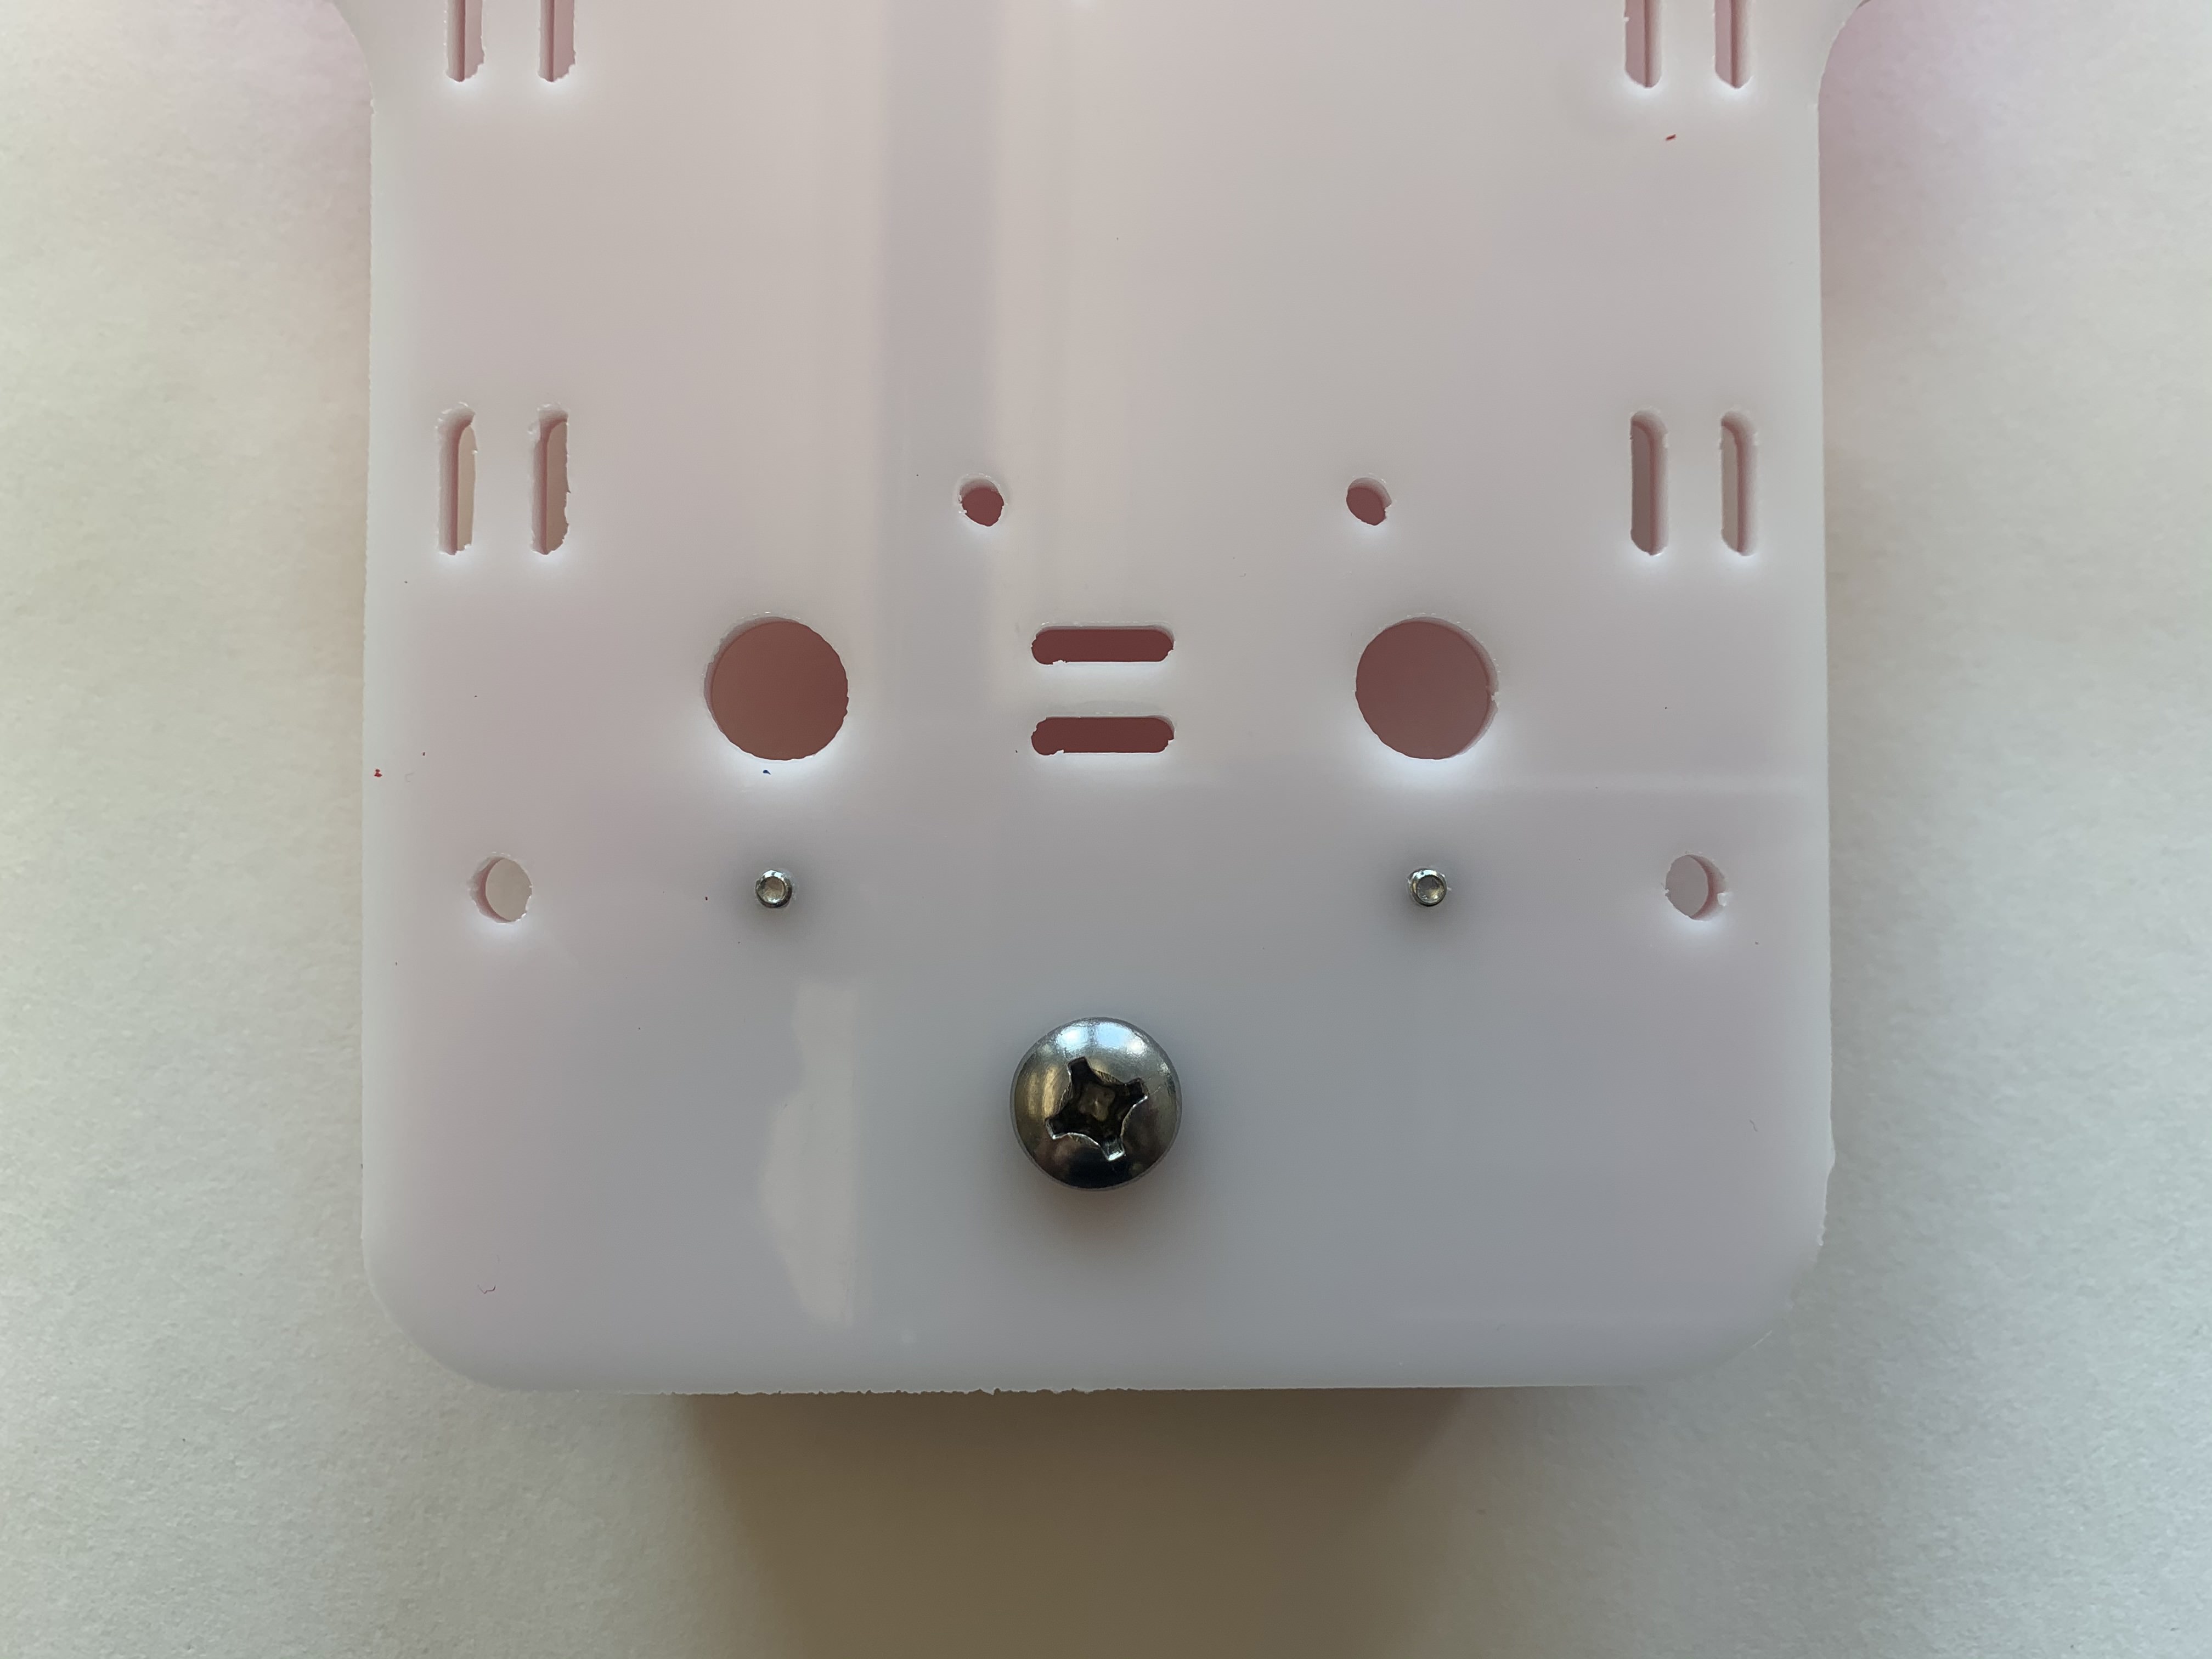
Attach the camera support to the red side of the bottom plate with two 4-40 7/16 screws (D) using a small Philips screwdriver. The red side of the camera support should face upwards, and the screws should tap into the bottom plate with the head touching the red side of the camera support. Only partially tighten the screws so that the camera support can still jiggle in place.
2.3 Attach Camera Loosely
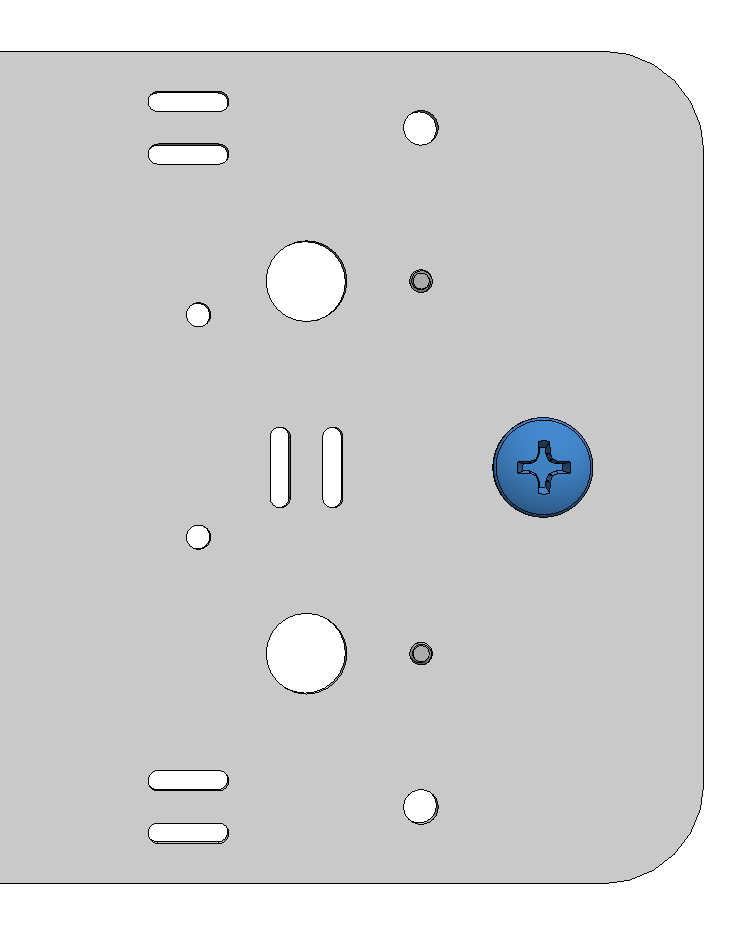
Attach the camera to the bottom plate with a 1/4-20 1/2 screw (A) using a large Philips screwdriver. The head of the screw should touch the uncolored side of the bottom plate, and the rod of the screw should pass through the bottom plate and into the threaded hole on the bottom of the camera. The camera should face off the front of the car, away from the camera support. Only partially tighten the screw so that the camera can still jiggle in place.

2.4 Align and Tighten Camera
Screw tightness: moderate
At this point, the camera and camera support should still jiggle in place. Align the camera so that it is parallel with the front edge of the car and points directly forward. Carefully hold the camera and tighten the 1/4-20 1/4 screw (A) on the uncolored side of the bottom plate to hold it in place. If the camera rotates while you are tightening the screw, you may need to loosen the screw and try again.
Once the camera is secure, press the camera support against the back of the camera and tighten the two 4-40 7/16 screws (E) to hold it in place. Remember to tighten the two screws in multiple stages.